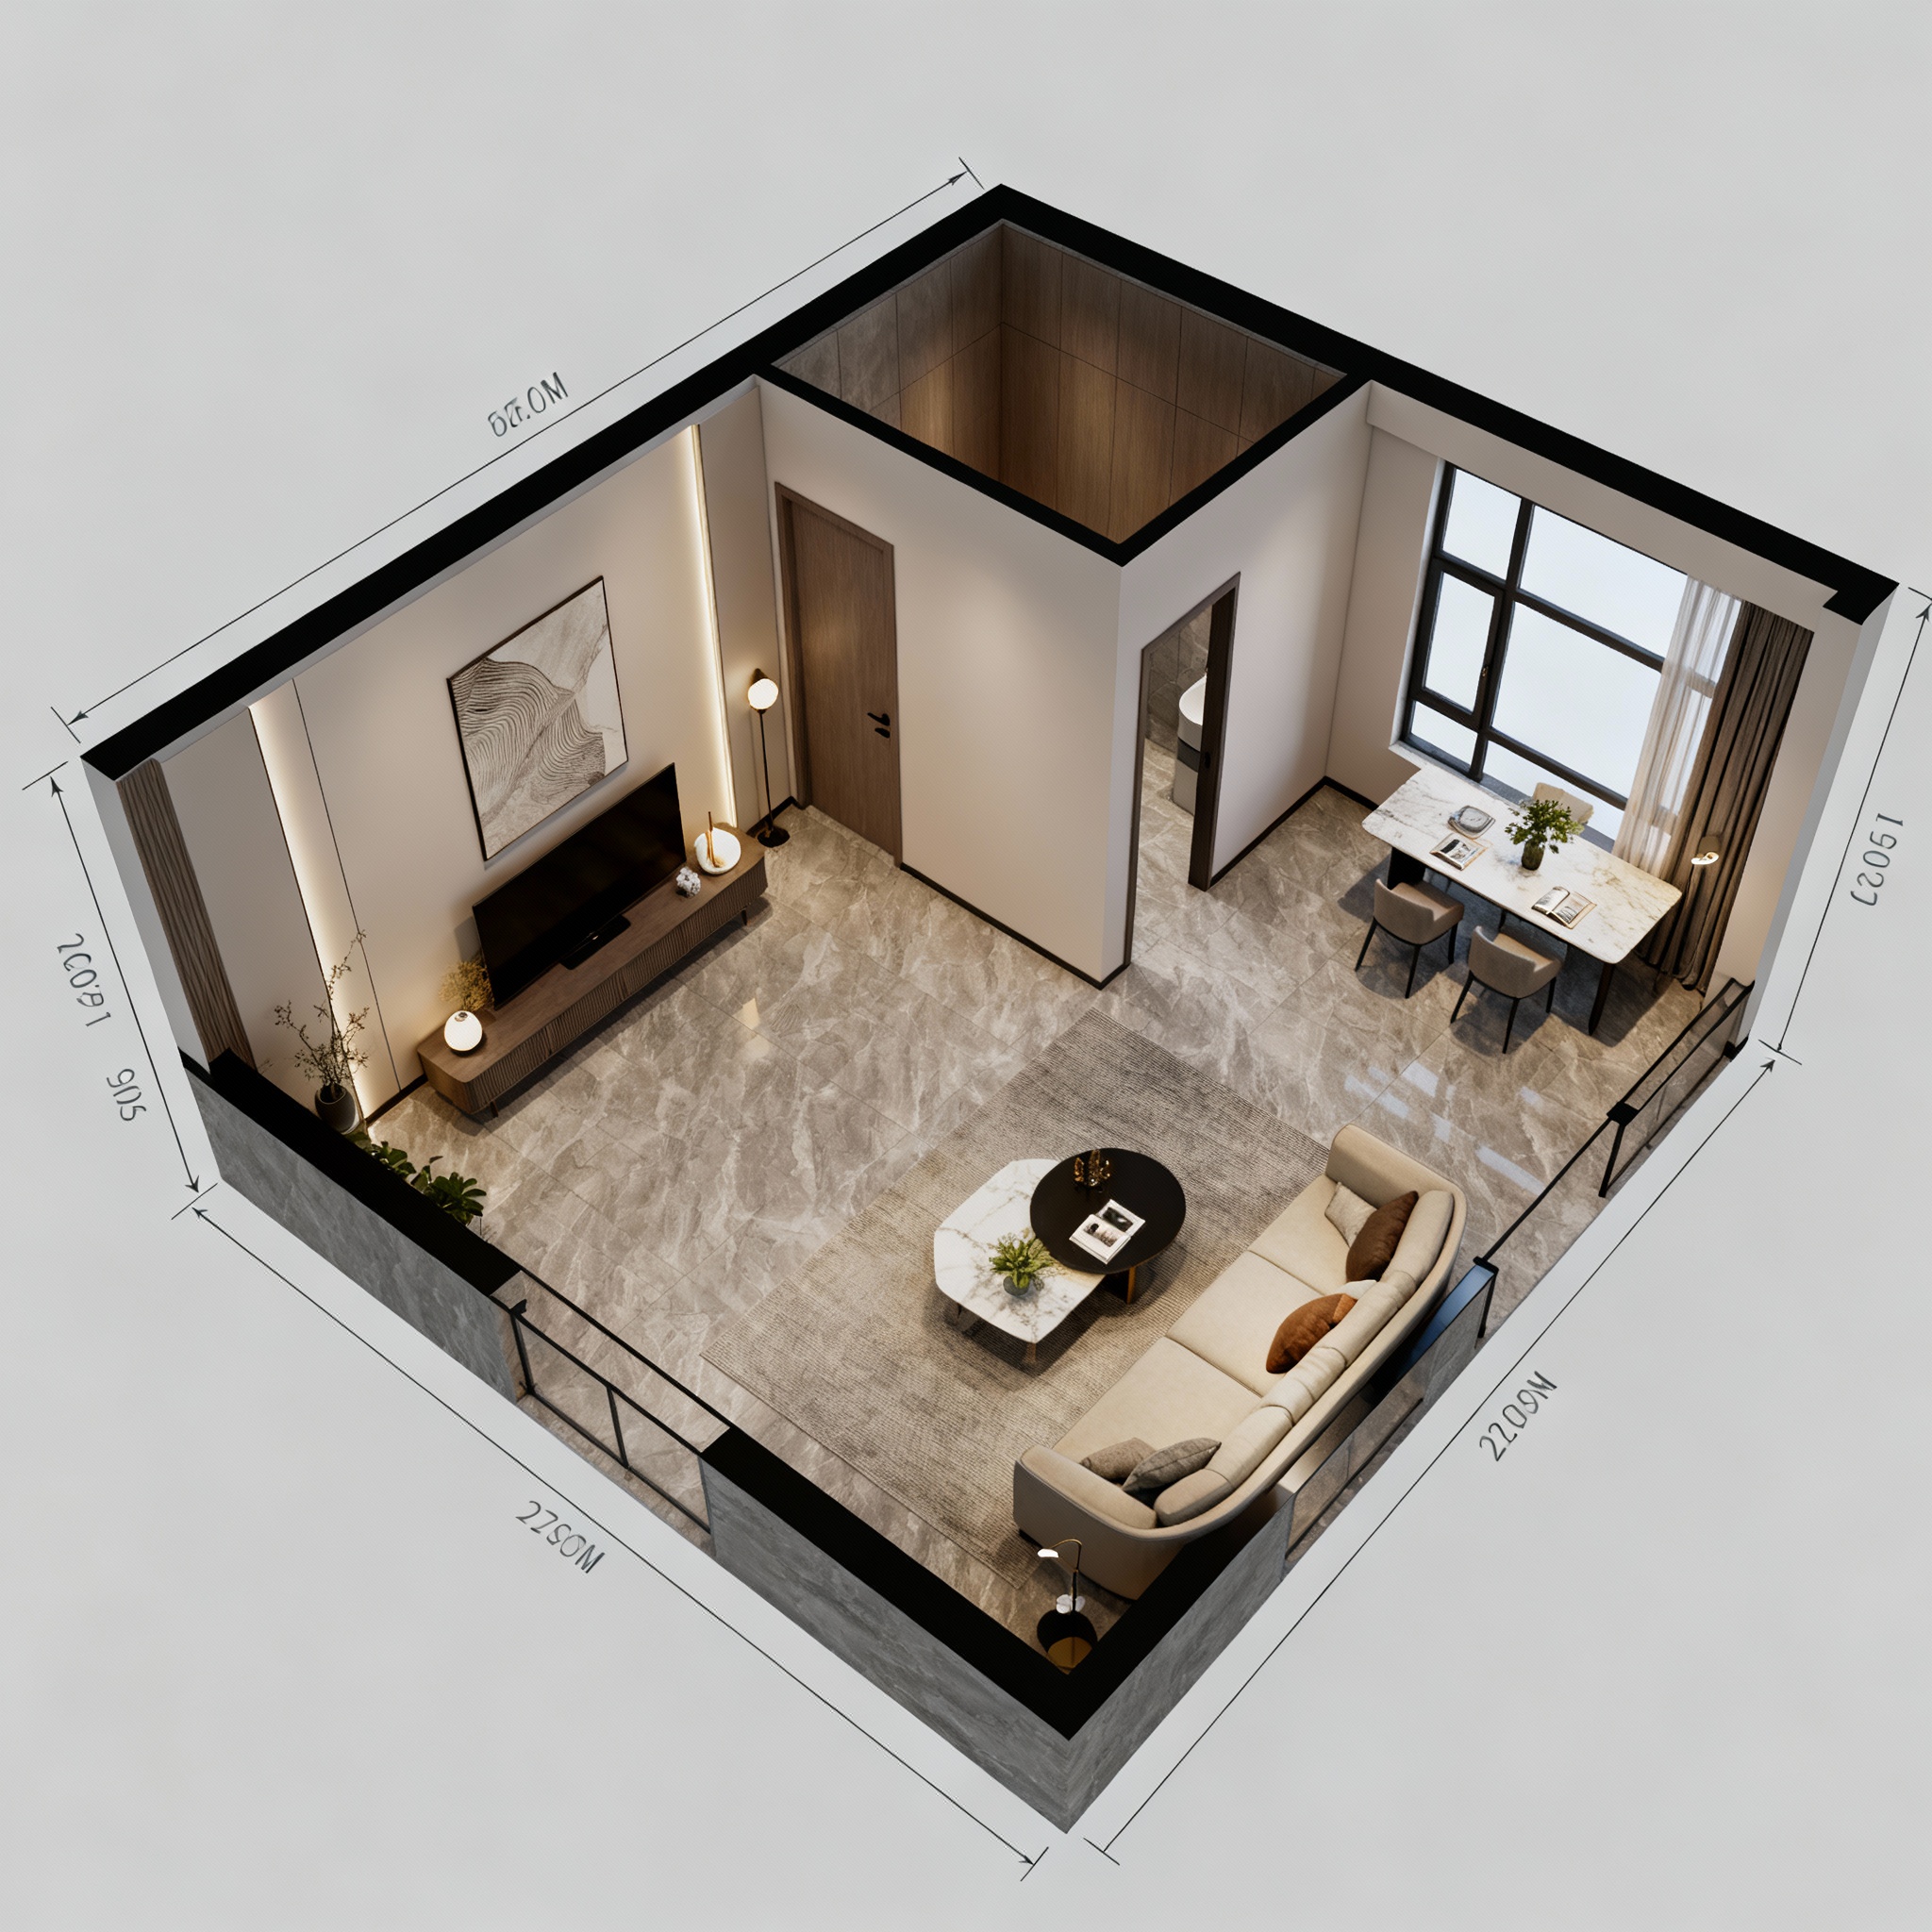
As a professional 3D interior designer, I rely on intuitive tools to quickly visualize spaces. One tool I often use is Arcadium 3D, a browser-based platform that makes it easy to sketch room layouts. Even beginners can start making designs in minutes. I know clients often struggle to imagine a room from a flat photo or plan.
In fact, surveys show about 78% of clients feel more confident after seeing a 3D model of a design. By creating a model, I help clients “virtually walk through” the space and trust the design.
Arcadium’s drag-and-drop interface lets me outline walls with ease. With a few clicks I can add windows or even position furniture. It also offers a library of furniture plus décor items I can simply insert, making it straightforward to build a room interior from scratch. Arcadium bundles layout tools with AI rendering. This means newcomers can produce detailed visuals quickly, without needing CAD expertise.
Arcadium 3D: A Designer-Friendly Platform
Arcadium 3D focuses on simplicity plus speed. The platform runs entirely in a web browser with no installation required. It is free for basic use. It requires no prior 3D skills – new users reportedly learn it in about three minutes.
As a result, both professional designers as well as homeowners can draft a basic room plan very quickly. Arcadium bundles layout tools with AI rendering. This means newcomers can produce detailed visuals quickly, without heavy software training.
Arcadium’s interface emphasizes direct manipulation. I can click to place walls and drag to adjust their lengths, then drop in components. The layout tools are “as easy as Minecraft” to use: I just click along a grid to build walls, windows, and doors. The workspace is uncluttered, making it easy to grasp. For editing, I simply click an element (like a wall or floor) and enter exact dimensions if needed.
A built-in library speeds up furnishing. It contains a wide range of furniture, fixtures plus décor models. For example, I can add a sofa, table or lamp with a drag-and-drop. There are even lighting fixtures and material options built in. I don’t need to model individual items from scratch – I just pick one and place it.
Arcadium also includes a “first-person” walkthrough mode. I can switch to that at any time to virtually walk through the model. Walking around helps confirm that proportions and sightlines look right.
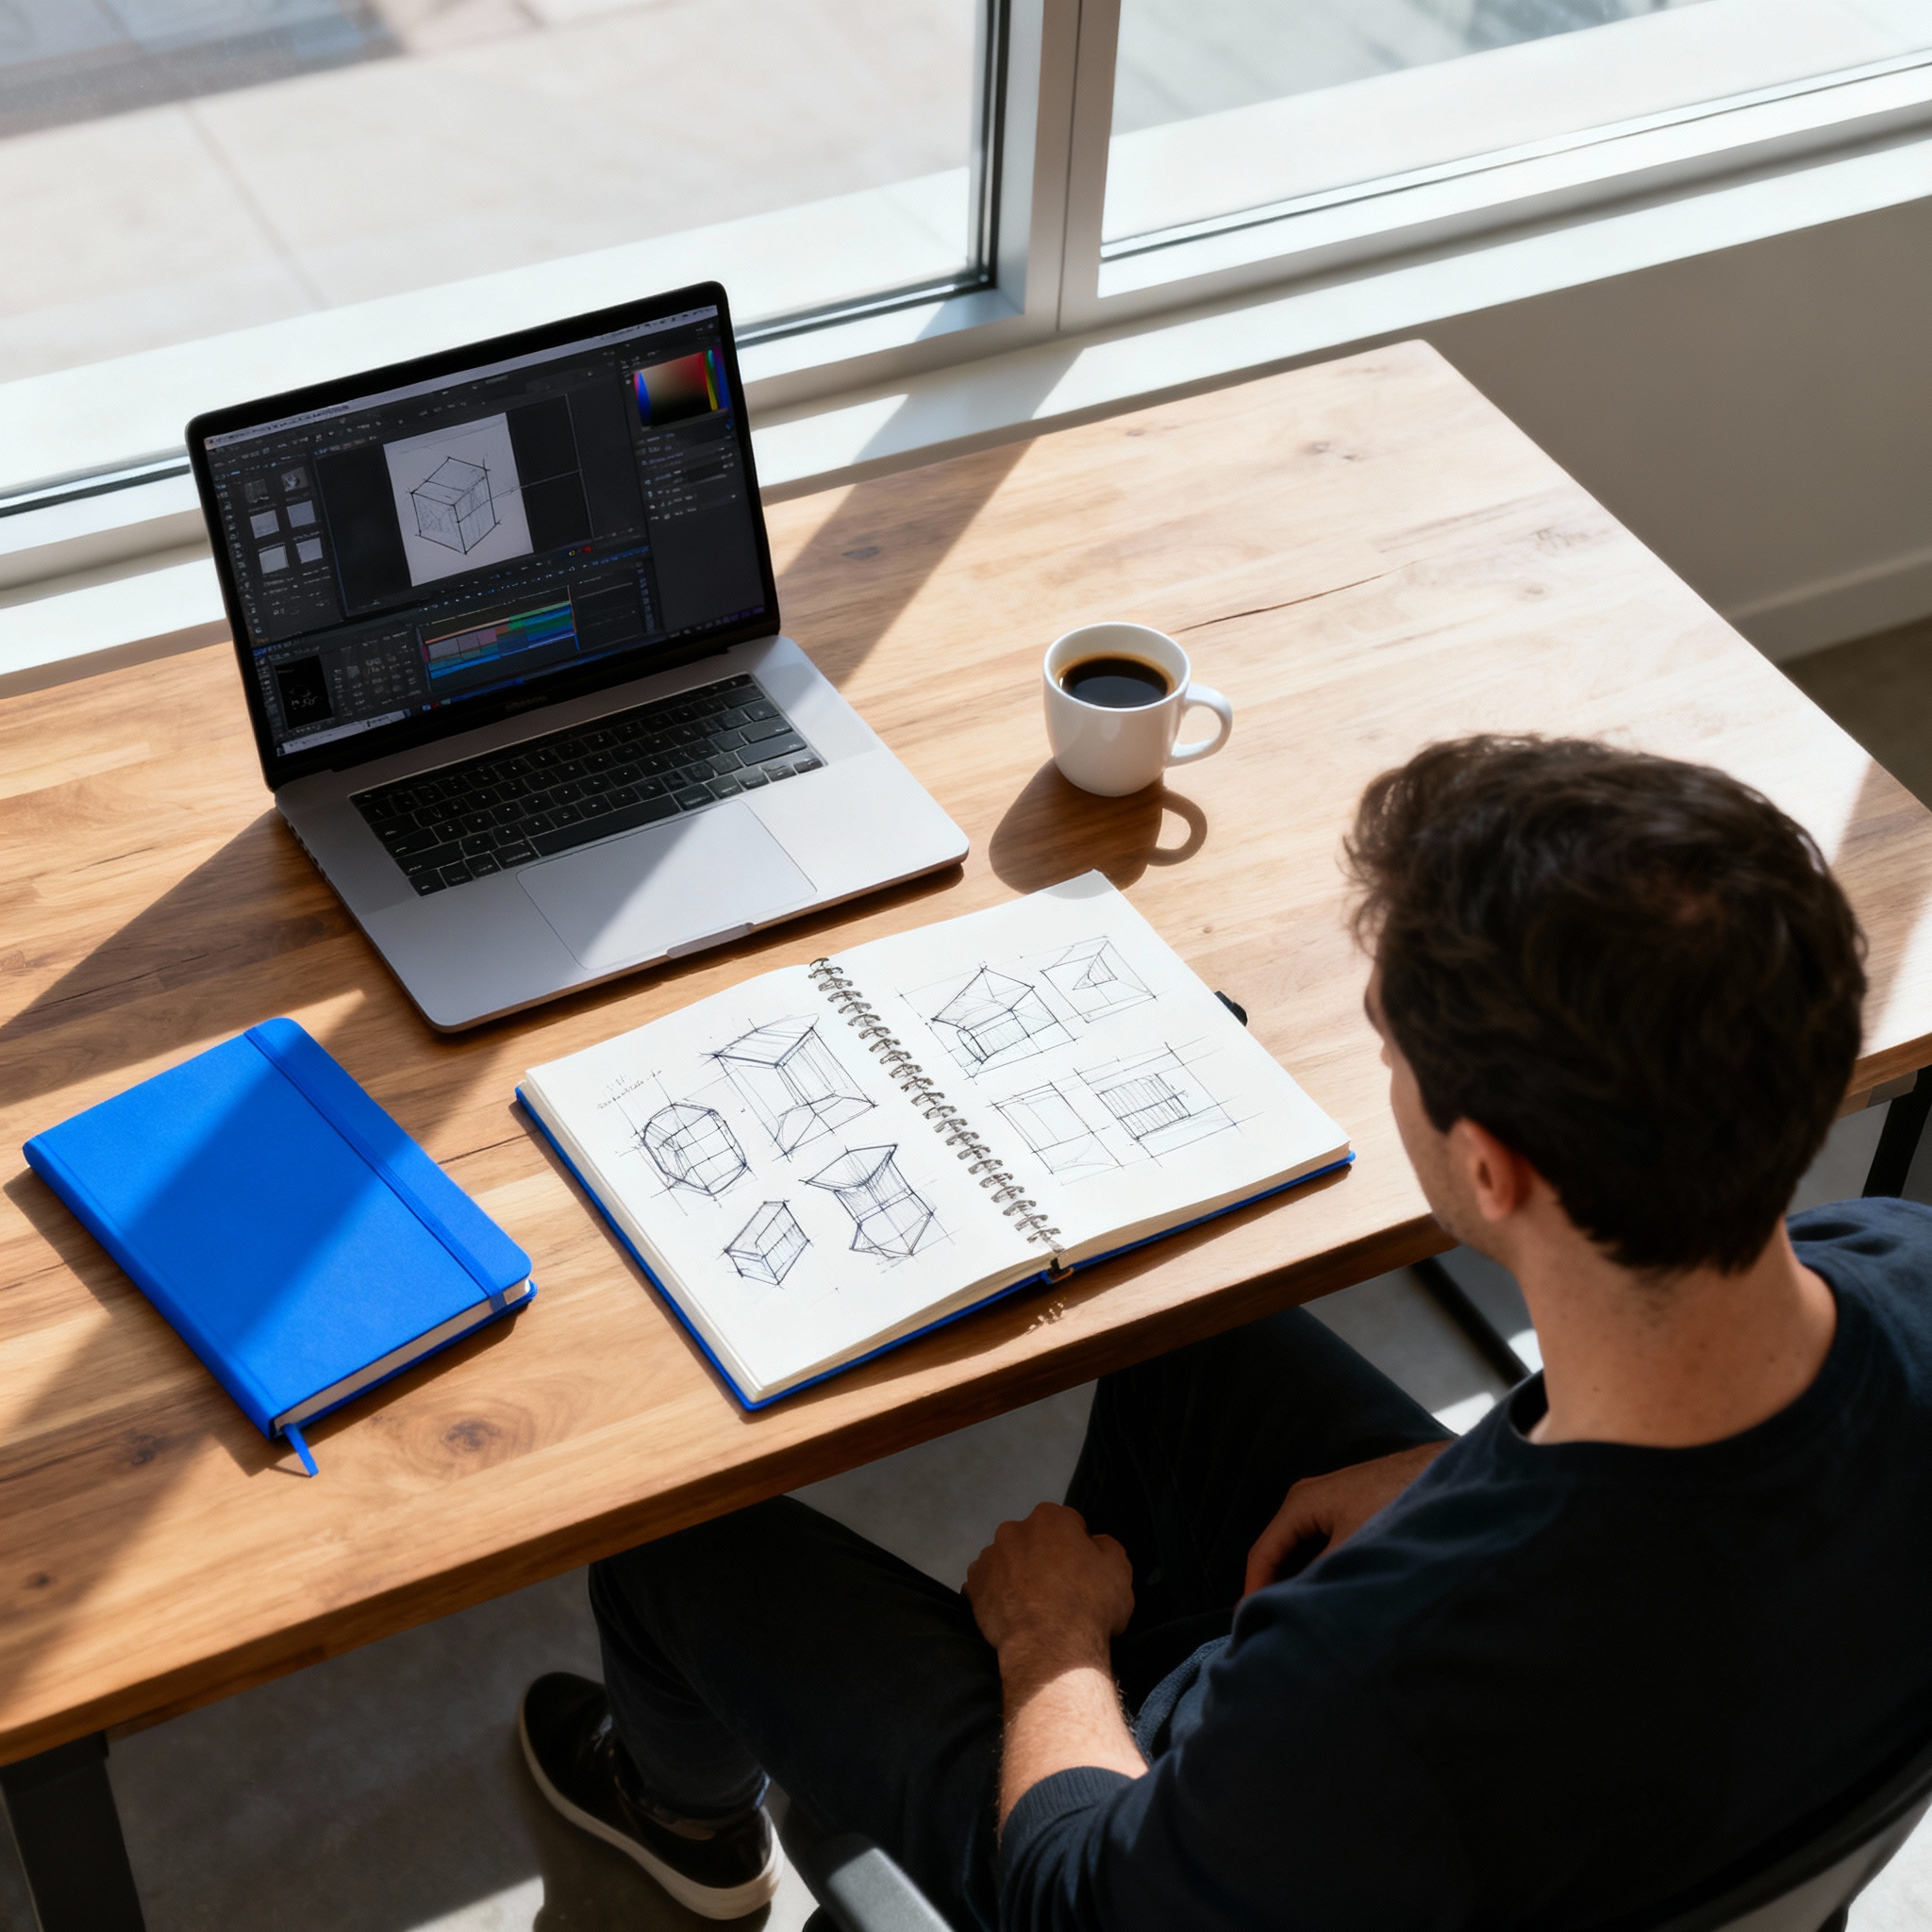
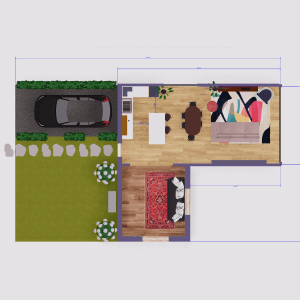
Importing images and plans is easy too. If I have a floor plan sketch or photo of a blueprint, I can import it into Arcadium as a reference. The image sits behind the scene, and I trace walls on top of it. I might photograph a room, then manually sketch its outline in Arcadium using that photo as a guide.
Alternatively, if a digital blueprint is available, Arcadium imports it directly (image or PDF) so I can add walls and furniture on top. In either case, I turn a 2D reference into an editable 3D model. This is the key to “turning a photo into a layout.” Arcadium gives me the tools to do the tracing and building quickly.
Check Out Our Tool
Transforming a Photo into a 3D Layout – Step by Step
Below is a practical workflow I follow when converting a room photo or sketch into a 3D design using Arcadium 3D:
-
Prepare the reference:
Start with your photo or sketch. If it’s a photo of an existing room, note visible walls, windows, doors and some key dimensions. It often helps to measure a few distances (like wall lengths or ceiling height). If you have a paper floor plan or a simple hand sketch, that works too.
-
Import or set up the plan:
In Arcadium, create a new project. If you have any floor plan image (photo or PDF), import it. This gives you a guide layer. If not, just proceed with an empty space.
-
Draw walls & openings:
Using Arcadium’s “Minecraft-like” controls, draw the room’s shape. I place walls in the grid to match the shape in the photo/sketch. Then I define door and window cutouts. (In Arcadium, you click on a wall and it automatically makes an opening for a door or window.) Adjust the wall lengths and heights precisely as needed. This step establishes the basic room geometry in 3D.
-
Add floors (base elements):
Use Arcadium’s floor tool to fill in the ground surface. If there are multiple levels, add floors for each. You can also add stairs or ramps if shown in the reference. Add a ceiling or roof if needed. Essentially, use basic shapes to reflect the structural elements you see in the photo (e.g. an interior balcony or atrium).
-
Place furniture & fixtures:
Use the object library to fill the space. The library has common furniture, appliances, and even plants. For example, drag a sofa, table, or lamp into the room. Resize or rotate items to match how they appear in the photo. If the photo shows a particular piece (say, a unique chair), try to find a similar model in the library. This step makes your 3D match the real room layout.
-
Check in 3D:
Switch to the 3D view (or first-person walkthrough). Walk around and look at the proportions. This helps verify that walls and furniture align as expected. For instance, I may notice if a piece of furniture seems too large or small from a client’s perspective.
-
Refine details:
At this point, you have a 3D model of the room. You can easily adjust anything: move walls, change dimensions, swap furniture, etc. The design is fully editable. Because Arcadium is user-friendly, I can also involve others: the 3D plan can be shared and edited by team members.
These steps turn the information in a photo into an editable 3D layout. I effectively use Arcadium as a digital tracing and modeling tool. Once the basic model is done, I can focus on making it look realistic using AI.
Leveraging Arcadium’s AI Room Designer
After building the layout, Arcadium 3D offers an
AI Room Designer
feature to bring the scene to life. Essentially, any view of your 3D model can be transformed into a polished image. Here’s how I use it in practice: I set the camera to the perspective I want (often matching the original photo’s angle). Then I click the AI tool. Arcadium takes the current scene and runs its AI generation.
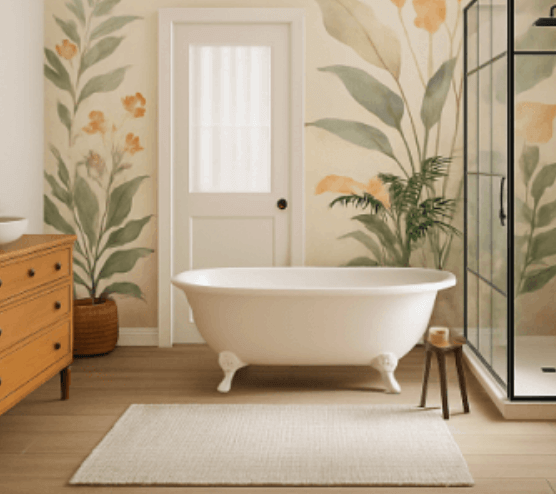
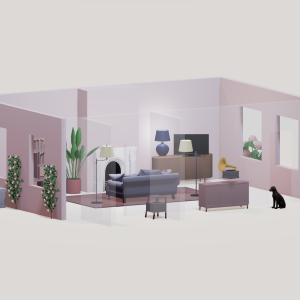
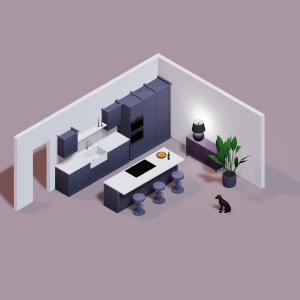
Arcadium provides options for room type and style. I select, for example, “Living Room” and choose a style (like Scandinavian, modern, or rustic). Arcadium also lets me enter a text prompt or upload a style reference image. For instance, I might type “include a navy blue sofa and abstract art on the wall” or upload a photo of an inspiration room. The AI tries to honor those instructions in the rendering. Once set, I hit generate.
Within a few moments, I get a rendered image of the room. The AI has filled in realistic textures, lighting plus materials based on the style. For example, it will decide wall paint color, floor texture, cushions, lamps, etc. If the style is “cozy rustic,” it might add wood beams and warm lighting; if “modern,” it chooses sleek finishes. I can even choose artistic options – Arcadium supports sketch and watercolor styles so I could show the room as a drawn or painted concept.
The AI output is not final until I’m satisfied. I use Arcadium’s refinement tools to tweak it. I can highlight an area of the image and re-generate that part if it’s not right. For example, if the AI placed a generic bed but the client has a particular antique bed, I upload a photo of that bed and the AI will replace it in the scene. I can also adjust colors or furniture choices by re-running the tool with different prompts. This iterative cycle (model → AI image → refine) lets me fine-tune the result without redrawing the 3D model.
Using the AI Room Designer, I transform my rough 3D layout into a realistic room image. Instead of a bland 3D screenshot, I get a near-photo. This helps in presentations: clients see the design as if it were real. The AI feature is especially useful to quickly visualize options. For instance, I can render the same layout with light walls vs. dark walls by just clicking different style presets. Without costly manual rendering, I get instant, high-quality visuals.
Collaboration & Sharing
Arcadium 3D also makes it simple to share and review the design. Every project can be shared via a link. I just copy the URL and send it to a client or collaborator. They open it in any browser (no install required) and can view the 3D model. They can walk through the space, pan the camera, and see both 2D plan and 3D view. The viewer can rotate the camera, including taking a virtual tour, and even leave comments. This instant link-sharing is more efficient than emailing files.
Because Arcadium is cloud-based, updates appear live. If I move a couch and save, the shared link immediately shows the new arrangement. This helps with feedback. For example, after generating a quick AI render of the photo-based layout, I might ask the client’s opinion.
They can click the link, see the design, and comment: “Could we try a brighter rug?” Then I edit the model on the spot and regenerate the image. The seamless link-sharing plus AI visualizations accelerates decisions. All stakeholders stay in sync without version confusion.
Key Advantages of Arcadium 3D
-
Browser-based & Free:
No downloads or licenses needed. Arcadium runs on devices with internet access, so I can design on any computer or even a tablet. This convenience means I can work from anywhere immediately.
-
Beginner-friendly:
The controls are intuitive. It’s possible to start by dragging walls and dropping furniture without training. Tutorials and an uncluttered layout make it easy to learn. Arcadium’s team emphasizes that it’s designed for users of all skill levels. Even a homeowner with no modeling experience can pick it up and produce a room design.
-
Rich Object Library:
The built-in library has hundreds of scaled models: sofas, lamps, appliances, and even plants. This means I don’t have to model common items myself. I simply select and customize them. It saves huge time on furnishing.
-
Fast Layout Controls:
Arcadium’s layout tools are streamlined – described as “as easy as Minecraft”. Walls automatically align to the grid. Adding a door or window cutout is a click. These shortcuts speed up the drafting stage.
-
Powerful AI Visualization:
The AI Room Designer adds photorealism or styles in minutes. This transforms a simple 3D sketch into a finished-look image. I can show clients a high-quality render without hours of rendering time.
-
Effortless Sharing:
I can share the project link and anyone can explore the space on their own. This collaborative feature makes reviews efficient. Clients or teammates can view and even edit if I grant permission.
-
Rapid Iteration:
Because everything is quick to adjust (drag walls, swap objects) and the AI updates fast, I can try many ideas in one session. This agility was hard to achieve with older CAD workflows.
Each feature supports one goal: making interior design accessible and efficient. Arcadium combines ease-of-use with smart tech. The real-time model editing paired with AI visuals means I spend less time on technical work and more on creativity.
Any Designer Can Do It
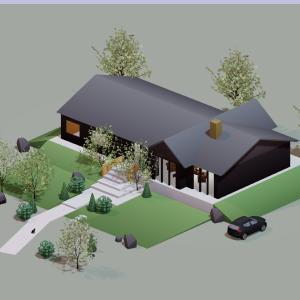
With Arcadium 3D, turning a photo into a 3D room design is within reach of anyone. You don’t need to be a CAD expert. By following the practical steps above, a homeowner or designer can take a photo of their living room and recreate it virtually.
This software’s intuitive drawing tools and AI image generator bridge the gap between simple ideas and compelling visualizations. Arcadium’s platform literally democratizes interior design.
In summary, the workflow is straightforward: use a photo as a guide to sketch the room in Arcadium, then refine and render with AI. Each step is supported by Arcadium’s design features and smart automation.
The result is a fully realized 3D layout and realistic images that help clients and designers make decisions with confidence. With Arcadium’s AI room designer tools, the transformation from a simple photo to a polished 3D design is no longer a complex barrier but an accessible reality.
Check Out Our Tool


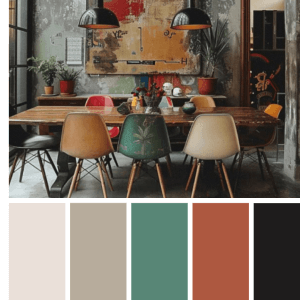 Color palette generator
 Floor plan creator
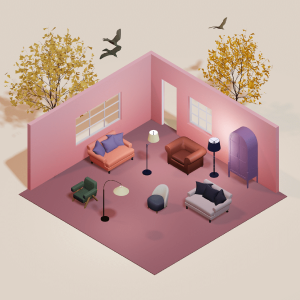
 Interior design app
 Kitchen design tool
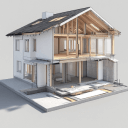
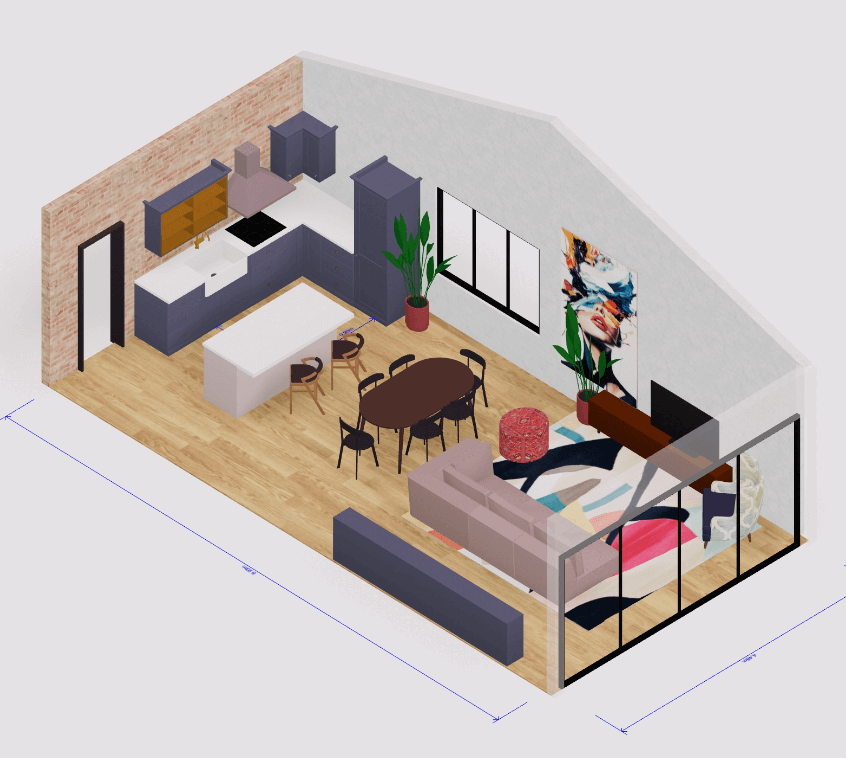
 House design software
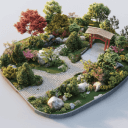
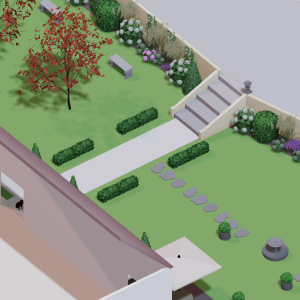 Landscape design software
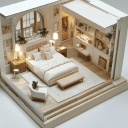
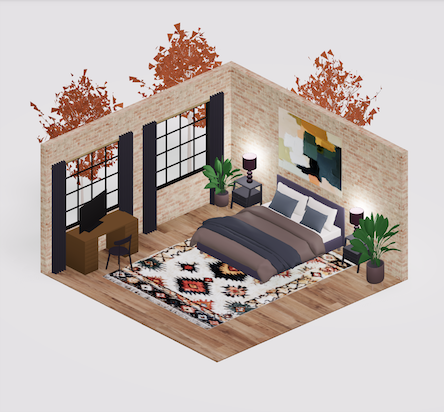
 Bedroom design
 Office floor plan creator
 How to use Arcadium — full guide
 3D object library - free
 Articles and blog