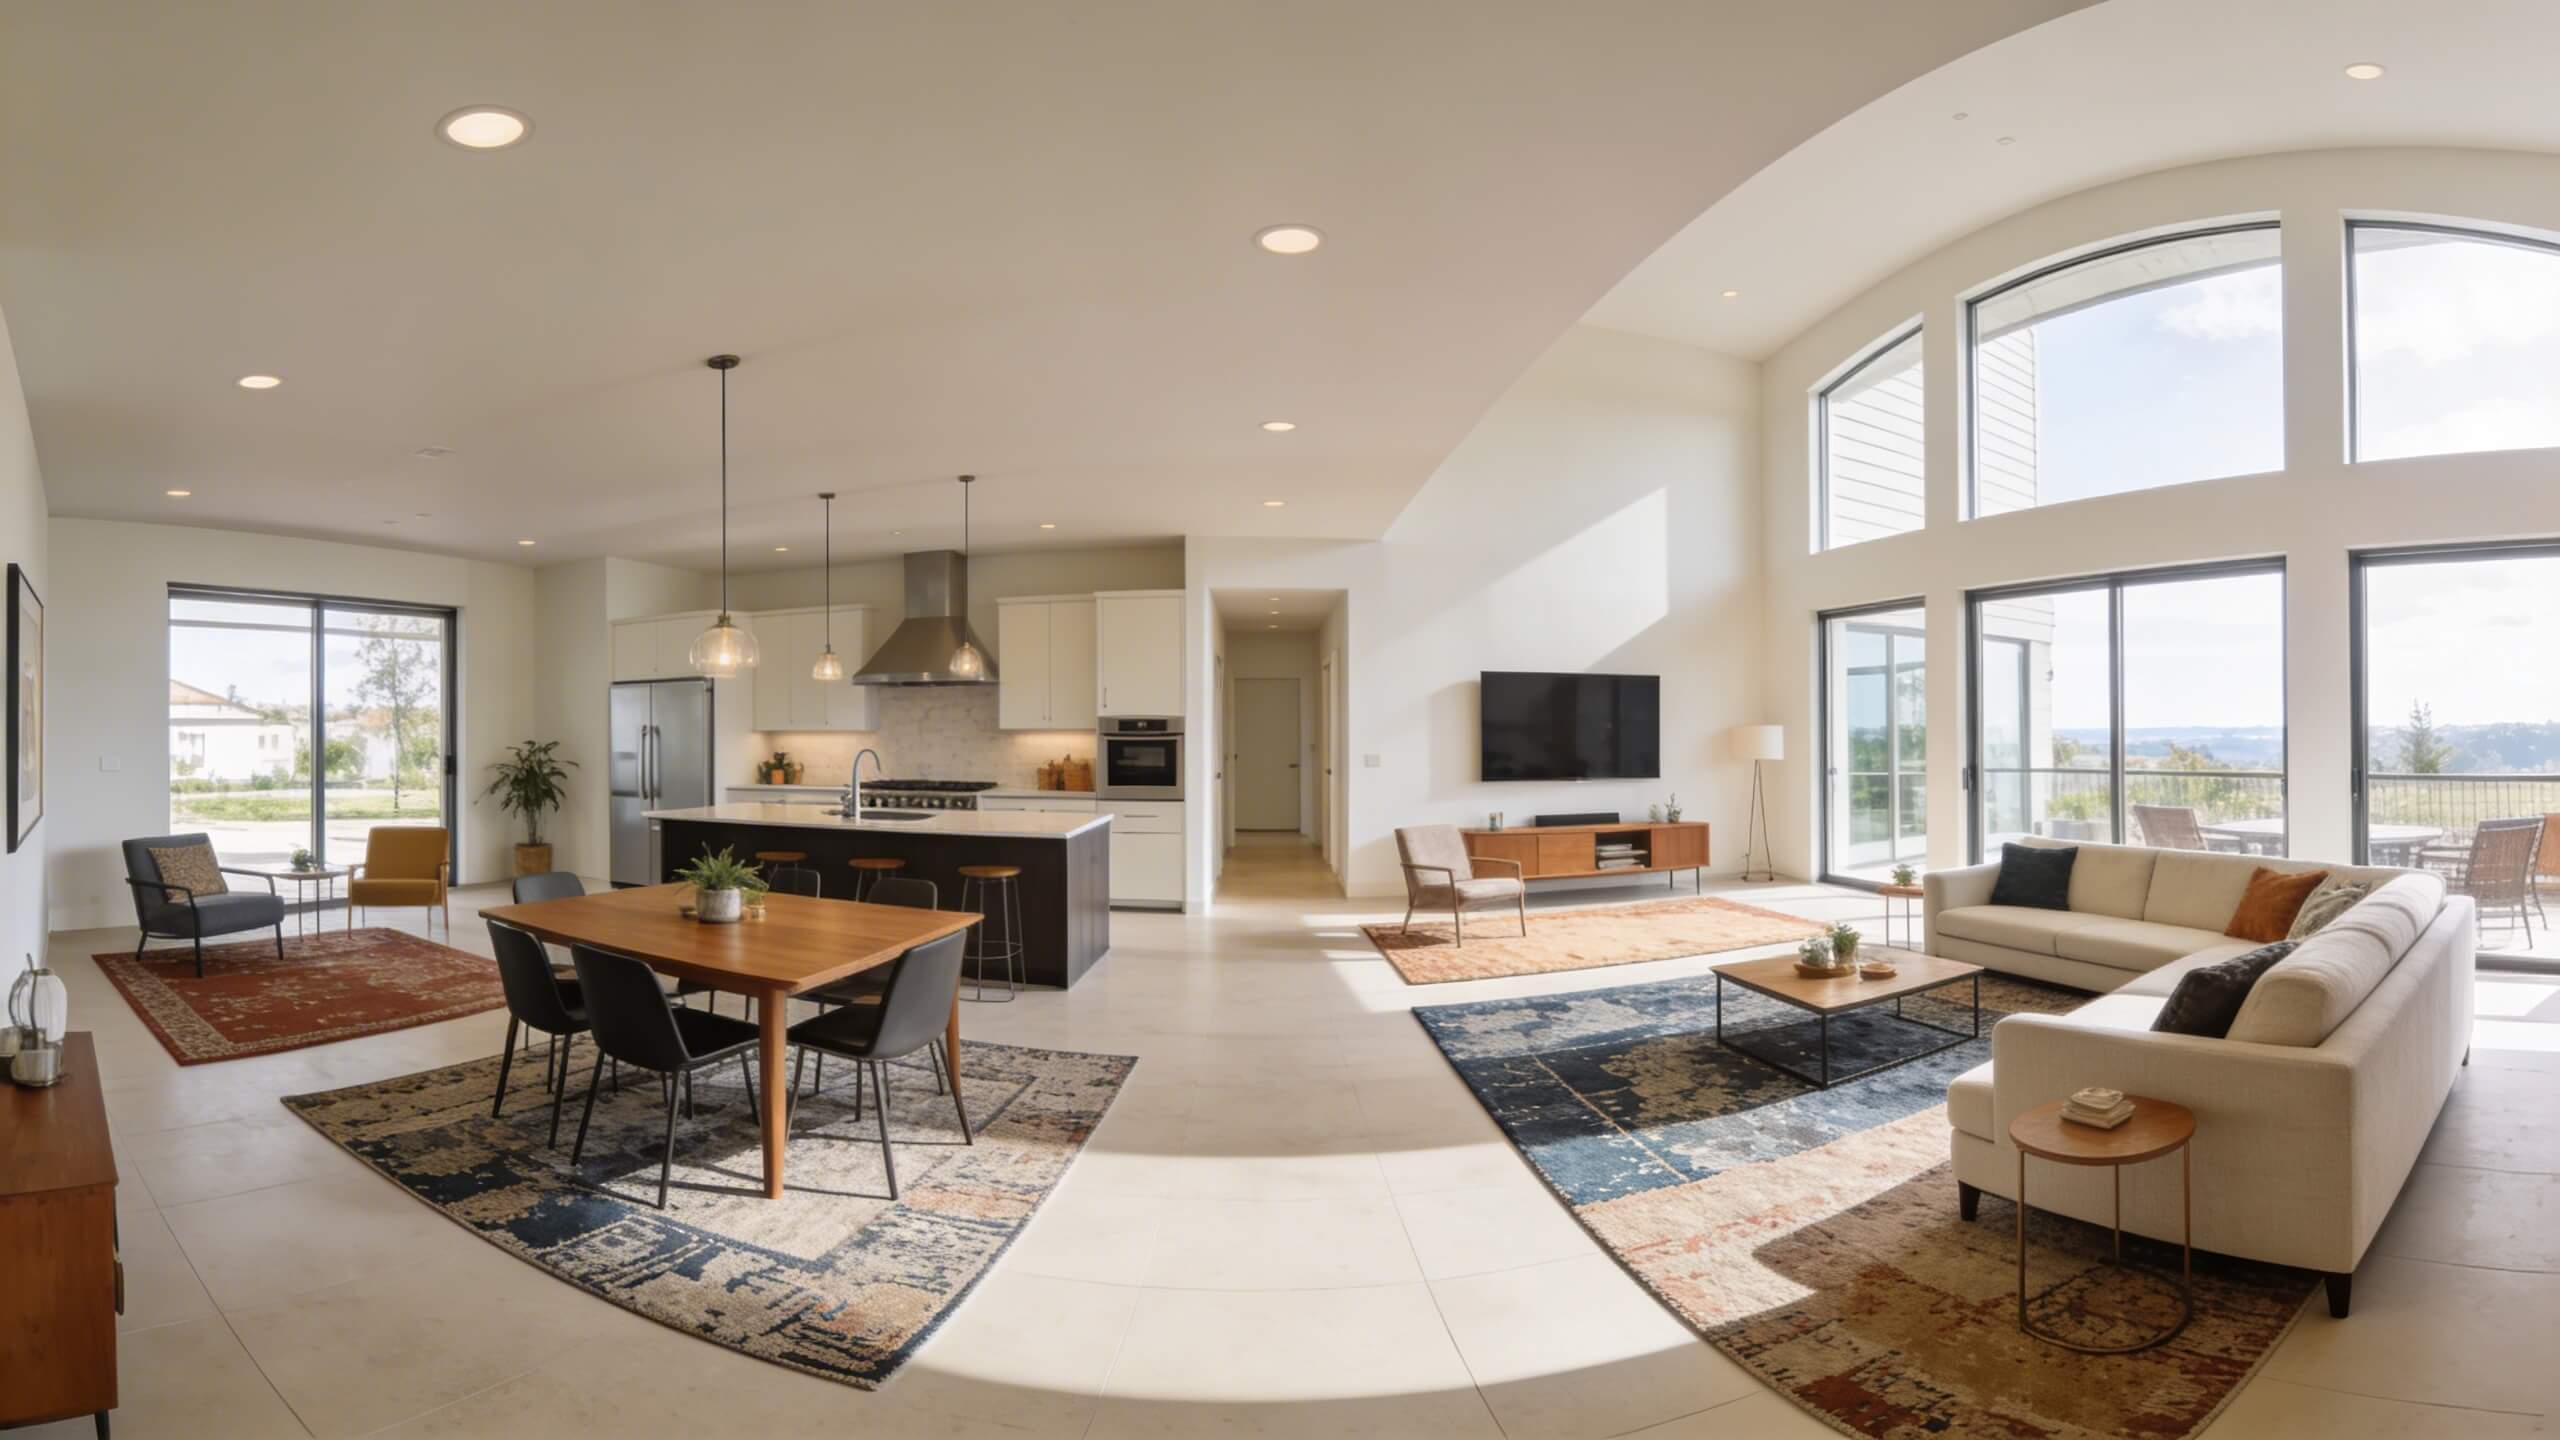
Open floor plans have become the standard in modern home design. Combining the kitchen, dining area, and living room into one continuous space creates a sense of openness that traditional separated rooms simply cannot match. More natural light flows through, conversations carry easily between zones, and even modest homes feel significantly more spacious.
But designing an open floor plan that actually works is a different challenge from simply removing walls. Without clear zones, thoughtful furniture placement, and a cohesive visual strategy, an open layout can quickly feel chaotic, empty, or disconnected. Many homeowners assume they need a professional interior designer to get it right. That is not the case.
With the right approach and the right tools, you can plan a functional, well zoned open floor plan layout entirely on your own. This guide covers everything you need: from measuring and zoning your space to choosing furniture, layering lighting, and creating visual flow. Each section gives you the practical steps to design a layout that looks intentional, feels comfortable, and works for your daily life.
Start with your room measurements and a floor Plan
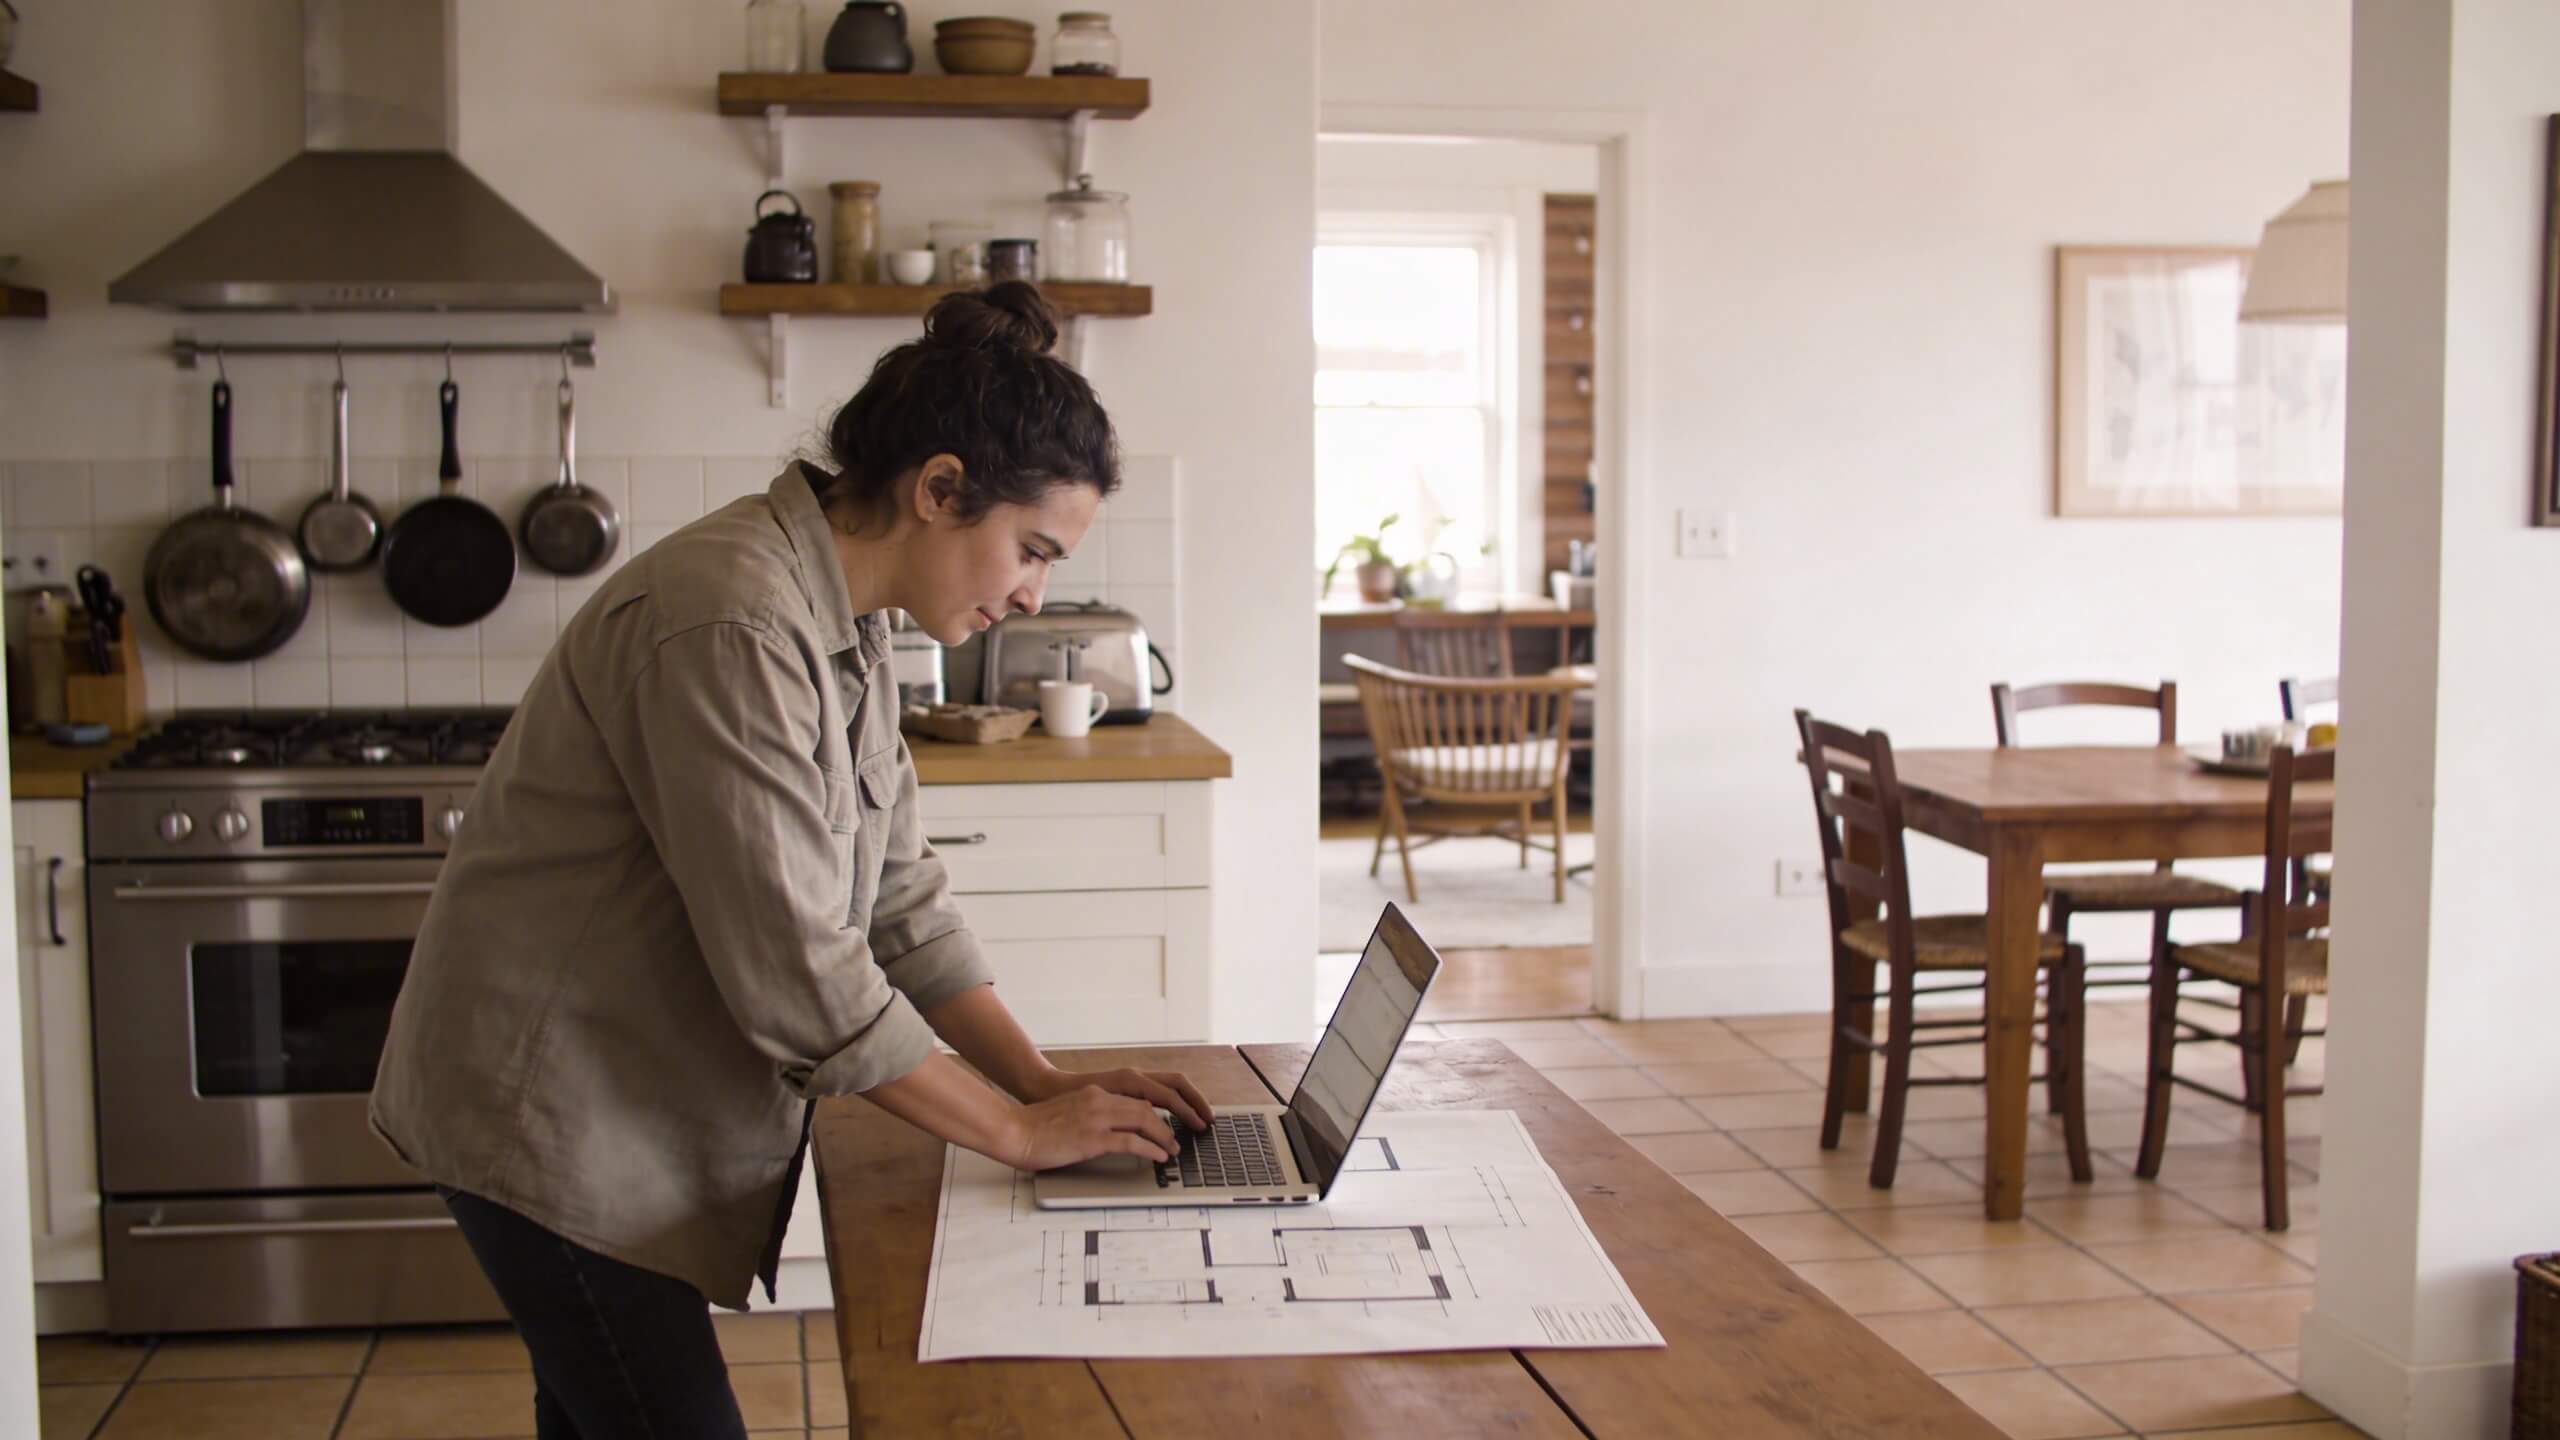
Every successful open floor plan starts with accurate measurements. Before you think about furniture, colors, or decor, you need to know exactly what you are working with. Measure the full length and width of the open space. Note the positions of all doors, windows, electrical outlets, and any fixed features like fireplaces, columns, or built in shelving.
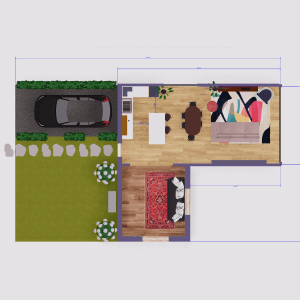
Sketch these measurements on paper or, for a more accurate and flexible approach, use a digital floor plan tool. A 3D planning platform lets you build your space to scale, test layouts virtually, and see how everything fits from multiple angles before committing to any arrangement.
If you want to design a room online for free without downloading software, browser based tools like Arcadium 3D let you create a scaled floor plan, drop in furniture, and visualize the layout in 3D directly from your browser. This eliminates the guesswork that causes most open floor plan mistakes.
Having a digital floor plan also makes it easy to share your layout with a partner, roommate, or family member by sending a simple URL. Everyone can see the same design and offer input before you move a single piece of furniture.
Define your zones before placing any furniture
The biggest mistake in open floor plan design is treating the entire space as one undivided room. Without defined zones, the space feels aimless and uncomfortable. People walk in and do not know where to sit, eat, or relax. Furniture ends up scattered without purpose.
Before you place anything, identify the functional zones your space needs. In a typical open layout, this includes a cooking zone (kitchen), an eating zone (dining area), and a relaxation zone (living room). Depending on your lifestyle, you might also need a work from home zone, a reading nook, or a kids' play area.
Assign each zone a rough footprint within your floor plan. Think about which activities happen most frequently and which zones need to be closest to each other. The kitchen and dining area should connect naturally, while the living room can sit slightly further away. A work area works best near a window for natural light but away from the main traffic path.
Defining zones first gives your layout purpose. Every furniture choice and placement decision that follows will serve a specific function rather than filling empty space randomly.
Use furniture placement to create boundaries
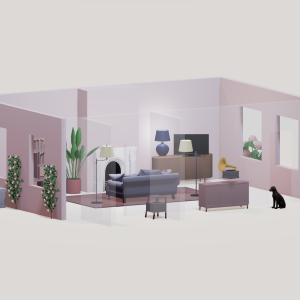
In an open floor plan, furniture replaces walls as the primary space divider. How you position your sofa, dining table, and shelving determines where one zone ends and another begins. This is where most DIY designers make their biggest gains.
The most effective technique is floating your furniture. Instead of pushing the sofa against a wall, position it with its back facing the dining area or kitchen. This immediately creates a visual boundary between the living and eating zones. Place a console table behind the sofa to reinforce that boundary and add surface area for lamps or decor.
Low bookshelves and open shelving units work as dividers without blocking light or sight lines. A waist height bookshelf between the living and dining area separates the zones while still allowing you to see across the entire space. This preserves the openness that makes the floor plan appealing in the first place.
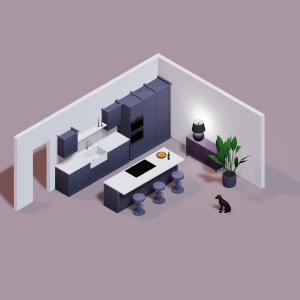
A kitchen island or peninsula is one of the strongest zone markers in an open layout. It creates a clear transition between the cooking area and the rest of the space while adding counter surface for prep work or casual dining. If your kitchen does not have a built-in island, a freestanding butcher block or cart achieves a similar effect.
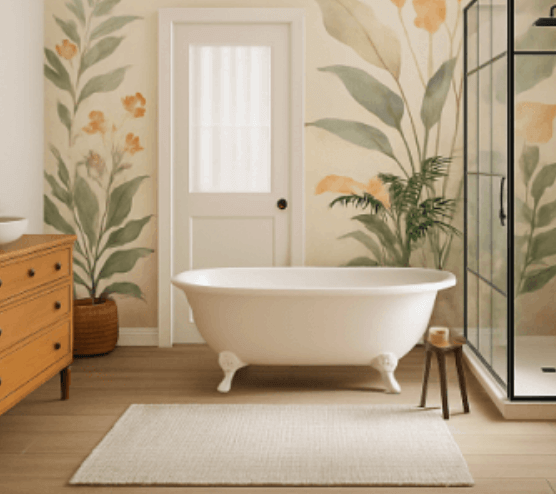
Anchor each zone with area rugs
Rugs are one of the simplest and most effective zoning tools available. A well placed area rug visually grounds a seating group and tells the eye exactly where one zone starts and stops. Without rugs, an open floor plan with uniform flooring can feel like one endless, undefined surface.
Place a large rug under your living room furniture so that at least the front legs of the sofa and chairs rest on it. This anchors the seating group into a cohesive unit. In the dining area, choose a rug large enough that all chairs remain on it even when pulled out for sitting. This prevents the scraping of legs on bare floor and clearly marks the dining zone.
If you use multiple rugs across the open space, coordinate their colors or patterns. They do not need to match exactly, but they should share a color family or visual weight. Clashing rugs create visual chaos that makes the space feel disjointed rather than deliberately zoned.
The flooring visible between the rugs acts as natural negative space, creating subtle visual breaks between zones without any physical barriers.
Layer your lighting to define each area
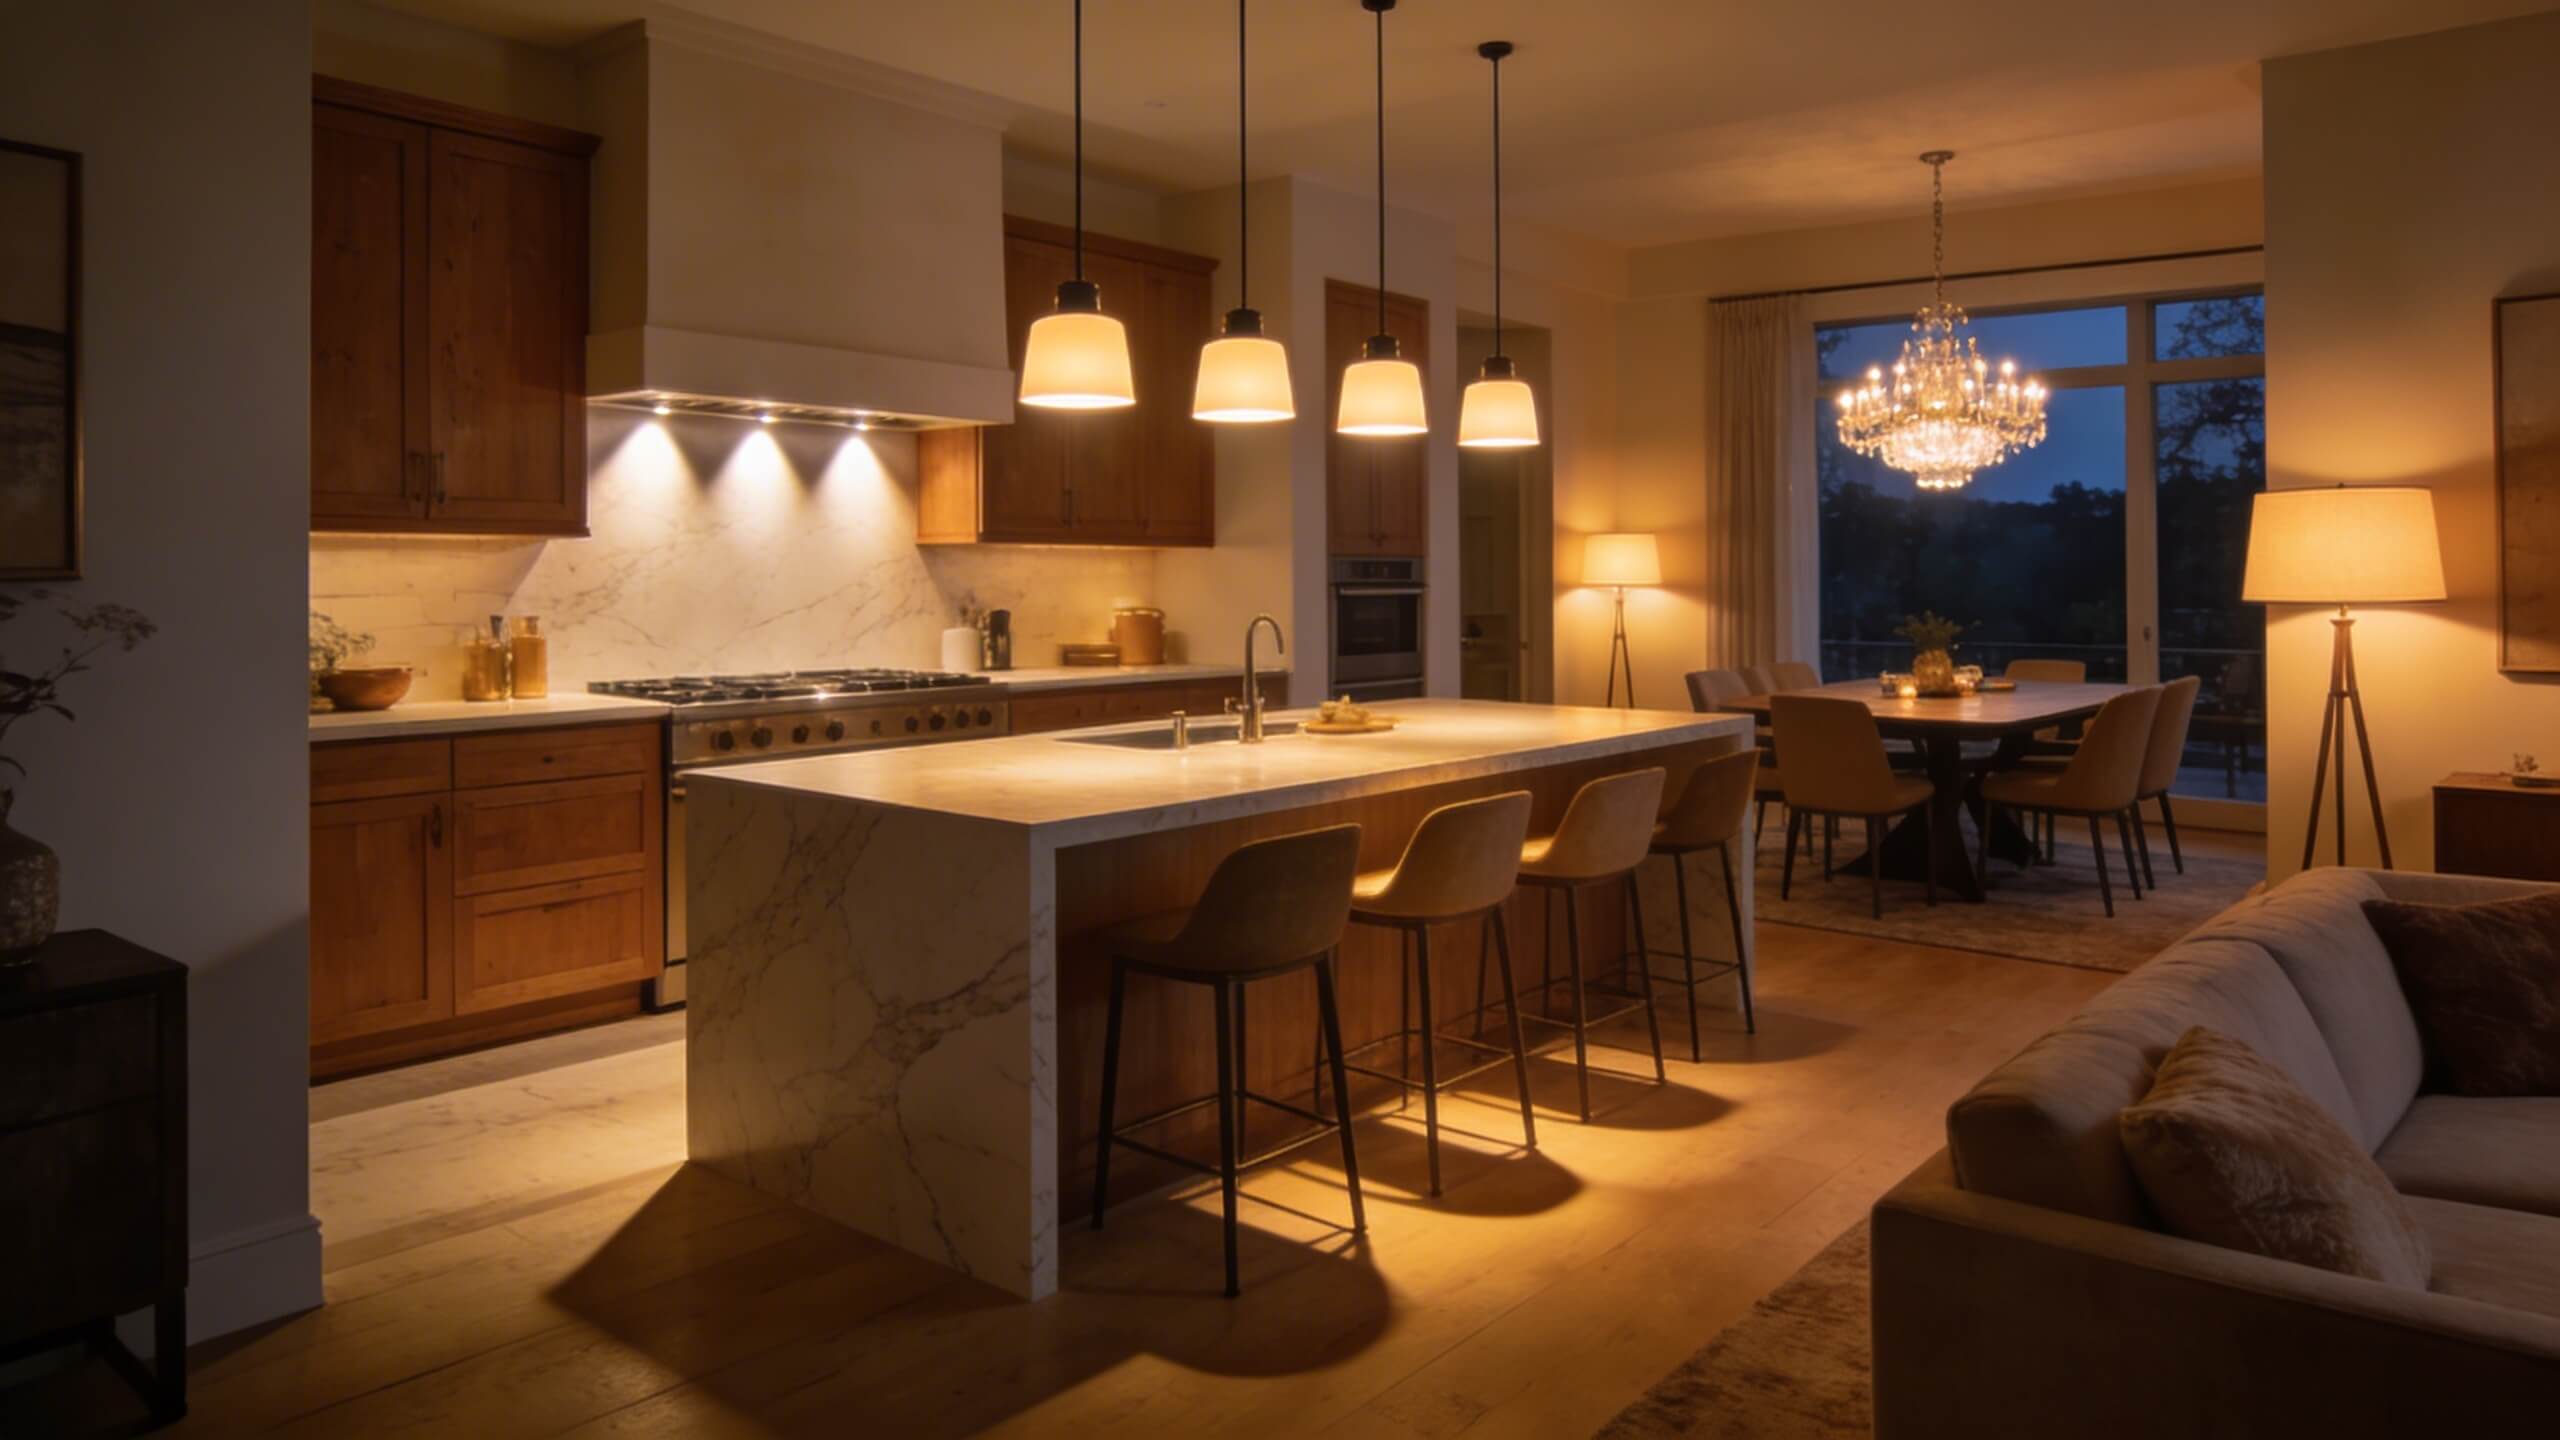
Lighting is one of the most underused tools in open floor plan design. A single overhead fixture cannot properly serve a kitchen, dining area, and living room simultaneously. It flattens the entire space into one uniform wash of light and removes any sense of distinct zones.
Each zone needs its own lighting layer. Over the dining table, hang a pendant light or chandelier. This creates a visual anchor point that draws the eye and clearly marks the eating area. In the living room, combine a floor lamp near the seating group with table lamps on side tables. This creates warm pools of light that feel intimate and separate from the brighter kitchen lighting.
For the kitchen zone, task lighting under cabinets and recessed ceiling lights provide functional brightness for cooking. If you have a kitchen island, a pair of pendant lights above it reinforces the island as a focal point and zone boundary.
Install dimmer switches wherever possible. The ability to adjust brightness zone by zone lets you control the mood of each area independently. Bright cooking light in the kitchen, soft ambient glow in the living room, and a warm spotlight over the dining table can all exist at the same time, making the open space feel like it contains multiple rooms with unique atmospheres.
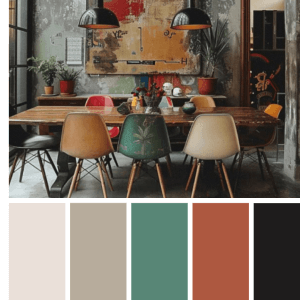
Maintain a cohesive color palette across zones
One of the fastest ways to make an open floor plan feel chaotic is by using drastically different color schemes in each zone. When the kitchen is stark white, the dining area is deep navy, and the living room is painted sage green with no visual connection between them, the space reads as three disconnected rooms forced into one area.
Choose a base color that flows through the entire open space. This is typically a neutral: soft white, warm gray, or light beige. Then introduce two or three accent colors that appear in smaller doses across different zones. A navy throw pillow in the living room, navy placemats in the dining area, and a navy canister on the kitchen counter create a thread that ties the whole space together.
You can still differentiate zones with color. An accent wall behind the living room seating or a different backsplash material in the kitchen creates visual interest without breaking the cohesive flow. The key is variation within a unified palette, not entirely separate color schemes for each zone.
Repeating materials also helps. If you use brass hardware in the kitchen, bring in brass accents in the living room lamp or the dining room light fixture. This material repetition creates a visual rhythm that makes the open floor plan feel intentionally designed rather than accidentally assembled.
Plan your traffic flow for comfort and function
Traffic flow is one of the first things professional designers plan in an open layout, and it is often the last thing homeowners consider. Poor traffic flow turns a beautiful open floor plan into an obstacle course where you constantly sidestep furniture to get from the kitchen to the living room.
Map the primary paths people take through the space. The route from the main entrance to the kitchen, from the kitchen to the dining table, and from the seating area to the hallway should all be clear and uninterrupted. Aim for at least 36 inches of clearance for main walkways and 24 inches for secondary paths between furniture pieces.
Avoid placing furniture in the direct line between the kitchen and dining area. This connection gets used dozens of times a day, and any obstruction feels magnified in daily life. Position the dining table so chairs can be pulled out without blocking a walkway. Make sure the coffee table does not sit in the path between the sofa and the kitchen.
Good sight lines matter as much as walking paths. When you can see from the kitchen to the living room without visual obstructions, the space feels connected and larger. Tall furniture or large objects placed in the middle of the floor plan break these sight lines and fragment the sense of openness.
Choose furniture that fits the scale of your space
Furniture scale determines whether your open floor plan feels balanced or overwhelming. A massive L shaped sectional might fill the living zone nicely but could eat into the dining area and crowd the entire layout. On the other end, furniture that is too small leaves the space feeling sparse and under furnished.
Measure each zone and plan furniture dimensions before you shop. Your sofa should occupy about two thirds of the wall it faces or the zone it anchors. The dining table should fit the dining zone with enough room for chairs to be pulled out and for people to walk behind seated guests.
In smaller open layouts, choose furniture with visible legs. Sofas, chairs, and tables that show the floor beneath them create a lighter visual footprint and make the space feel less crowded. Avoid bulky, floor hugging pieces with heavy bases that visually compress the room.
Multi functional furniture works especially well in open floor plans. A dining table that doubles as a work surface, a storage ottoman that serves as both seating and hidden storage, or a console table behind the sofa that acts as a display surface and zone divider all help you get more function from less furniture.
Handle noise and acoustics in your open space
One challenge that catches many open floor plan owners off guard is noise. Without walls to absorb and block sound, conversations, TV audio, kitchen appliances, and music all blend into a single soundscape that can feel overwhelming during busy evenings.
Soft surfaces absorb sound. Area rugs on hard flooring, upholstered furniture instead of hard chairs, and fabric curtains on windows all reduce echo and noise travel. If your open space has mostly hard surfaces like tile, concrete, or hardwood, adding these soft elements makes a meaningful difference.
Strategic placement helps too. Position the living room seating away from the kitchen to create physical distance between the loudest activity zone (cooking and dishwashing) and the zone where people want to relax or watch television. A bookshelf or tall plant between the kitchen and living area can act as a partial sound buffer.
For dedicated quiet zones like a reading nook or home office within the open plan, consider lightweight room dividers, tall plants, or even decorative acoustic panels. These elements signal a boundary and absorb enough noise to make focused work or quiet reading comfortable.
Maximize natural light across the entire space
One of the greatest advantages of an open floor plan is the ability for natural light to travel uninterrupted from windows deep into the interior. Walls no longer block sunlight, so a window on one side of the home can illuminate areas that would otherwise be dark in a traditional layout.
To take full advantage of this, keep the space between windows and the interior as open as possible. Avoid placing tall cabinets, large bookcases, or bulky furniture directly in front of windows. Use sheer curtains or blinds that filter light without blocking it entirely.
Mirrors strategically placed across from windows bounce light deeper into the space and create the perception of additional depth. A large mirror on the wall opposite your main window effectively doubles the daylight entering that portion of the room.
Where natural light is limited, supplement with warm artificial lighting that mimics the same color temperature as daylight during morning and afternoon hours. This keeps the space feeling bright and open even on overcast days. Smart bulbs that adjust temperature throughout the day offer the most natural lighting experience.
Add storage without cluttering the open layout
Open floor plans put everything on display. There are no spare rooms or closed hallways to hide everyday clutter. Without a smart storage strategy, the open layout becomes a magnet for visual noise that makes the space feel messy and smaller than it should.
Build storage into your zone boundaries. A kitchen island with cabinets underneath stores cookware while serving as a zone divider. A console table behind the sofa can hold baskets underneath for blankets and remotes. A bench at the dining table provides seating and hidden compartment storage.
Use closed storage wherever possible. Open shelving looks great in design magazines, but in daily life it collects dust and displays clutter. Cabinets with doors, storage ottomans, and built in shelving with basket inserts keep everyday items accessible but hidden from view.
The rule of thumb for open layouts: if an item does not contribute to the visual design of the space, it should have a storage home that keeps it out of sight. This discipline keeps the open floor plan looking clean and intentional.
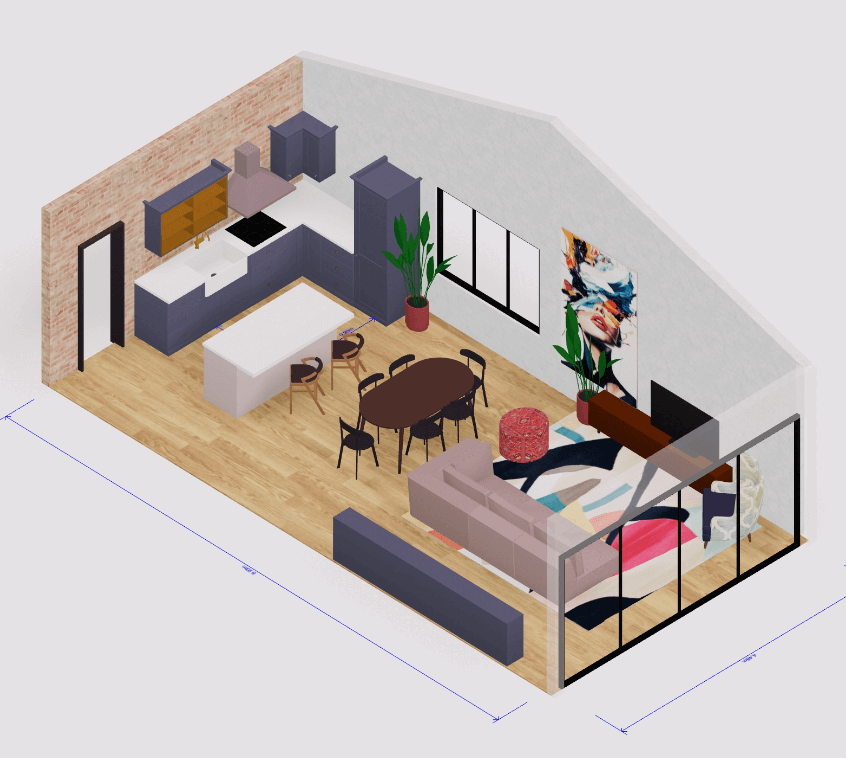
Test your layout in 3D before committing
The most common regret among homeowners who design their own open floor plan is buying furniture or making changes based on assumptions rather than verified measurements and spatial relationships. What looks great in your imagination might not work when the sofa arrives and blocks the path to the kitchen.
This is where digital planning tools become invaluable. Arcadium 3D lets you build an accurate floor plan of your open space, place furniture in 3D, and walk through the layout virtually. You can test different sofa positions, rug placements, and dining table orientations in minutes rather than hours of physical rearranging. The platform runs entirely in your browser with no downloads, and you can share your layout instantly via URL with anyone whose opinion you trust.
Testing in 3D also helps you catch flow problems, scale mismatches, and lighting blind spots before they become expensive mistakes. You can experiment freely with zone sizes, furniture configurations, and traffic paths until everything feels balanced. This is the same process professional designers follow, and it is now available to anyone with a web browser.
Frequently asked questions
Can I design an open floor plan without any professional help?
Yes. With accurate measurements, a clear understanding of zoning, and a 3D planning tool, you can design a fully functional open layout on your own. Professional designers use the same fundamental principles covered in this guide.
What is the best way to separate zones in an open floor plan?
Furniture placement, area rugs, and layered lighting are the three most effective methods. A sofa positioned with its back to the dining area, combined with a rug anchoring the seating group and a pendant light over the dining table, creates clear zones without any physical walls.
How do I prevent my open floor plan from feeling empty?
Define each zone with properly scaled furniture and anchor them with rugs. Add layered lighting and maintain a cohesive color palette. An open layout feels empty when zones are undefined or furniture is too small for the space.
What is the ideal walkway width in an open layout?
Primary walkways between zones should be at least 36 inches wide. Secondary paths between furniture pieces should be at least 24 inches. Anything narrower creates a cramped, congested feeling.
How do I deal with noise in an open floor plan?
Add soft surfaces like rugs, upholstered furniture, and fabric curtains to absorb sound. Position the living area away from the kitchen and use bookshelves or tall plants as partial sound barriers between zones.
Do I need the same flooring throughout an open floor plan?
Consistent flooring creates the strongest visual flow. If you mix materials, like tile in the kitchen and hardwood in the living area, use rugs and furniture placement to make the transition feel intentional rather than abrupt.
How can I visualize my open floor plan before moving furniture?
Use a browser based 3D room design tool like Arcadium 3D. Build your space to scale, add furniture, and explore the layout from every angle. This lets you test and refine your design digitally before making any physical changes.


 Color palette generator
 Floor plan creator
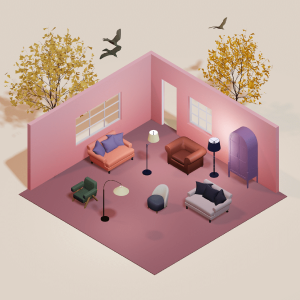
 Interior design app
 Kitchen design tool
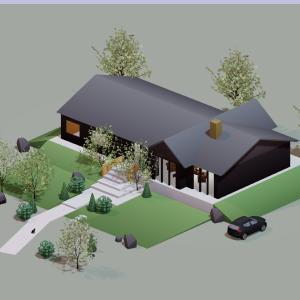 House design software
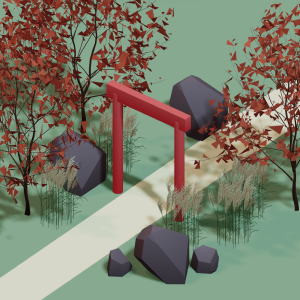
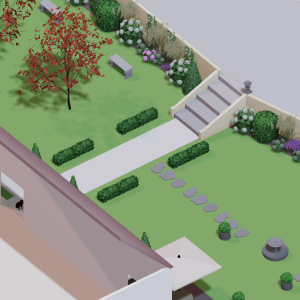 Landscape design software
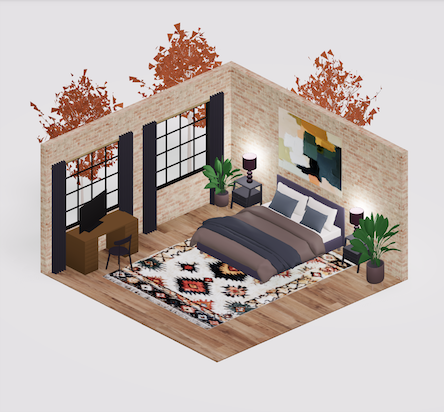
 Bedroom design
 Office floor plan creator
 How to use Arcadium — full guide
 3D object library - free
 Articles and blog