Every home project starts with a floor plan, whether you realize it or not. Rearranging furniture, planning a renovation, listing your home for sale, or simply understanding how your rooms connect all require a clear, scaled view of your space from above.
The problem is that most people assume floor plans require professional software, architecture training, or money. None of that is true anymore. Free online tools now let anyone create an accurate floor plan of their home in under an hour.
You measure your rooms, draw walls, place doors and windows, and produce a clean 2D layout that can be converted into a 3D walkthrough. This guide walks you through the entire process from first measurement to finished plan, with no design experience required.
What a floor plan is and why you need one
A floor plan is a scaled 2D drawing that shows your home's layout from a bird's eye view. It includes walls, doors, windows, room dimensions, and the relationship between spaces. Think of it as a map of your home that shows exactly how rooms connect, where openings are, and how much space each area occupies.
You need a floor plan for more situations than most people realize. Furniture shopping becomes more accurate when you know the exact dimensions of a room and can check whether a sofa fits before ordering it.
Renovation planning requires a baseline drawing that shows what exists before you start changing anything. Real estate listings with floor plans receive significantly more engagement than those without, because buyers want to understand the layout before scheduling a showing.
Even simple tasks like rearranging a living room benefit from a floor plan. Moving heavy furniture across a room to test a new arrangement takes an hour and a sore back. Moving furniture icons on a digital floor plan takes 30 seconds and zero physical effort. The floor plan lets you test every option on screen and commit only to the arrangement that works best.
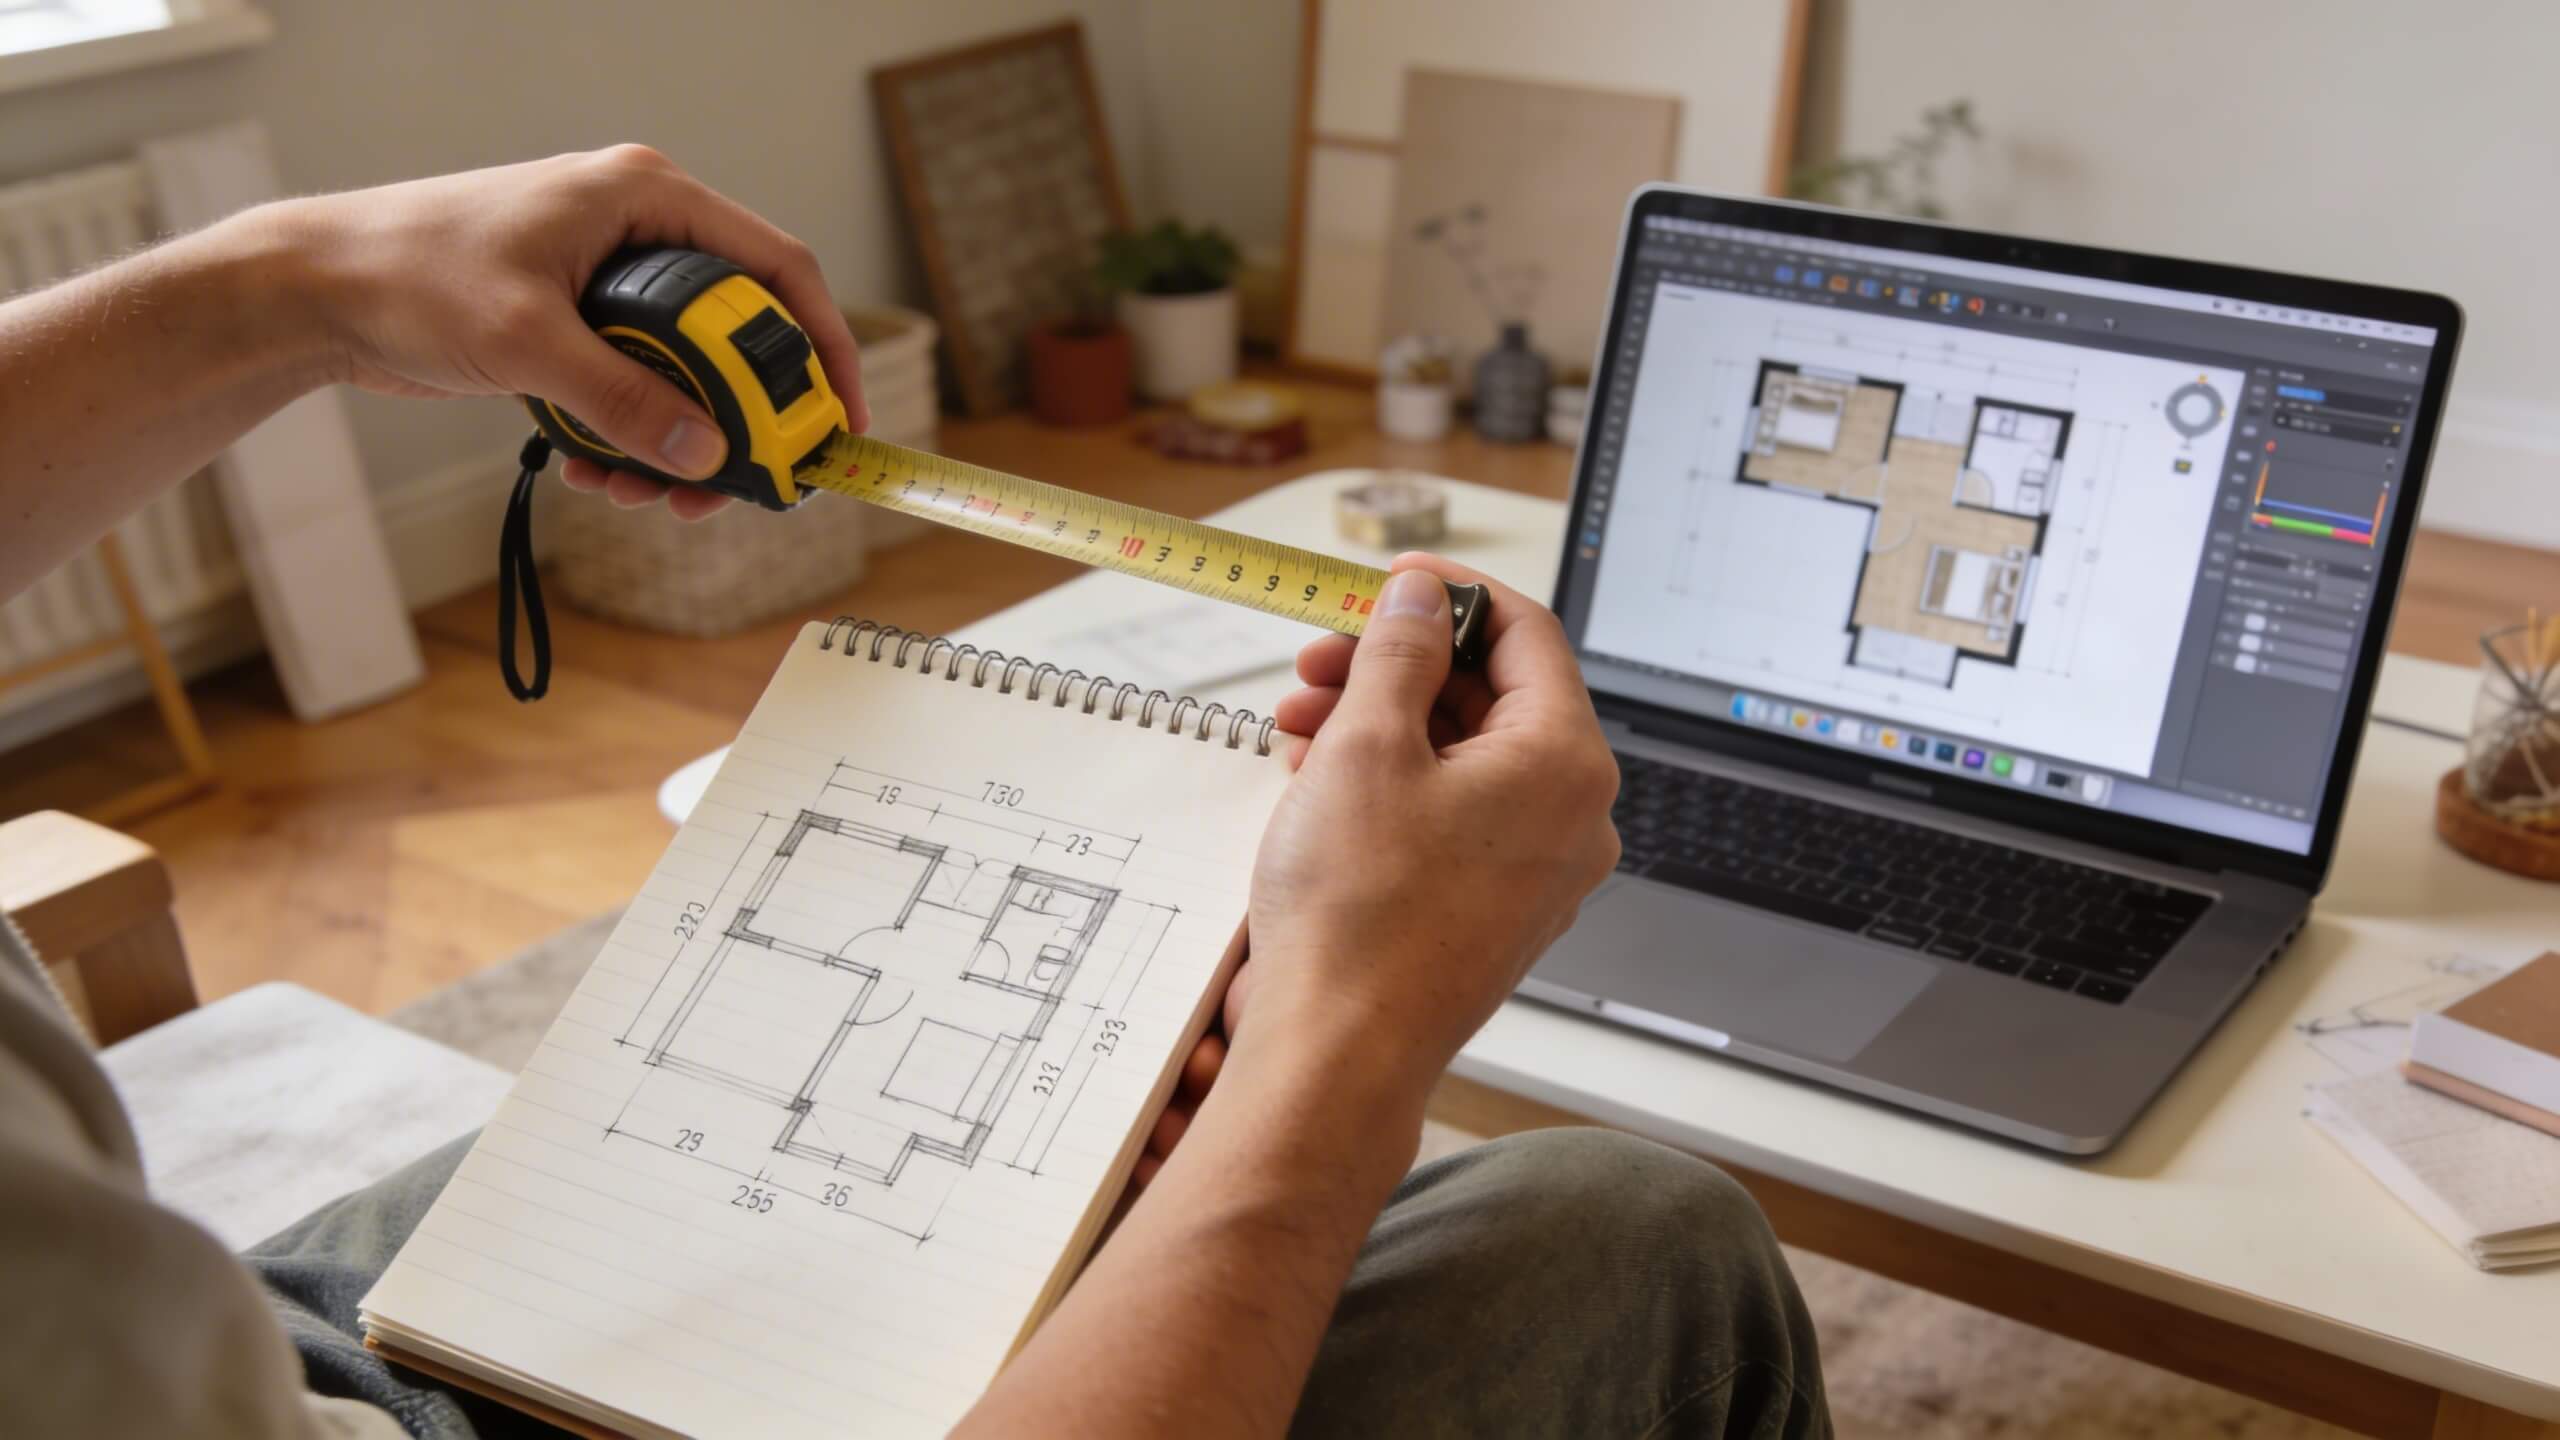
Step 1: Gather your measuring tools
You need a tape measure, a notepad, and a pencil. That is the complete tool list for the measuring phase. A 25 foot retractable tape measure handles most residential rooms. For large open areas or exterior measurements, a laser distance measurer speeds up the process and improves accuracy, but it is not essential.
If you have an existing blueprint, building plan, or property survey from when you purchased the home, use it as a reference. These documents provide the overall footprint and structural dimensions. However, always verify with your own measurements, because walls shift during settling, renovations alter room sizes, and original plans may not reflect the current state of the home.
Bring your phone to take photos of each room as you measure. Photos help you remember details when you sit down to draw: the position of a light switch, the width of a door casing, the height of a window sill. These small details matter when you translate measurements into a digital floor plan.
Step 2: Measure every room in your home
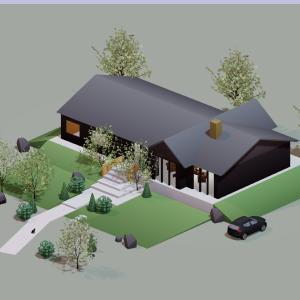
Start with the exterior. Measure the total length and width of your home's footprint. This gives you the outer boundary that every interior room must fit within. If your home has an irregular shape (an L shaped layout, a bump out, or an attached garage), measure each section separately and note how they connect.
Move inside and measure each room individually. Record the length and width of every room from wall to wall. Measure at floor level, as walls are not always perfectly plumb and the floor dimension is what matters for a floor plan. For each room, note the position and width of every door opening, the position and width of every window, and the location of any built in features like closets, fireplaces, or kitchen counters.
Measure hallways and transitional spaces. These connecting areas are often skipped, but they are critical to an accurate floor plan. Record the width of each hallway and the distance from each doorway to the nearest corner or adjacent door. Stairs need both the total run (horizontal distance) and the direction of travel.
Record wall thickness if you can. Interior walls in most residential construction are approximately 4.5 to 5 inches thick (3.5 inch stud plus drywall on each side). Exterior walls are typically 6 to 8 inches thick. Wall thickness affects room to room relationships and overall footprint accuracy.
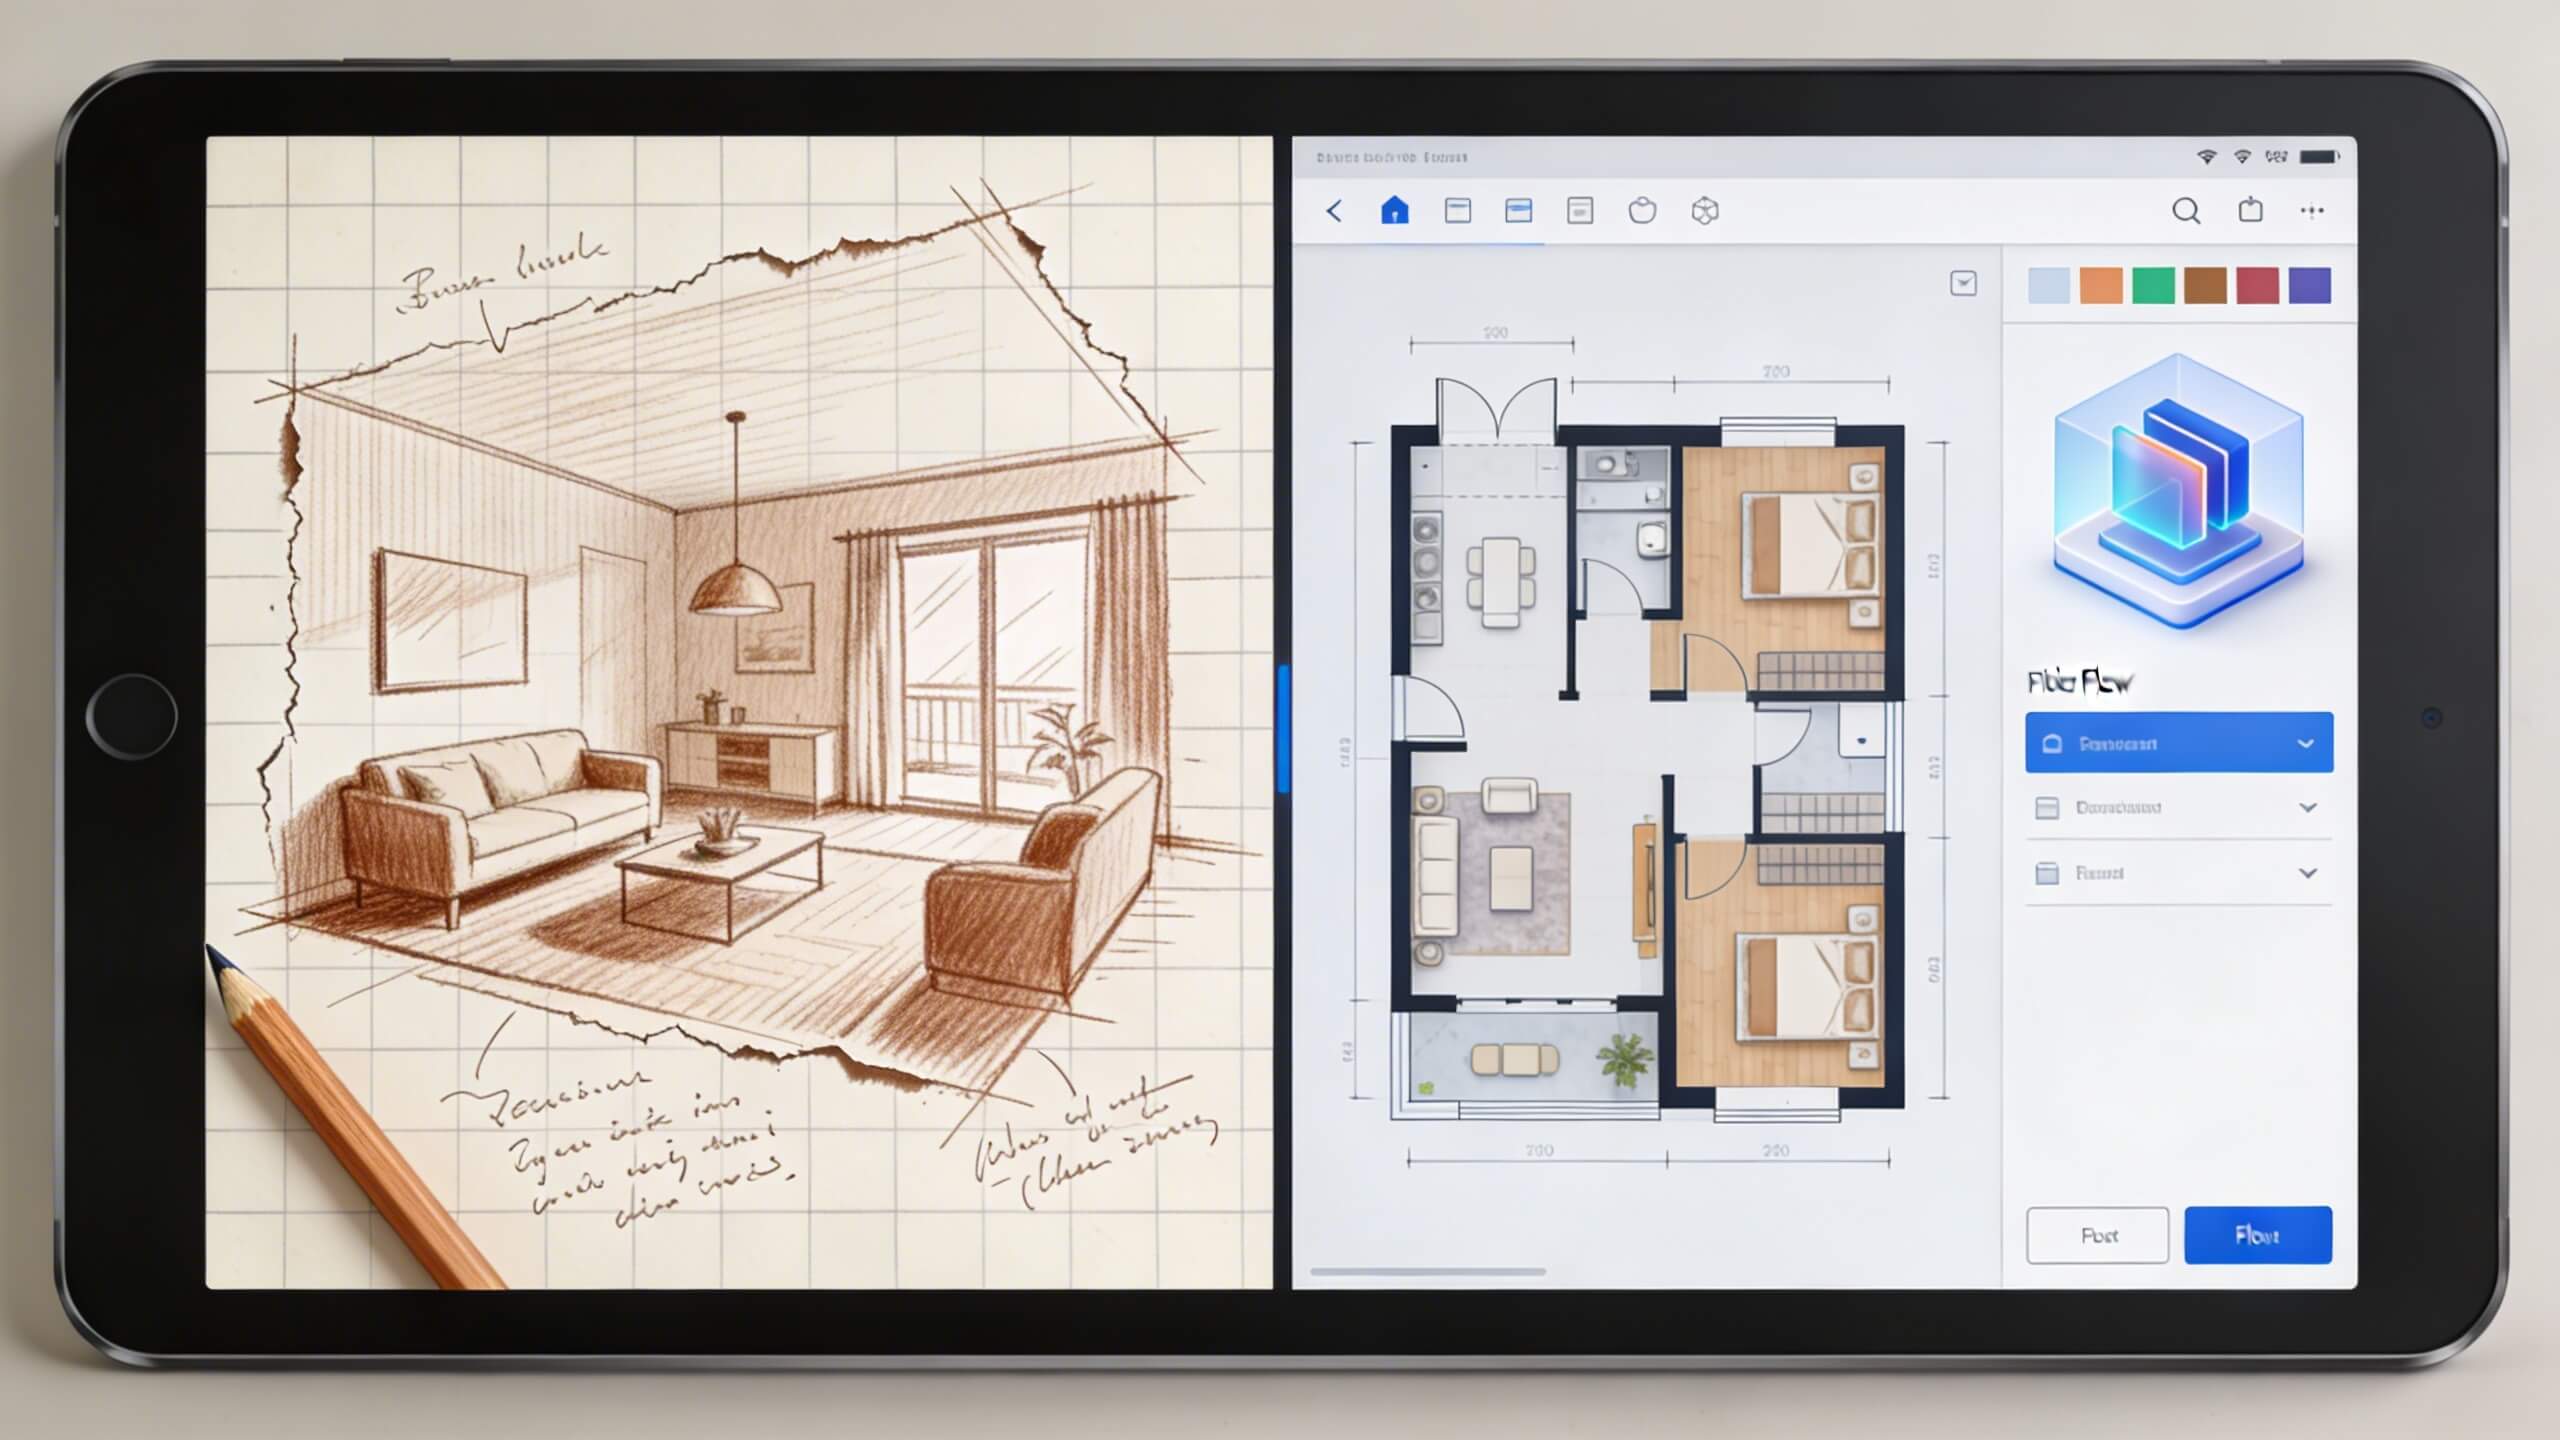
Step 3: Sketch a rough layout on paper
Before touching any digital tool, sketch a rough floor plan by hand. Use graph paper if available, assigning each square to one foot (or half a foot for more detail). This does not need to be precise or beautiful. Its purpose is to organize your measurements into a spatial relationship that you can reference while building the digital version.
Draw the exterior walls first as a simple outline. Then add interior walls to divide the outline into rooms. Label each room (bedroom 1, kitchen, bathroom, hallway) and write the measured dimensions inside each space. Mark door openings with a gap in the wall line and an arc showing the door swing direction. Mark windows with a double line or a simple notation.
This hand sketch becomes your construction guide for the digital floor plan. When you sit down at the computer, you will not need to flip through pages of notes trying to remember which measurement belongs to which wall. Everything is organized visually on the sketch, and you simply transfer it into the digital tool.
Step 4: Choose a free online floor plan tool
The tool you choose determines how quickly you can build your plan and how useful the output will be. For a basic 2D floor plan, look for a tool that lets you draw walls by entering exact dimensions, snap doors and windows into wall segments, and export or share the finished plan.
For a plan that goes beyond 2D and lets you visualize your home in 3D, choose a browser based free floor plan maker that converts your 2D layout into an interactive 3D model. This lets you walk through your home virtually, check room proportions at eye level, and see how furniture and design changes look in realistic perspective. The ability to switch between 2D and 3D views in the same tool saves time and eliminates the need to rebuild your plan in a separate application.
Prioritize tools that run entirely in the browser with no software download required. Downloaded software introduces compatibility issues, update requirements, and storage concerns that slow down a process that should be fast and simple. A browser based tool works on any computer, saves your progress in the cloud, and lets you share the result with a link rather than a file attachment.
Avoid tools that restrict essential features behind a paywall if you need a complete plan. Some platforms offer free wall drawing but charge for doors, windows, or furniture placement. Read the feature list before you start building, so you do not invest an hour drawing walls only to discover that adding doors requires a subscription.
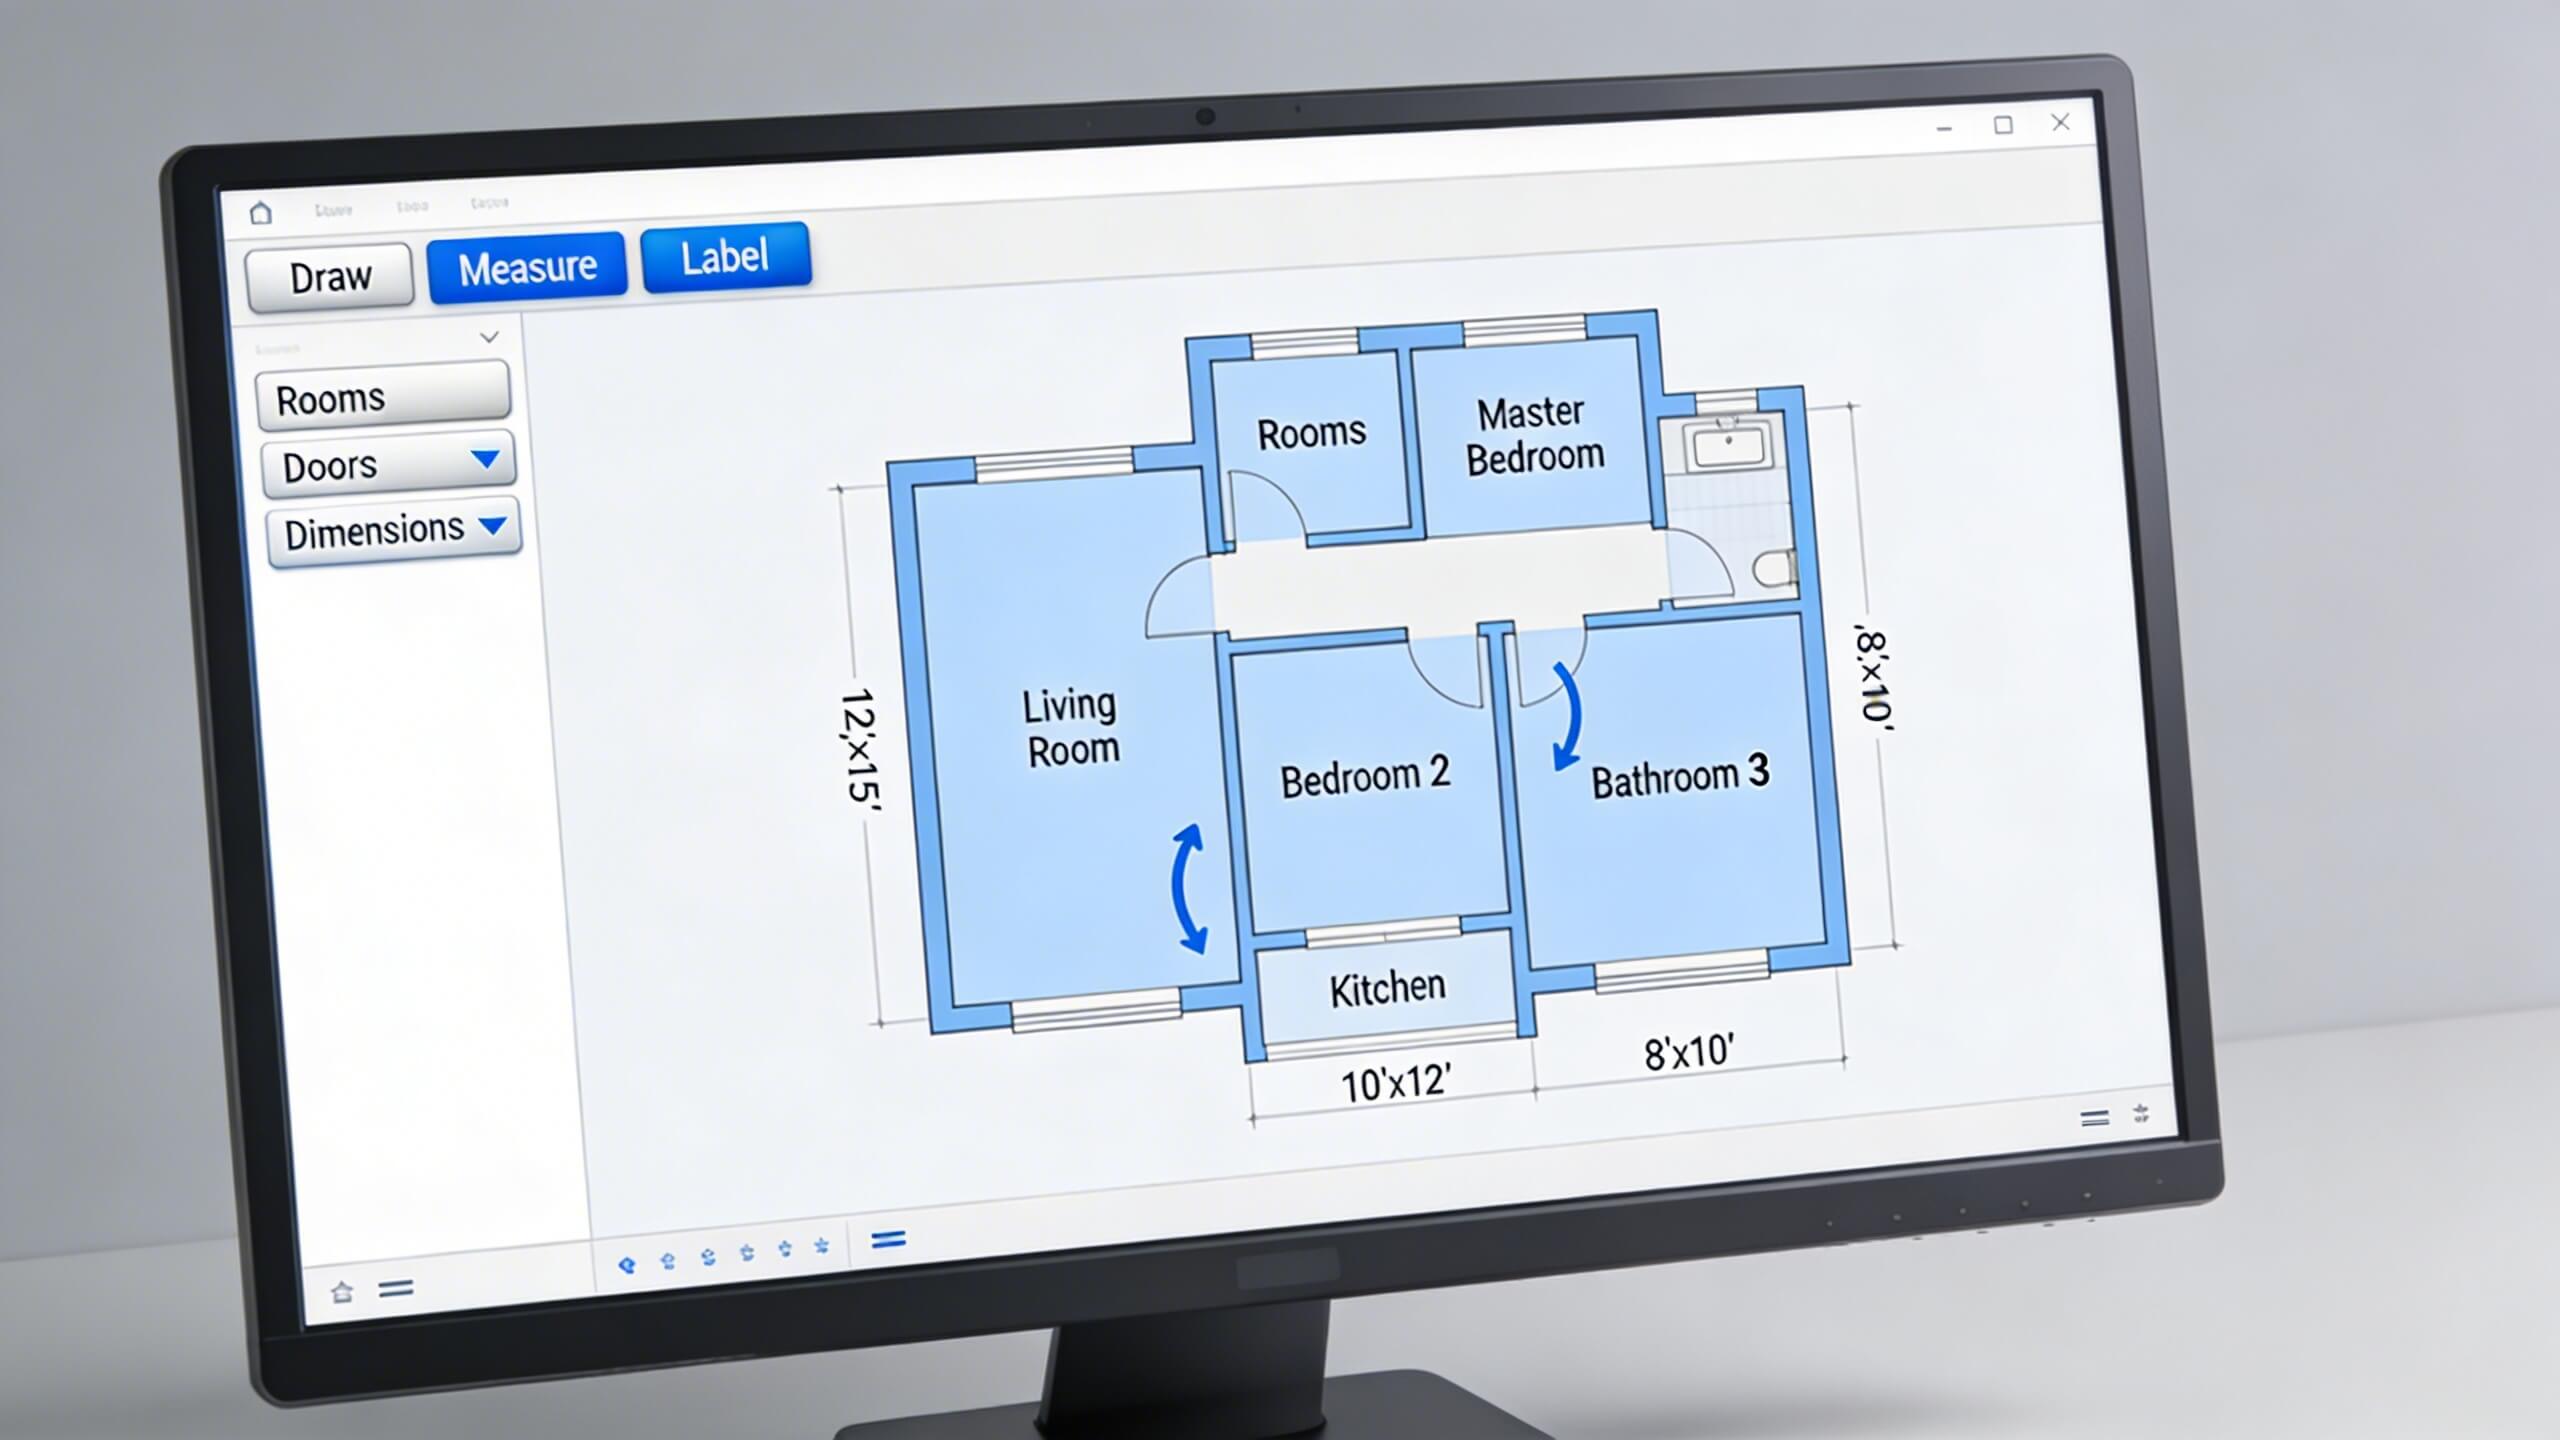
Step 5: Draw your walls and set room dimensions
Open your chosen tool and start with the exterior walls. Most floor plan tools let you draw walls by clicking to set a starting point and dragging to set the end point, with a dimension input field where you type the exact length. Enter your exterior measurements from Step 2 and build the outer boundary first.
Add interior walls next. Work room by room, using your hand sketch as a guide. Place each interior wall at its measured position and set its length. Most tools snap walls to right angles automatically, which speeds up the process for standard rectangular rooms. For angled walls or non standard shapes, look for a free draw or custom angle option.
Check that your interior room dimensions match your measurements after placing all walls. The room widths and lengths displayed in the tool should match the numbers on your sketch. If they do not, a wall is in the wrong position. It is much easier to catch and correct these errors now, before adding doors, windows, and furniture, than to fix them after the plan is fully detailed.
Set the wall thickness to match your actual home. Most tools default to a standard residential wall thickness. If your home has thicker exterior walls or unusually thin interior partitions, adjust the thickness setting for each wall type. This ensures that the total footprint and room to room relationships are accurate.
Step 6: Add doors, windows, and built in features
Place doors first. Select a door element from the tool's library and drop it into the correct wall position. Set the door width (standard interior doors are 32 or 36 inches, entry doors are typically 36 inches) and choose the swing direction. The swing arc should match reality: if your bedroom door swings inward to the left, set it that way in the plan. Correct door swing matters for furniture placement, because a door that swings into a dresser is a layout problem you want to catch now.
Add windows next. Place each window at its measured position along the wall. Set the window width and note whether it is a single pane, double pane, or sliding window if the tool offers that detail. Window positions affect natural light patterns, furniture placement (you generally do not want to block a window with a tall bookshelf), and room aesthetics.
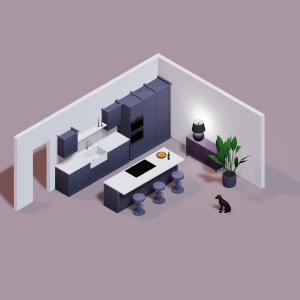
Include built in features that are permanent parts of the structure. Kitchen counters, islands, closets, fireplaces, bathtubs, showers, and stairways should all appear on the floor plan because they occupy fixed space that cannot be used for anything else. These features define how the remaining open space in each room can be used.
Add plumbing fixtures (sinks, toilets, tubs) in bathrooms and kitchens. These are connected to supply and drain lines that make them expensive to relocate, so their positions are effectively fixed for most projects. Showing them on the plan ensures that any furniture or design decisions account for their permanent placement.
Step 7: Place furniture to test your layout
With the structural plan complete, add furniture to test room layouts. Most floor plan tools include a library of standard furniture pieces scaled to real dimensions: sofas, beds, dining tables, desks, and storage units. Drag each piece into the appropriate room and position it where you think it should go.
Check clearances around every piece of furniture. A bed needs at least 24 inches of clear space on each side for comfortable access. A dining table needs 36 inches between the table edge and the nearest wall or obstacle for chairs to pull out and people to walk behind them. A desk needs enough space behind the chair for it to slide back without hitting a wall or bed.
Test traffic flow through each room. There should be a clear, unobstructed path from every door to the primary furniture grouping. If you have to walk around the bed to reach the closet, or sidestep between the coffee table and the TV stand to cross the living room, the layout needs adjustment. Rearrange furniture on the digital plan until every room has logical, comfortable circulation.
This is where the floor plan pays for the time you invested in creating it. Every arrangement you test on screen is an arrangement you did not have to physically move heavy furniture to try. By the time you commit to a layout, you have already eliminated the options that do not work.
Step 8: Switch to 3D view and walk through your home
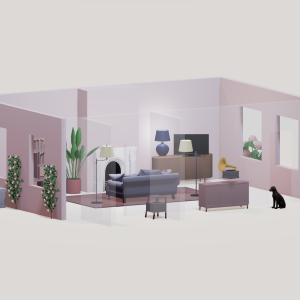
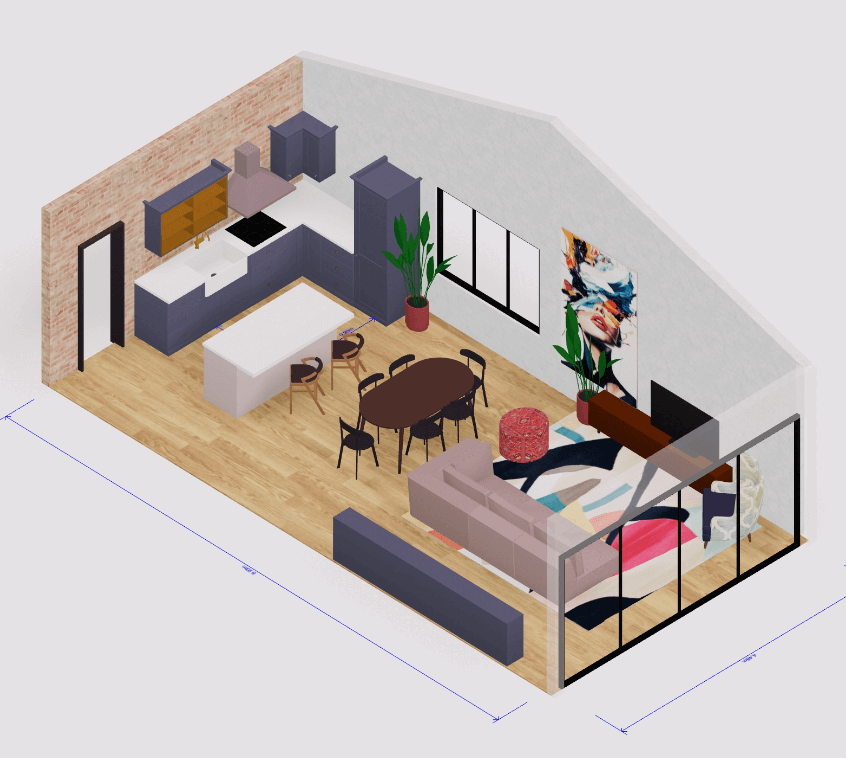
A 2D floor plan shows spatial relationships from above. A 3D view shows how the space actually feels at eye level. If your tool supports 3D visualization, switch to the 3D view after placing furniture and walk through your home virtually.
Check room proportions. A room that looks spacious from above might feel narrow and tall when viewed from standing height. A hallway that appears adequate in 2D might feel claustrophobic in 3D when you see the walls closing in on both sides. These perceptual qualities only become visible in the 3D perspective.
Verify furniture scale. A sofa that fits the room dimensions in 2D might visually overwhelm a small living room when seen in 3D. A dining table that looks proportionate from above might feel too large when you see it from the height of someone sitting in a chair. The 3D walkthrough catches these scale issues before you purchase furniture or commit to a layout.
Arcadium 3D provides this 2D to 3D workflow in a single browser based platform. Build your floor plan in 2D, switch to 3D with one click, and walk through your home at eye level. Share the completed plan via URL so family members, roommates, or contractors can explore the layout on their own device without downloading anything. This makes collaborative decisions about furniture, renovations, or real estate staging faster and more accurate.
Step 9: Save, Export, and Share your floor plan
Once your floor plan is complete and verified in both 2D and 3D views, save it and create shareable outputs. The format you need depends on how you plan to use the floor plan.
For personal reference, a saved project in the tool's cloud storage is sufficient. You can return to it anytime to make changes, test new furniture arrangements, or update the plan after a renovation.
For sharing with a contractor or architect, export the plan as a PDF or image file with dimensions visible. Contractors need to see exact room sizes, door widths, and wall positions. A dimensioned 2D floor plan is the standard document they work from during renovation planning and construction.
For real estate listings, export a clean, furnished 2D floor plan that shows room labels and approximate dimensions. Floor plans in listings help potential buyers understand the layout before visiting, which attracts more serious inquiries and reduces time on market.
For interior design projects, share the 3D walkthrough link so designers or collaborators can explore the space virtually. This is far more useful than static photos because the viewer can look in every direction and understand how rooms connect, which photos alone cannot convey.
Common floor plan mistakes beginners should avoid
Measuring only one wall per room and assuming the opposite wall is the same length. Rooms are rarely perfect rectangles. Measure every wall independently.
Forgetting to measure door and window positions relative to the nearest corner. Placing a door 6 inches off from its actual position shifts the entire furniture layout in that room.
Ignoring wall thickness. In a floor plan, wall thickness affects the usable space inside each room. A 5 inch thick wall between two rooms reduces each room's interior dimension by 2.5 inches on that side.
Skipping hallways and transitional spaces. The connections between rooms define traffic flow through the house. An inaccurate hallway width or missing doorway disrupts the entire plan's usefulness.
Placing furniture without checking clearances. Every piece of furniture needs access space around it. A bed pushed against three walls might save floor area but makes changing the sheets a daily struggle.
Frequently asked questions
Can I create a floor plan of my home without any design experience?
Yes. Free browser based tools like Arcadium 3D are designed for beginners. You input room measurements, draw walls, place doors and windows, and the tool handles the scaling and formatting. No architecture or design training is needed.
How long does it take to create a floor plan from scratch?
Measuring a typical 3 bedroom home takes 30 to 45 minutes. Building the digital floor plan from those measurements takes another 30 to 60 minutes. Most beginners complete a full floor plan in under two hours total.
What measurements do I need before starting?
Measure every room's length and width, the position and width of every door and window, hallway widths, and the overall exterior footprint. Note the location of built in features like closets, fireplaces, and kitchen counters.
Can I turn my 2D floor plan into a 3D model?
Yes. Many free tools including Arcadium 3D convert your 2D floor plan into an interactive 3D walkthrough with one click. You can explore your home at eye level, test furniture placement in 3D, and share the model via URL.
Is a floor plan useful for selling my home?
Yes. Real estate listings with floor plans attract more buyer interest because they let people understand the layout before visiting. Export a clean 2D floor plan with room labels and dimensions for your listing.
What is the best free tool for creating a home floor plan?
Look for a browser based tool that requires no download, lets you input exact dimensions, includes a furniture library, and converts 2D plans to 3D. Arcadium 3D offers all of these features with instant URL sharing for collaboration.
Do I need to measure wall thickness for a floor plan?
For most home projects, standard wall thickness settings in the tool are sufficient. If you are planning a renovation that involves removing or adding walls, measure actual wall thickness (typically 4.5 to 5 inches for interior walls, 6 to 8 inches for exterior walls) for greater accuracy.


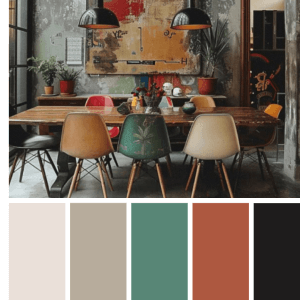 Color palette generator
 Floor plan creator
 Interior design app
 Kitchen design tool
 House design software
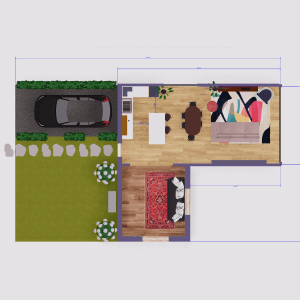
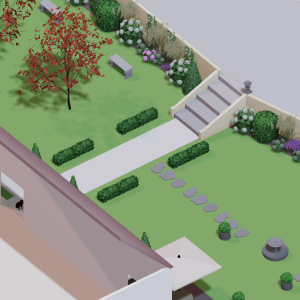 Landscape design software
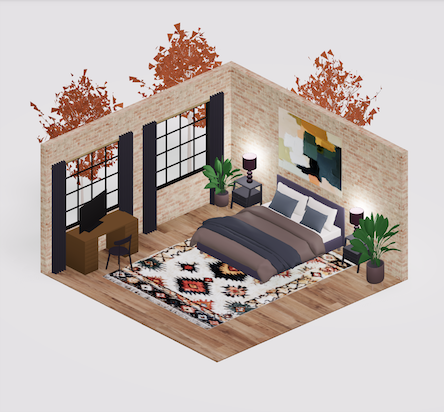
 Bedroom design
 Office floor plan creator
 How to use Arcadium — full guide
 3D object library - free
 Articles and blog