Designing a living room that’s both stunning and comfortable is an exciting project – after all, the living room is often the heart of your home. It’s where family and friends gather, where you relax after a long day, and it sets the tone for your home’s style.
Many people are eager to update their living spaces; in fact, a recent survey found over 70% of Americans planned to redecorate their homes after spending more time at home. In the past, planning a living room makeover meant sketching ideas on paper or hiring a professional, but today you have a better option.
Free online 3D room planners have transformed interior design into a fun, interactive DIY experience right in your web browser. In this guide, we’ll show you how to use a 3D planner to bring your dream living room to life, step by step.
Why Use a Free 3D Planner for Your Living Room Design
A well-designed living room balances looks and function – it needs to be visually inviting while also serving your daily needs. Good living room design considers layout (for easy movement and conversation), lighting (for ambiance and tasks), and decor that reflects your personality. Planning all these elements can be challenging, especially if you’re trying to envision changes in your head. This is where a free 3D room planner becomes invaluable. Modern tools let you
design a room online free
in your browser with an intuitive interface, allowing you to visualize your ideas in realistic 3D before you ever lift a paintbrush or move a sofa.
Using a 3D planner offers several advantages over traditional methods. For one, it’s completely risk-free and cost-effective – you can experiment with different layouts and color schemes without buying or moving any furniture. If you’ve ever wished you could magically rearrange your living room without the heavy lifting, these tools are the answer. Everything is virtual, so you can try dozens of options (different furniture arrangements, wall colors, rugs, etc.) in a fraction of the time.
Visualization is especially helpful: the software gives you a true-to-scale 3D model of your space, so you can see exactly how that large sectional sofa or bold accent wall will look before you commit. In fact, studies indicate that using 3D design tools greatly improves confidence in design decisions – one report noted a ~20% boost in client satisfaction when 3D models were used in projects. When homeowners can virtually “walk through” their planned living room and say, “Yes, this feels right,” it leads to far fewer regrets and last-minute changes.
Another big benefit is ease of use. Today’s 3D planners are very user-friendly, even if you have no design experience. For example, Arcadium 3D is a game-changer for DIY interior design – it runs entirely in your web browser with drag-and-drop simplicity. There’s no software to install and no cost to get started, yet it provides advanced capabilities without the complexity.
Whether you’re a homeowner brainstorming a new look, a renter wanting to personalize your space, or an interior designer mocking up a quick concept for a client, Arcadium 3D makes the process effortless. In fact, Arcadium’s free online room design tool is so intuitive that most users master the basics in minutes. It’s 100% browser-based and completely free, but still offers professional-grade features – meaning you can achieve impressive results without a steep learning curve or hefty price tag.
Finally, using a 3D planner can save you time and money. By planning virtually, you can avoid costly mistakes and do-overs. It’s much cheaper (free, in fact) to test a dozen couch styles or paint colors in a 3D model than to buy and return furniture or repaint walls multiple times. You’ll “try before you buy” in a very realistic way, which is a boon for your budget. The efficiency gains are real too – designers report that using 3D tools can reduce decision-making time by up to 40% on projects, because it’s so much faster to iterate and get feedback when everyone can see a lifelike rendering of the space.
In short, a free 3D planner empowers you to design smarter: you can explore creative ideas freely, catch potential issues in advance, and move forward with confidence that your dream living room will look and function just as you imagined.
Check Out Our Tool
Step-by-Step: Design Your Dream Living Room Online
Ready to create your dream living room layout? Let’s walk through the process of designing your space using a 3D room planner. For illustration, we’ll mention Arcadium 3D’s planner, but you can apply these steps to any similar free tool. By following these steps, you’ll go from a blank canvas to a fully furnished, beautiful 3D living room model.
Step 1: Map Out Your Room Dimensions and Layout
Every great design starts with a solid plan. Begin by launching your 3D planner (for example, open Arcadium 3D in your browser and start a new project). You can typically choose to start from scratch with an empty room or use a template shape that matches your space. First, define your room’s dimensions – input the length and width of your living room, and don’t forget the wall height.
Accurate measurements are key to ensuring your 3D design will match reality. With Arcadium’s tool, you can draw the walls in 2D by clicking for each corner and typing in exact lengths, or adjust a template’s dimensions to fit your room. This creates the basic floor plan of your living room.
As you sketch out the layout, consider the shape of the room and any architectural features. Use the software’s wall drawing tool to trace the outline of the room, and add any architectural elements like archways, columns, or half-walls that exist. At this stage, you’re essentially creating the canvas upon which you’ll add furniture and decor. Think about the flow of movement in the room: where are the doorways or entrances? How will people walk through the space? Make sure to leave clear paths through major walkways.
A good rule of thumb is to allow about 30–36 inches of clearance for pathways between large pieces of furniture – this ensures easy movement and a balanced flow in the space. (Don’t worry if you’re not 100% sure about furniture placement yet; you can always tweak walls and openings later since the 3D planner lets you adjust elements with precision by clicking and dragging.)
Step 2: Add Doors, Windows, and Fixed Features
With your basic room shape in place, it’s time to insert doors and windows into your design. These elements are crucial to account for, because they influence traffic flow, furniture placement, and lighting in your living room. In the 3D planner, select the door tool/icon and click on the wall where a door goes – for example, place your main entry door on the correct wall.
The software will snap a door object onto the wall and cut out the opening. Do the same for windows: choose window styles from the catalog (say a broad picture window or a set of double-hung windows) and drop them onto the walls where they belong. After adding each door or window, you can typically adjust its size or position to match your real-life openings. This step instantly makes your floor plan feel more like a real room.
Now you’ll start to see where natural light comes in and how people enter/exit, which is important for planning your furniture arrangement. For example, you wouldn’t want to place a tall bookshelf blocking a window, or a chair in the path of a door swing. Check clearances: ensure doors have enough space to open (most tools will show the swing arc), and windows are placed at the correct height.
Arcadium’s planner lets you drag doors and windows along the wall and shows measurements, so you can make sure, for instance, a door won’t hit a side table when opened. Taking a moment here to get these details right will make the next steps much easier.
Step 3: Furnish with the Big Pieces First
Now for the fun part – furnishing your living room. It’s best to start with your key furniture pieces and anchor the room around them. Think about the main function and focal point of your living room. If it’s a family TV room, the sofa and TV placement will be primary. If it’s more for conversation or entertaining, perhaps the sofa and a coffee table centered around a fireplace or a view is your focus.
In Arcadium 3D and similar tools, you’ll have an extensive library of furniture items to choose from. Browse categories or search for items like “sofa”, “sectional”, “armchair”, “coffee table”, “TV console”, etc. Drag and drop your selected pieces into the virtual room.
Start with the largest pieces: for most living rooms, that’s the sofa (or sectional) and perhaps an entertainment center or large bookshelf. Place the sofa in the room in relation to your focal point – for example, facing the television or fireplace, or oriented to maximize a great window view. Next, add complementary seating like armchairs or a loveseat, and a coffee table or ottoman in the center.
Arrange these major pieces roughly how you’d like them, and don’t be afraid to try different layouts. One classic layout is a sofa facing two chairs, with a coffee table in the middle. Another might be an L-shaped sectional in a corner with a rug anchoring the seating area. Arcadium makes it easy to experiment: you can move furniture around, rotate it, or even resize certain pieces with just a click (many objects are “parametric,” meaning you can stretch a sofa longer or make a table bigger and the model will adjust accordingly). Take advantage of this to see how a slightly larger couch or a smaller armchair might fit your space.
As you arrange furniture, keep an eye on spacing for comfort and traffic flow. Ensure there’s enough room to walk around the coffee table – designers often recommend about 15–18 inches of space between the sofa and coffee table for easy reach without feeling cramped. Leave at least a couple of feet (or that 30-inch guideline) between the back of a chair and the wall so people can pass behind, and try not to block any doorways.
The top-down 2D view in the planner is useful here: it will show if things look overcrowded or oddly empty in one area so you can adjust accordingly. You might find, for instance, that pushing seating a bit closer together creates a cozier conversation zone, or that you need to shift the sofa a few inches to center it under a light fixture. This step is all about nailing down the core layout of your living room with the big pieces in place.
Step 4: Add Smaller Decor and Personal Touches
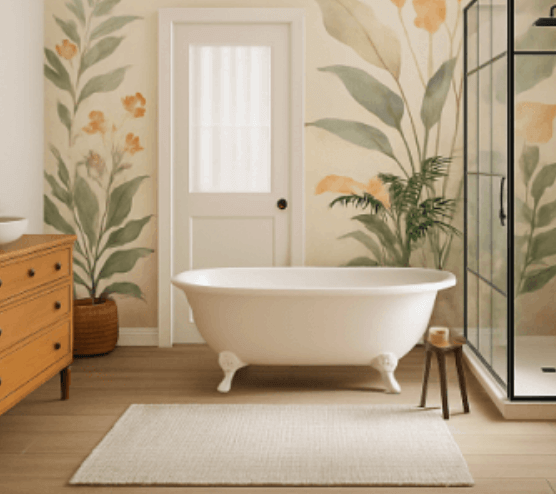
With the main layout set, it’s time to layer in décor and details to make the space truly yours. This is where your dream design starts to come to life! Dive back into the planner’s library and look for items like rugs, side tables, lamps, curtains, artwork, and plants. Adding these will not only enhance the visual appeal but also help you check the functionality (like lighting levels and storage needs).
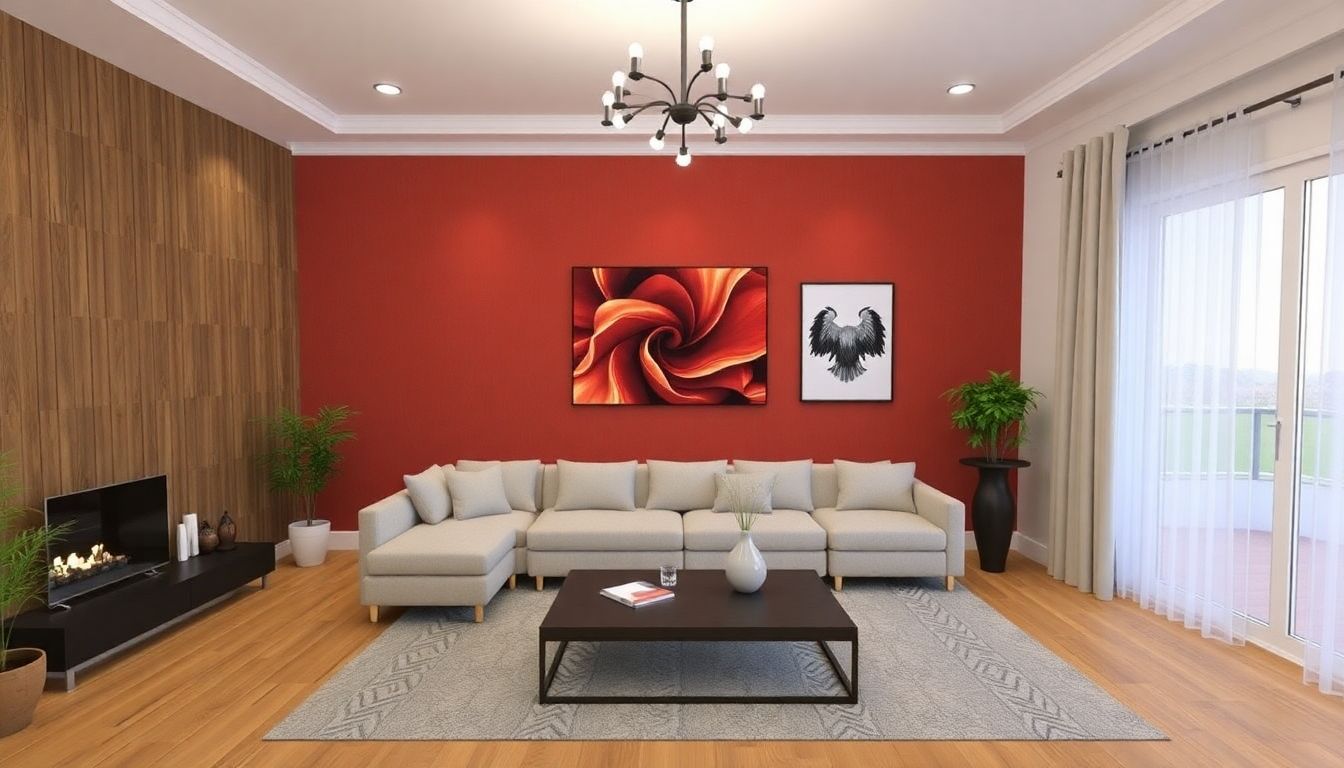
For example, place a plush area rug under the seating group to tie it together – you can try different sizes and patterns with a click. Add a floor lamp or table lamps near the sofa and chairs to create cozy reading nooks (and ensure you’ll have enough light in real life). If your living room has overhead lighting, you could drop in a ceiling pendant or fan from the catalog and position it appropriately. Don’t forget the walls: experiment with paint colors or wallpaper by selecting the wall in the model and changing its material/texture.
Maybe you’ve dreamed of an accent wall in a bold color or a trendy wallpaper behind the sofa – the 3D planner lets you see it instantly. You can also hang artwork or mirrors on the walls (many tools allow you to import your own images for artwork, so you could even visualize a specific painting or family photo). Arrange throw pillows, books, vases, and plants to accessorize surfaces like the coffee table, shelves, and mantels.
These small touches add character and warmth to the room. Feel free to mix and match styles – the beauty of doing it digitally is that nothing is permanent. If that modern abstract art piece doesn’t vibe with your classic sofa, delete it and try something else. Play with colors and materials too: swap the sofa fabric from gray to navy blue, or the rug from a solid to a pattern, just to see how it changes the mood. Arcadium 3D’s material editor makes it easy to try different finishes on furniture or even change the flooring from hardwood to carpet with a few clicks.
As you add decor, also consider the lighting and ambiance. Most 3D planners let you adjust the scene’s lighting or time of day. Try viewing your living room in daytime versus a dim evening setting. This will show you how natural light from windows plays across the room and where you might want additional lamps or lighting fixtures.
For example, you might realize you need a floor lamp in a dark corner, or that the pendant light should hang lower over the coffee table for a better glow. Adjusting lighting in the virtual model helps ensure the room will feel cozy and functional at all hours. By the end of this step, you should have a fully furnished and decorated living room model that reflects your style – from the big pieces right down to the pillows and picture frames.
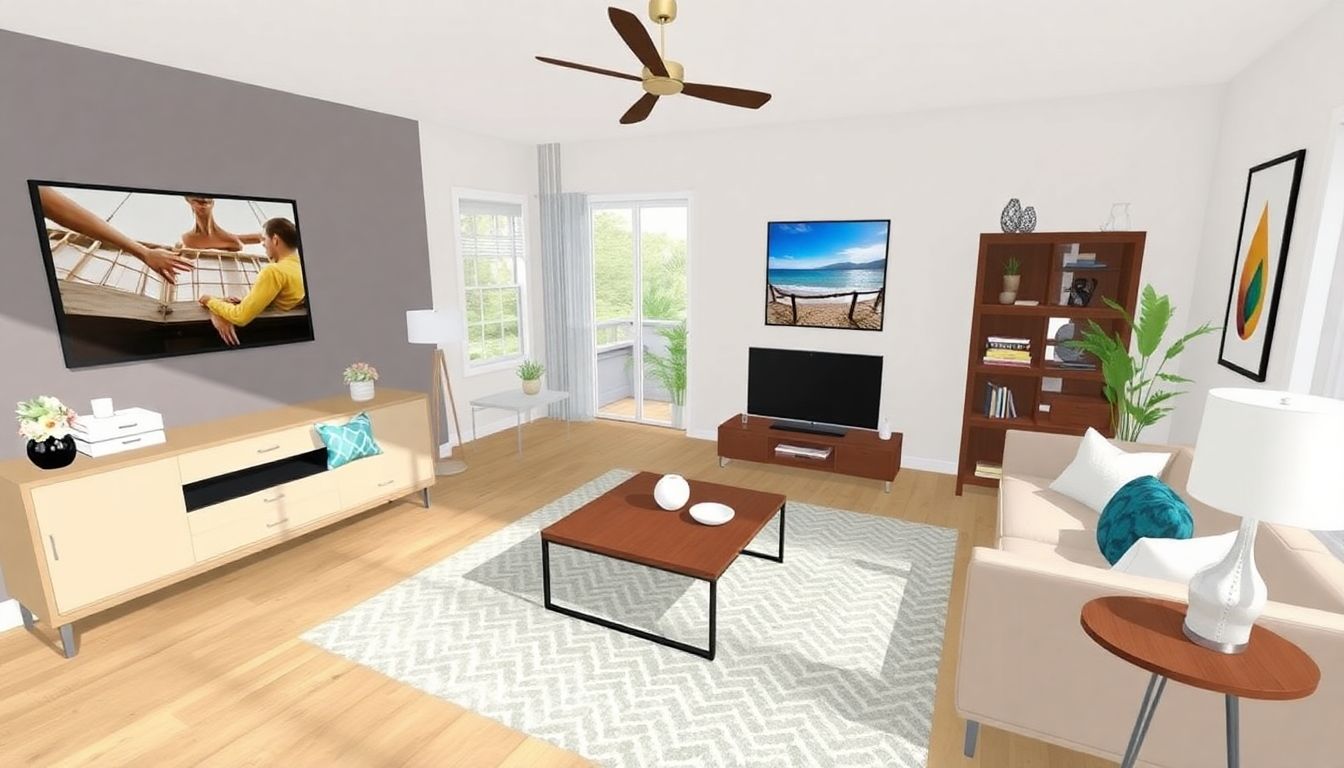
Step 5: Visualize in 3D and Refine Your Design
Now comes the moment of truth – seeing your design in 3D. Up until now you may have been working mostly in a 2D floorplan view (which is great for precise placement). Now switch the software to its 3D or “first-person” view mode. With Arcadium 3D, you can go from 2D to an immersive 3D walkthrough instantly.
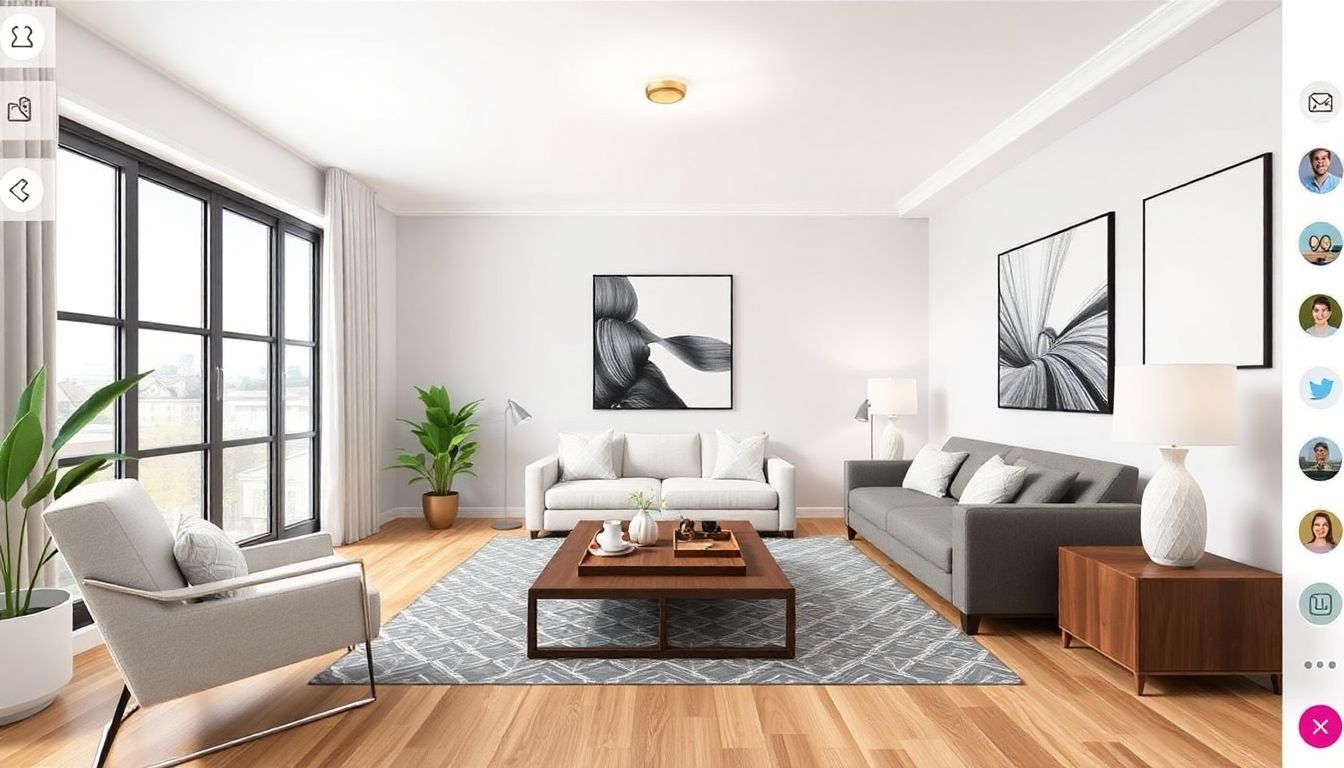
This is where your design truly feels real. Suddenly, you’re looking at a lifelike representation of your living room: you can see how the furniture arrangement looks from eye level, how the colors and textures come together, and even how light is casting shadows in the space.
Take a virtual “stroll” through your model. Use the on-screen navigation or keyboard controls to move around – walk in through the door, stand near the sofa, and glance around as if you’re actually in the room. Look at the seating area from different angles. Ask yourself: Does the space feel open and comfortable? Can I easily walk between the coffee table and TV stand? Is the rug centered and the artwork at eye level? This 3D perspective often reveals details you might miss in 2D.
For instance, you might notice that a chair is too close to a doorway or that a floor lamp looks out of scale next to the sofa. If something feels a bit off, don’t worry – simply hop back into the design mode (switch to the plan view) and adjust it. Maybe slide the sofa a bit to give more clearance, or try a different coffee table that fits better. These iterations are quick and easy in the digital model, and you can toggle back to 3D view anytime to see the effect of your changes.
Keep refining until you’re happy with every aspect of the room. You can also use this chance to test alternative ideas: for example, duplicate your design (save a copy) and on the copy, try a totally different color scheme or furniture style, just to compare. Arcadium 3D allows you to save multiple versions, so you might create one version of the room that’s modern and minimalist and another that’s colorful and eclectic, then decide which you love more.
Because everything is virtual, you have unlimited freedom to explore “What if I did this?” scenarios. Unlike rearranging real furniture or repainting walls, switching things in the model takes just a few clicks (and no sore muscles!). Pro tip: Remember to ensure practical details are in place, such as adequate lighting (is there a lamp near your favorite armchair for reading?), and logical placement of accessories (for instance, make sure a side table is within reach of each seat for cups or remotes). The 3D walkthrough helps verify these details in context.
Once you’re satisfied that your 3D living room looks and feels like your dream space, you can usually capture the design. Many planners let you take screenshots or even generate realistic rendered images of the room. You might also be able to create a shareable link or a 360° view. Arcadium 3D, for example, lets you share your design via a simple URL so others can view your interactive 3D room in their browser. This is great if you want to get input from a spouse, roommate, or friend (“Hey, check out this design I’m thinking for the living room – what do you think?”).
If you’re working with a contractor or interior designer, they can also use the model to understand exactly what you want, which helps avoid miscommunications. Save your final plan with a clear name, and you’re ready for the next phase – turning that virtual design into reality!
Check Out Our Tool
Top Benefits of Planning Your Living Room in 3D
Designing your living room with a 3D planner isn’t just fun – it comes with some big benefits that traditional design methods can’t easily match:
Avoid Costly Mistakes:
By planning virtually, you can see proportions and fit before buying anything. For example, you’ll know if that sectional is too large for your space or if a chosen paint color makes the room feel dark. This “try before you buy” approach means no more costly returns or regretting a purchase. It’s far cheaper to rearrange things in a model than to move actual furniture around (or patch up unwanted paint) later. Essentially, a 3D planner lets you spot problems on screen before they become real-world headaches.
Confidence in the Final Vision:
One of the toughest parts of decorating is trying to imagine how all the elements will look together. 3D planners solve this by giving you a realistic visualization of your future living room. The renderings are often photorealistic enough that you’re practically seeing your room as it will appear. This visual accuracy means no more guesswork – you can be confident that the navy blue sofa actually goes with the oak flooring and that the gallery wall isn’t overpowering the space.
In fact, users of Arcadium’s tool reported a greatly improved ability to visualize designs before implementation (85% of users felt they could better picture the outcome). When you can virtually stand inside your planned room and think “Yes, this is it,” you proceed with much more peace of mind.
Easy to Experiment and Iterate:
Interior design is an iterative process – you often want to tweak and try alternatives. Doing this in real life can be tedious (moving furniture, swapping rugs in and out) or impossible (you can’t “undo” cutting a piece of furniture to size). But with a 3D planner, experimentation is painless. Want to see the room with a different coffee table or three different rug options? It’s just a few clicks to swap them.
Need to compare two layouts? Save one version, then try another arrangement in a copy. This freedom to explore encourages creativity; you might discover a layout or color scheme you hadn’t considered initially, all because it was so easy to play around. And the undo button is your safety net – there’s no fear of “messing up” when you can instantly revert changes. The result is a thoroughly refined design arrived at through exploration, not settling on the first idea.
Beginner-Friendly Yet Professional-Grade:
Good 3D design platforms strike a balance between being accessible for beginners and powerful enough for pros, and Arcadium 3D is a great example of this dual appeal. If you’re new to interior design, you’ll appreciate guided templates, drag-and-drop controls, and the game-like feel of decorating a virtual room. If you’re a professional or advanced user, you’ll value the precision tools (exact measurements, alignment guides, etc.) and high-quality outputs (rich 3D visuals for presentations).
The best part is you don’t need formal design training to use these tools effectively – anyone with a bit of imagination can jump in. And yet, the end result can look like it was done by a pro. This means homeowners and renters can achieve polished designs on their own, and interior designers can speed up their workflow for client projects. Arcadium 3D, for instance, is trusted by thousands of professionals, but also loved by DIY decorators for its ease of use.
Shareable and Collaborative:
Because your design lives digitally, it’s very easy to share your vision. With a click, you can send a link or image of your 3D living room to family members, roommates, or contractors. They can walk through the model and give feedback or just get as excited as you are about the plan. This level of collaboration is hard to achieve with just sketches or verbal descriptions.
Everyone can literally be on the same page (or screen) regarding what the plan entails. It reduces misunderstandings – for example, your partner might finally agree on a furniture arrangement once they see it in 3D and not just in your head! If you’re working with a builder or remodeler, giving them a detailed 3D plan can help them execute the design accurately. Overall, the planning process becomes more interactive and inclusive.
Final Thoughts
Designing your dream living room with a free 3D planner is a rewarding process that puts you in control of your space’s transformation. What used to require professional help or a lot of trial-and-error can now be done on your laptop from the comfort of home. By combining ease of use with powerful visualization, these tools allow you to take ideas from your imagination and turn them into a workable plan that you can see and refine.
Best of all, this approach is accessible to everyone: whether you’re a first-time homeowner eager to furnish your new living room, a renter looking to maximize a small apartment layout, or an interior designer whipping up a quick concept for a client, 3D planners like Arcadium 3D have you covered. The time and money you save by planning ahead, along with the confidence you gain from seeing your design in advance, are invaluable. You can experiment freely, knowing that when it comes time to implement, there will be no surprises – you’ve already walked through your future room and loved what you saw.
So go ahead and give it a try – fire up a free 3D room design tool and start experimenting with your living room layout. Move that virtual sofa, try those bold colors, and watch your dream living room take shape in 3D right before your eyes. With the right planner at your fingertips, designing your dream space becomes not only possible but downright fun.
Check Out Our Tool


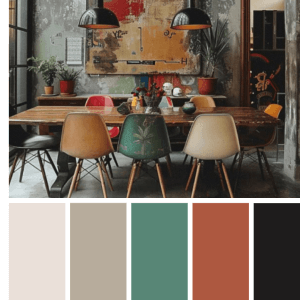 Color palette generator
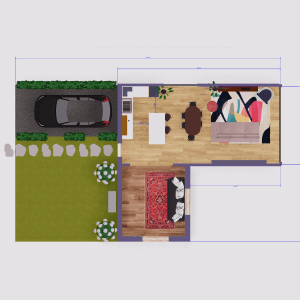 Floor plan creator
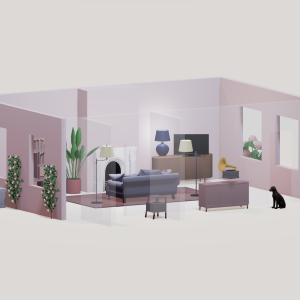 Interior design app
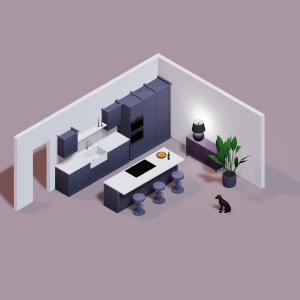 Kitchen design tool
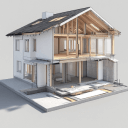
 House design software
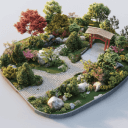
 Landscape design software
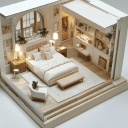
 Bedroom design
 Office floor plan creator
 How to use Arcadium — full guide
 3D object library - free
 Articles and blog