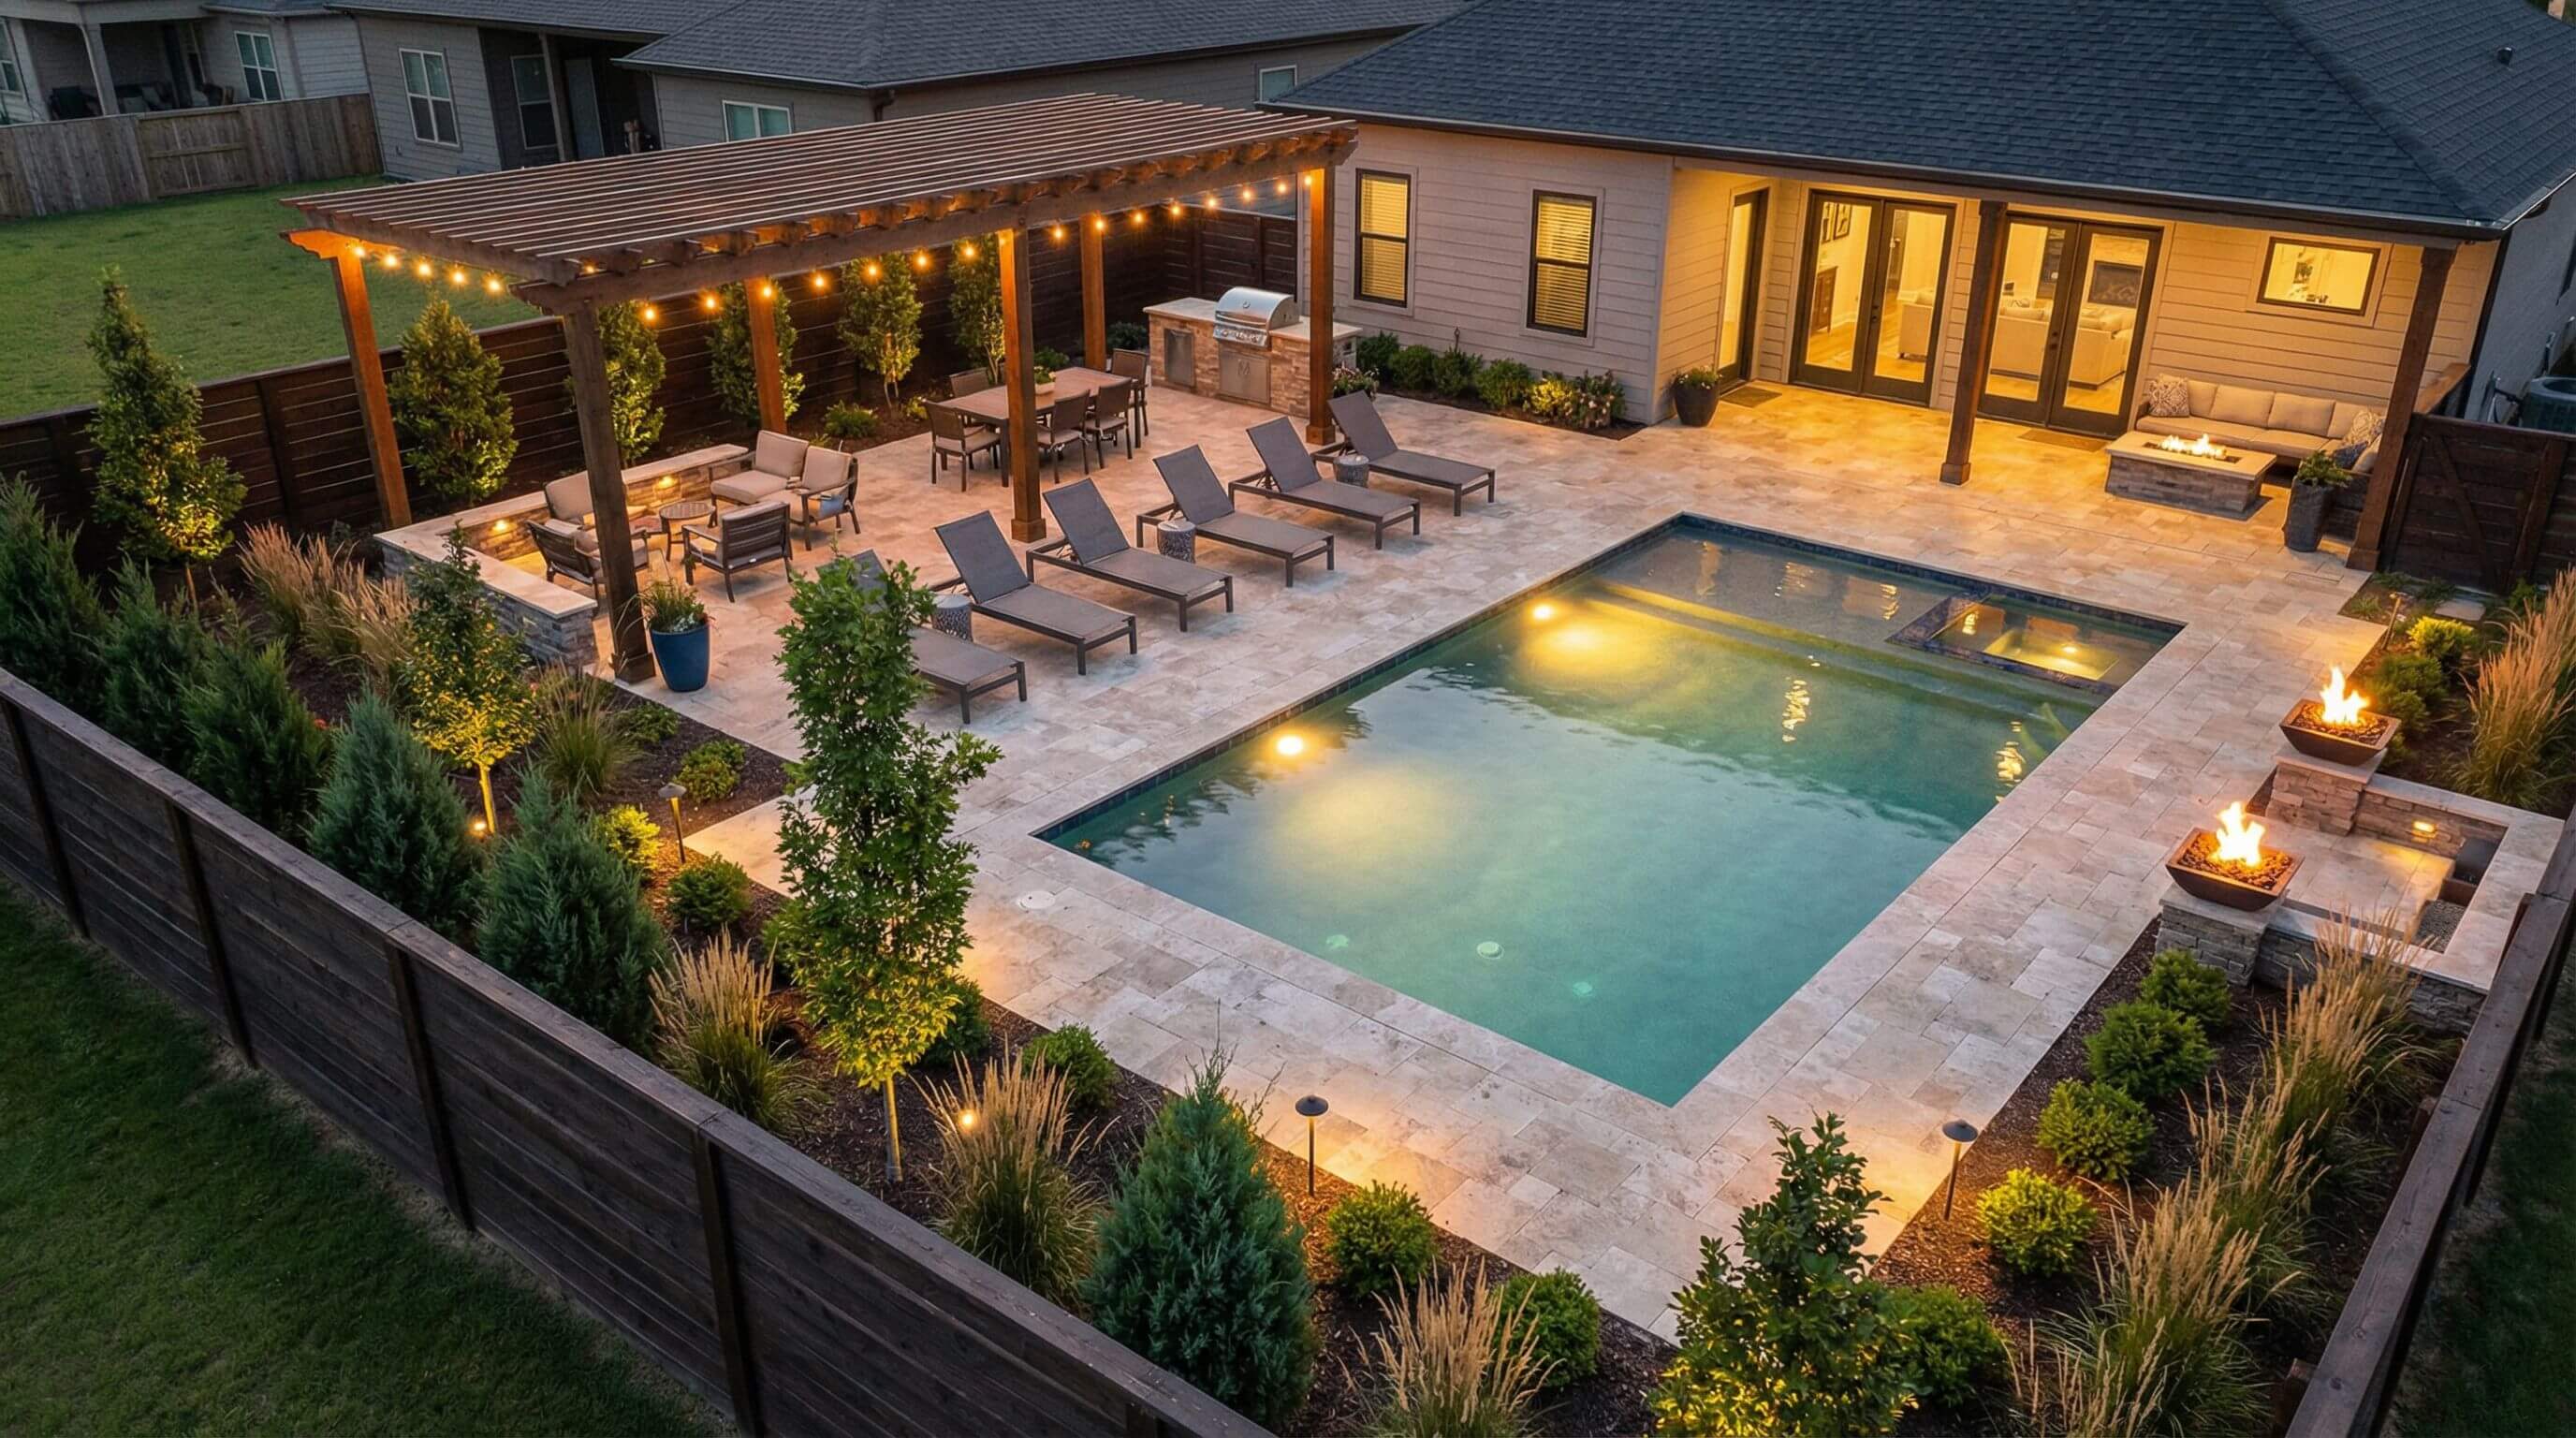
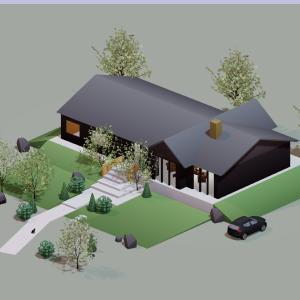
A swimming pool transforms a backyard into a living space. But the pool itself is only part of the picture. What surrounds it, from the deck surface to the planting beds, the lighting, the furniture zones, and the drainage layout, defines how the space actually feels and functions day to day.
This guide walks through every layer of pool area planning from a 3D designer’s perspective. Whether you are starting from an empty yard or reworking an existing pool zone, you will find practical steps to shape a space that looks intentional, stays low maintenance, and works for real life.
If you want to test your ideas visually before committing to materials or contractors, our browser based landscape design tool makes it easy to build out your poolscape in 3D and catch layout issues early.
Start with a site assessment
Every strong pool landscape starts with understanding the site. Before sketching a single idea, walk the property and take note of what you are working with.
Measure the usable space. Know your lot dimensions, the setback requirements in your area, and how much open ground you actually have once the pool footprint is placed. Many homeowners underestimate how much room the surrounding area needs. A good rule of thumb is to plan for at least 4 to 6 feet of deck on each side, with wider zones where you want lounging or dining areas.
Track the sun. Observe how sunlight moves across the yard throughout the day. Identify the sunniest zones for the pool and lounging, and note where natural shade falls. This directly affects where you place shade structures, what plants will thrive, and where guests will naturally want to sit.
Check drainage patterns. Look at where rainwater flows during a storm. Water should always move away from the pool, not toward it. Existing slopes, low spots, and the position of downspouts all matter. Fixing drainage after construction is expensive, so address it in the planning stage.
Note existing features. Mature trees, utility lines, retaining walls, or slopes will influence your layout. Rather than fighting these elements, a good plan works around them and often uses them as design anchors.
When I plan a poolscape in 3D, the site assessment is the foundation for everything. Getting the terrain, boundaries, and orientation right at this stage saves major headaches later.
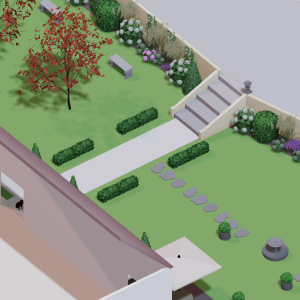
Define functional zones around the pool
A well planned pool area is not one big open space. It is a collection of zones, each serving a different purpose. Defining these zones early keeps the layout organized and prevents that common problem where everything crowds together near the water.
The wet zone
This is the area immediately around the pool edge. It includes the coping, the first few feet of deck, and any steps or entry points. The wet zone needs slip resistant surfaces, clear sightlines for safety, and enough room for people to walk comfortably without bumping into furniture or planting beds.
The lounge zone
Set back slightly from the pool edge, this is where sun loungers, daybeds, or recliners go. Plan for at least 8 to 10 feet of depth if you want a proper lounging area. Consider both sunny and shaded options within this zone so people can choose based on the time of day.
The social and dining zone
This area holds your outdoor dining table, bar, built in grill, or outdoor kitchen. Place it close enough to the pool for easy access but far enough that splashing and wet foot traffic do not reach the dining surface. A pergola, shade sail, or tree canopy above this zone makes it usable during the hottest hours.
The transition zone
The space between your pool area and the rest of the yard needs a clear visual and physical transition. This might be a planting bed, a low wall, a gravel border, or a change in paving material. Transitions prevent the pool area from bleeding into the lawn and give the design a finished look.
Mapping these zones in a 3D model before buying a single paver helps you see spatial relationships at a glance. You can try different furniture placements, adjust walkway widths, and move shade structures around until everything fits naturally.
Choose the right pool deck material
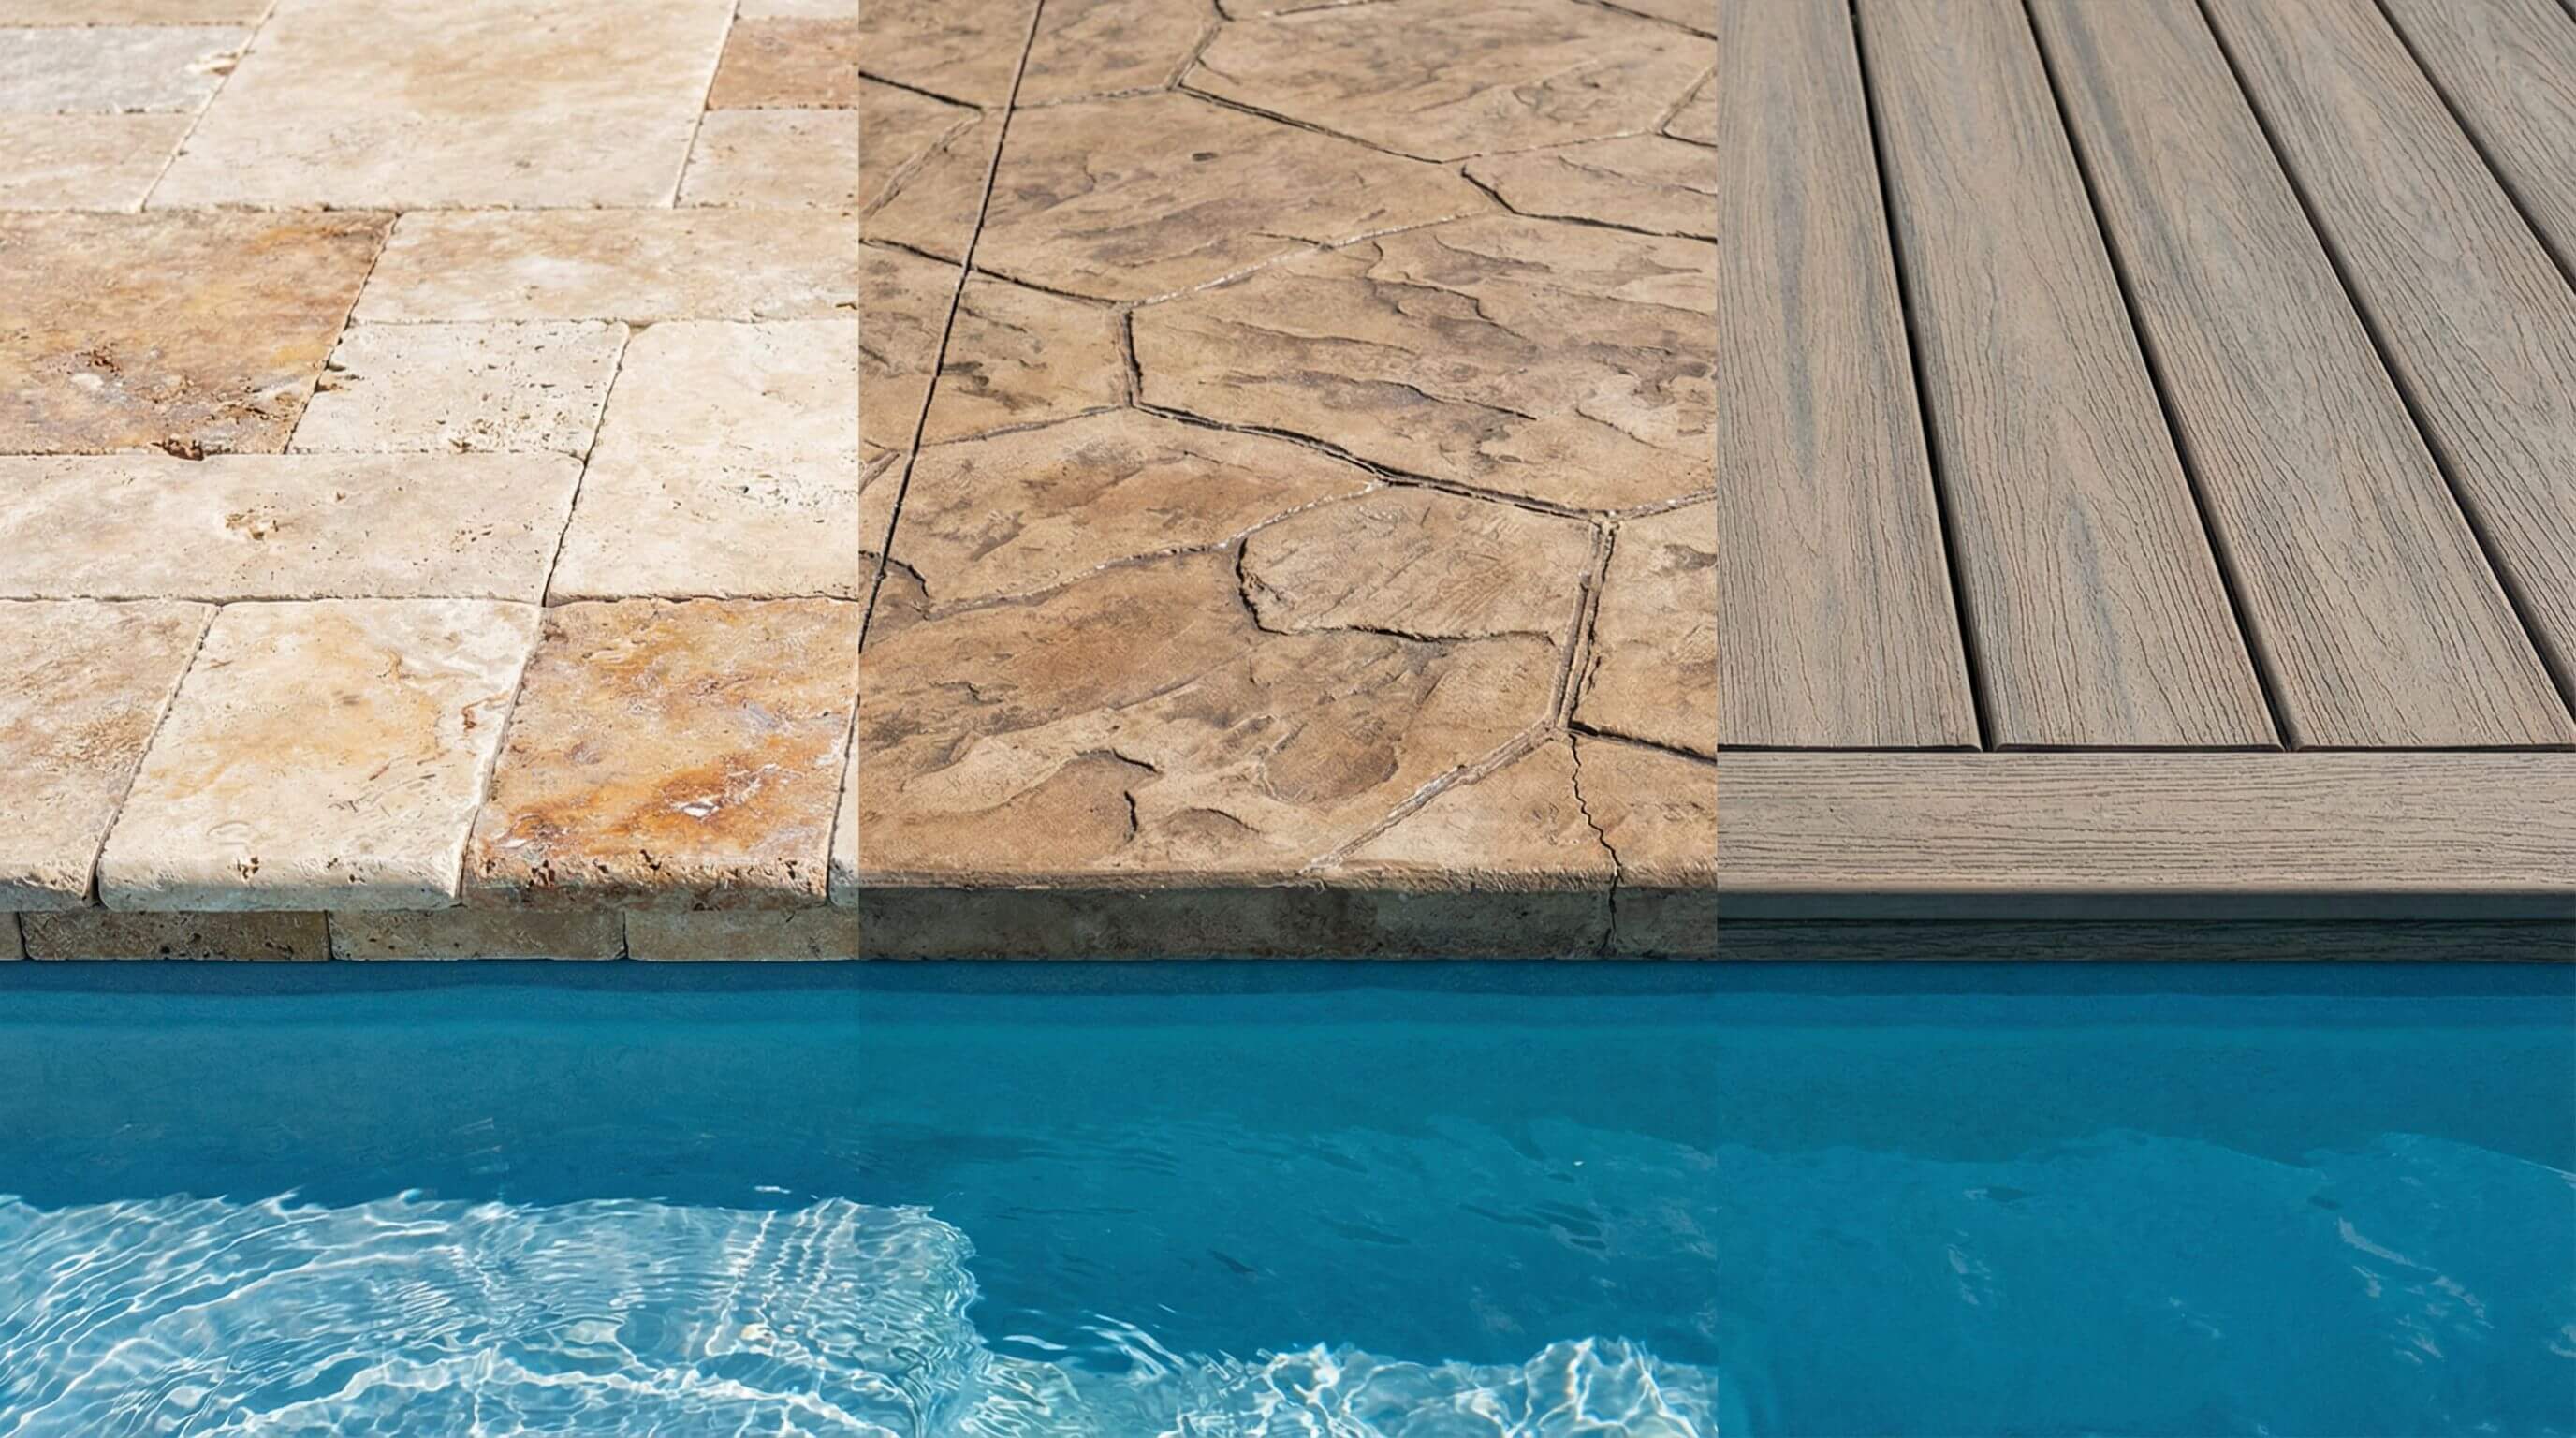
Your pool deck is the largest surface area in the design, and it affects everything from safety to aesthetics to long term maintenance. Here are the most common options and what to consider with each.
Natural Stone (Travertine, Bluestone, Flagstone). Natural stone offers a premium look and stays relatively cool underfoot. Travertine is one of the most popular choices for pool decks because of its heat resistance and natural texture. The tradeoff is cost and the need for periodic sealing.
Concrete Pavers. Pavers come in a wide range of colors, shapes, and textures. They drain well because of the joints between each unit, and individual pavers can be replaced if damaged. Interlocking pavers are a strong option for pool decks because they resist cracking better than poured concrete.
Poured Concrete (Stamped or Brushed). Cost effective and versatile. Stamped concrete can mimic stone or tile patterns. A brushed finish provides good traction. The downside is that large slabs can crack over time, especially in climates with freeze thaw cycles.
Composite Decking. A low maintenance alternative to wood. Composite boards resist rot, splintering, and fading. They work well for raised deck areas or sections where a warm, wood like appearance is desired. Choose lighter colors to reduce heat absorption.
Porcelain Tile. Offers a sleek, modern look with excellent slip resistance when textured finishes are used. Porcelain is stain resistant and handles pool chemicals well, but installation costs run higher than most other options.
Regardless of the material you choose, the surface must be slip resistant when wet and should not retain excessive heat. These two factors matter more than appearance when it comes to daily use.
Select plants that work around a pool
Plants bring life, color, and privacy to a pool landscape. But the wrong plant choices can turn maintenance into a full time job. Here is what to prioritize when selecting poolside vegetation.
Favor evergreens over deciduous species. Evergreen plants maintain their foliage year round, which means fewer leaves dropping into the pool. Boxwood, juniper, podocarpus, and ornamental grasses are reliable choices that provide structure without constant cleanup.
Avoid trees with invasive roots. Species like oaks, elms, willows, and ficus have aggressive root systems that can damage pool shells, plumbing, and deck surfaces. If you want trees near the pool, choose species with contained, non invasive root structures and plant them at least 10 to 15 feet from the pool edge.
Skip plants that attract excessive insects. Heavily flowering plants that attract bees can make the pool area uncomfortable for swimmers. This does not mean avoiding all flowers, but be selective about what you place directly at the pool perimeter. Save the pollinator friendly plants for beds further from the water.
Use layered planting for privacy. Instead of relying on a single tall hedge, create layers with groundcovers in front, mid height shrubs in the middle, and taller screening plants or small trees at the back. This approach looks more natural, provides better coverage, and gives you multiple texture and color combinations.
Think about scale. Plants grow, and what looks proportional at planting can overwhelm the space in a few years. Check the mature size of every species before placing it in your plan, and leave room for growth.
When I design poolscapes, I always test plant placements in the 3D model first. Seeing how a row of tall grasses or a cluster of palms looks relative to the pool, deck, and fence gives you a much better sense of proportion than a flat plan drawing ever can.
Plan for privacy and screening
A pool area should feel like a retreat, not a stage. Privacy planning is essential, especially in suburban lots where neighbors are close.
Fencing. Most local codes require a pool fence, so use it as a design element rather than an afterthought. Aluminum, tempered glass, and horizontal slat wood fencing can all provide safety while contributing to the overall look. Match the fence style to your home’s architecture for a cohesive result.
Hedges and green screens. Dense evergreen hedges (like privet, laurel, or arborvitae) offer natural screening that improves with time. For faster results, consider a trellis with climbing plants such as jasmine, star jasmine, or bougainvillea.
Architectural screens. Slatted timber screens, laser cut metal panels, or bamboo panels can create privacy in specific zones without the maintenance of living plants. These work particularly well for blocking a single sightline, like a neighbor’s upper floor window.
A combination of fencing, plants, and architectural elements usually produces the best outcome. One layer provides the baseline, and the others add depth and character.
Design your pool area lighting
Good lighting extends the usability of your pool area well into the evening and adds a completely different mood to the space after dark. The key is to layer different types of light rather than relying on a single floodlight.
In pool lights. LED lights mounted in the pool walls create a glowing effect from beneath the water surface. Color changing options let you shift the ambiance for different occasions. Place lights on opposing walls for even coverage and minimal shadow.
Path and step lighting. Low voltage lights along walkways and recessed into deck steps improve safety and create a guided pathway. These are especially important for the transition between the house and the pool area.
Uplighting on trees and features. Spotlights aimed upward through tree canopies or along textured walls create dramatic shadows and depth. This is one of the simplest ways to make a pool area feel high end.
Task lighting for dining areas. Pendants under a pergola, string lights across a dining zone, or integrated lights in an outdoor kitchen provide functional illumination where you need it most.
Ambient perimeter lighting. Soft, low level lights along fence lines or planting beds define the boundaries of the space without harsh glare. These create a warm glow that makes the entire area feel inviting.
When planning lighting, less is often more. Over lit pool areas feel commercial rather than residential. Aim for warm tones (2700K to 3000K) and keep individual fixtures subtle.
Get the drainage right
Drainage is the least glamorous part of pool landscape design, but it is one of the most critical. Poor drainage leads to standing water on the deck, soil erosion around planting beds, contamination of pool chemistry, and structural damage over time.
Slope the deck away from the pool. A gentle slope of 1% to 2% away from the pool edge ensures water flows toward drains or permeable areas rather than back into the pool. This prevents rainwater, irrigation runoff, and deck wash water from altering your pool’s chemical balance.
Install channel or slot drains. Linear drains set into the deck surface collect water efficiently and keep the deck surface relatively flat. They are especially useful at the perimeter of the deck where it meets planting beds or lawn areas.
Plan for downspout runoff. If the house or any nearby structure has gutters, make sure the downspouts direct water away from the pool zone. Connecting downspouts to an underground drainage line that outlets away from the pool area is a common and effective solution.
Protect planting beds from excess water. Drainage water directed into planting beds can oversaturate the soil and kill plants. Use drainage lines that carry water past the beds to a designated discharge point, or choose plants that tolerate periodic wet conditions in low lying areas.
Addressing drainage in your plan from the start avoids costly fixes later. It is one of those elements that is invisible when it works and painfully obvious when it does not.
Add features that elevate the space
Once the core layout, materials, and planting are in place, consider the features that turn a pool area from functional to genuinely enjoyable.
Fire features. A fire pit or fire bowl near the pool creates a natural gathering point for cooler evenings. Gas powered fire features are easier to maintain than wood burning ones, and they do not produce ash that can blow into the pool.
Water features. Sheer descent waterfalls, scuppers, or bubblers built into a raised wall add sound and movement. They also help mask background noise from nearby roads or neighbors, making the space feel more secluded.
Outdoor kitchen or bar. If you entertain frequently, a built in grill, countertop, and sink near the pool area keep the host in the action. Position the cooking area downwind from the main lounging zone to manage smoke.
Shade structures. Pergolas, shade sails, and retractable awnings provide relief from direct sun. A shade structure also creates a visual anchor and helps define the dining or lounge zone from the rest of the space.
Storage. Built in bench storage, a small pool house, or a weatherproof cabinet keeps towels, toys, chemicals, and cleaning tools organized and out of sight. Nothing undermines a polished pool design faster than clutter.
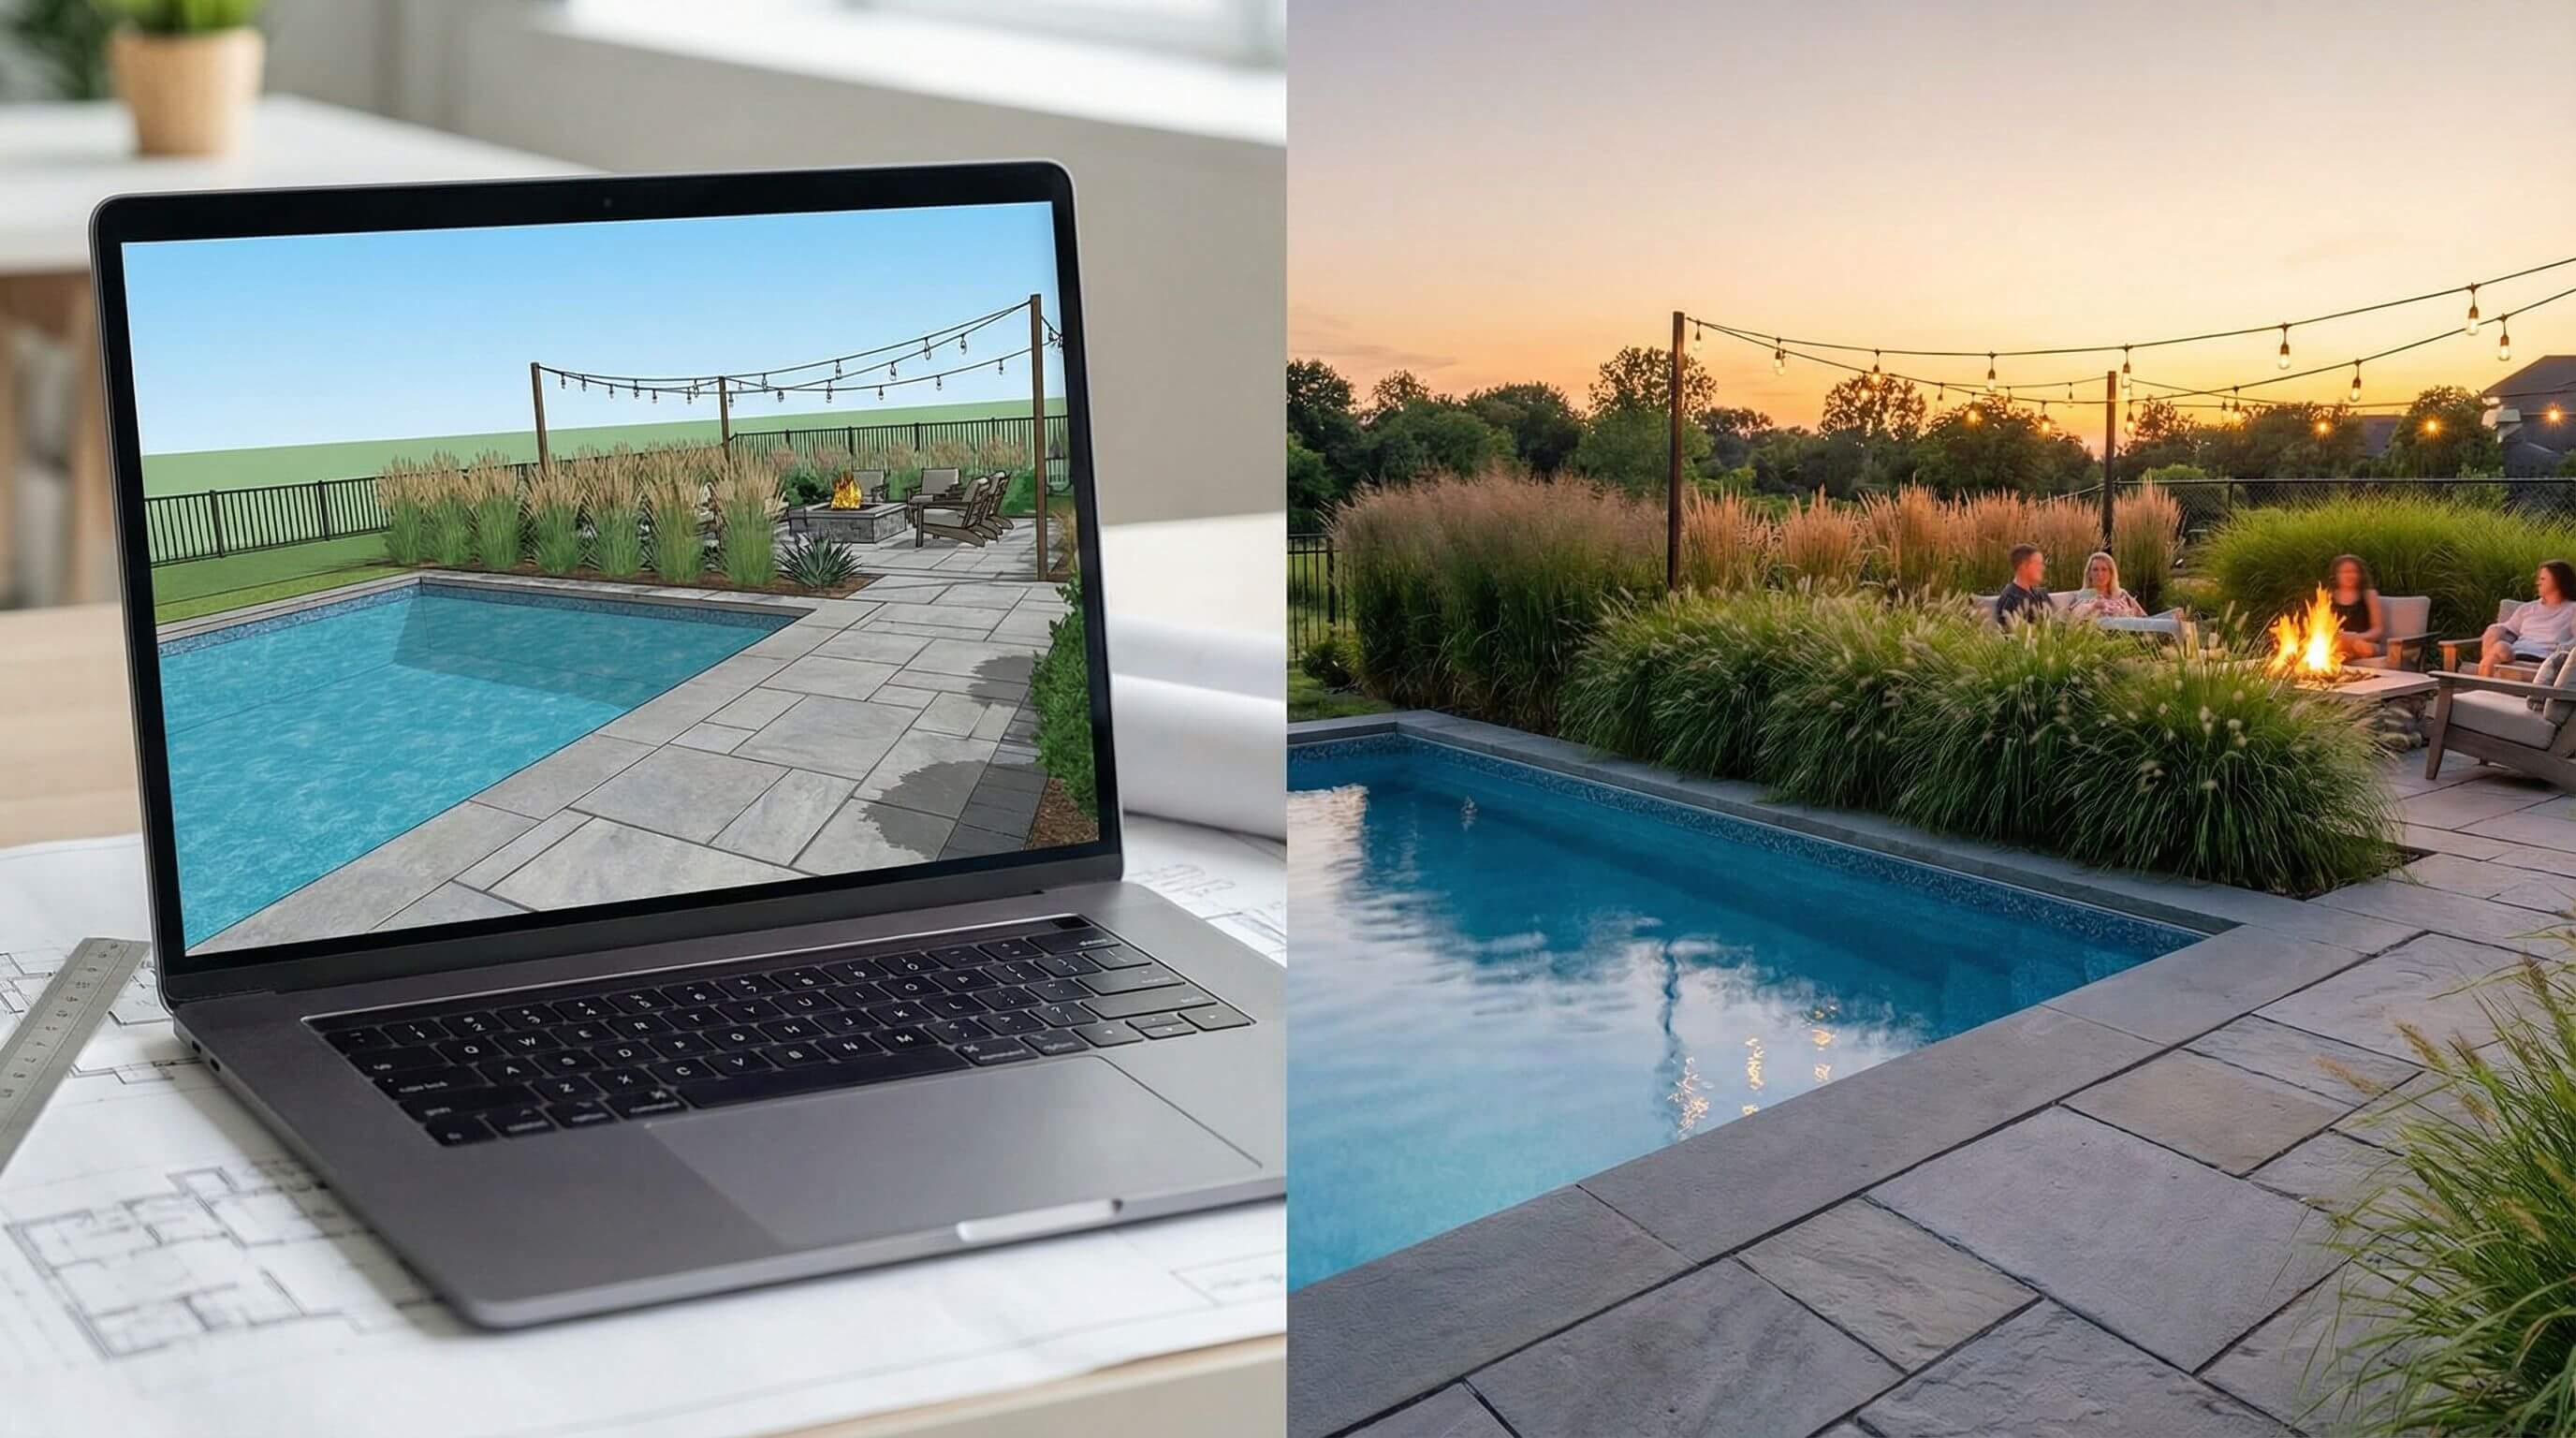
Visualize before you build
One of the biggest mistakes in pool landscape design is committing to materials and layouts based on flat plans or imagination alone. What looks good on a 2D drawing does not always translate well to real space.
Proportions feel different, sightlines change, and material combinations may clash in ways a flat sketch cannot reveal. This is where 3D modeling becomes essential, with a platform like Arcadium 3D, you can build out your entire pool area in a realistic 3D environment directly in your browser.
Place the pool, set the deck material, arrange furniture, drop in plants, and then walk through the space virtually to see how everything connects. You can test different stone colors against your house exterior, experiment with planting arrangements, and confirm that your dining zone is far enough from the splash radius.
Common pool landscaping mistakes to avoid
Planting too close to the pool. Trees and large shrubs planted within a few feet of the pool edge will drop debris into the water and potentially damage the pool structure with root growth. Keep a clear buffer zone of at least 6 feet.
Ignoring wind patterns. Wind pushes leaves, dust, and insects toward the pool. Observe the prevailing wind direction on your property and plan planting beds and open sides accordingly.
Choosing style over function. A beautiful deck material that gets dangerously slippery when wet or a stunning tree that drops sticky sap into the pool will create ongoing frustration. Always test practical performance alongside appearance.
Forgetting about winter. If you live in a region with cold winters, consider how the space looks and functions when the pool is covered or closed. Evergreen plants, hardscape features, and year round lighting keep the area from feeling desolate off season.
Skipping the 3D preview. Building is expensive. Moving a patio, rerouting a walkway, or replacing a deck material after construction costs many times more than adjusting a digital model. A 3D walkthrough before construction starts is one of the smartest investments in the entire project.
Bringing it all together
Planning the area around a swimming pool is a design project that touches on architecture, horticulture, engineering, and lifestyle all at once. The best pool landscapes are the ones where every element, from the deck surface to the farthest planting bed, feels like it belongs together.
Take the time to plan each layer thoughtfully. Assess the site, define clear zones, pick materials that balance beauty and performance, select plants that will not fight you year after year, and light the space so it works after sundown.
Then, before a single shovel hits the ground, walk through the whole design in 3D to make sure it all connects the way you envisioned. The result is a pool area that is not just attractive on day one, but stays functional, low maintenance, and genuinely enjoyable for years to come.
Frequently asked questions
What is the best material for a pool deck?
Travertine and concrete pavers are the most popular choices because they stay cool underfoot, resist slipping when wet, and hold up well over time. The best option depends on your climate, budget, and design style.
How far should plants be from a swimming pool?
Keep trees at least 10 to 15 feet from the pool edge to prevent root damage and leaf debris. Smaller shrubs and ornamental grasses can be placed as close as 4 to 6 feet, as long as they are low debris species.
How do I keep leaves out of my pool?
Choose evergreen plants over deciduous species, maintain a clear buffer zone around the pool, and position planting beds downwind. A pool cover or leaf net during fall also helps significantly.
Do I need a drainage system around my pool deck?
Yes. Proper drainage prevents standing water, protects the deck from erosion, and stops contaminated runoff from entering the pool. A 1% to 2% slope with channel drains is the standard approach.
What type of lighting works best around a pool?
A layered approach works best: in pool LED lights for the water, low voltage path lights for walkways, uplights on trees or walls, and warm ambient lighting along the perimeter.
Can I design my pool landscape without hiring a professional?
Yes. Tools like Arcadium 3D let homeowners build a full 3D model of their pool area, experiment with materials and layouts, and create a clear plan before talking to contractors.
How much deck space do I need around a pool?
Plan for a minimum of 4 to 6 feet on all sides for comfortable circulation. Lounging and dining areas need 8 to 12 feet of depth. The total deck area often equals or exceeds the pool surface area itself.


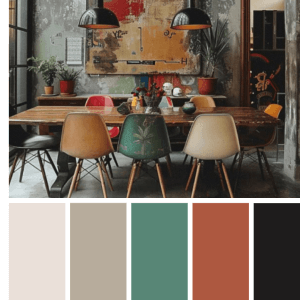 Color palette generator
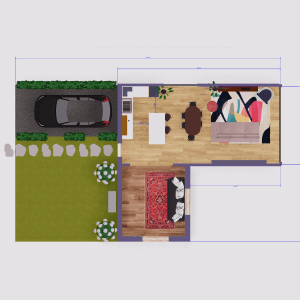 Floor plan creator
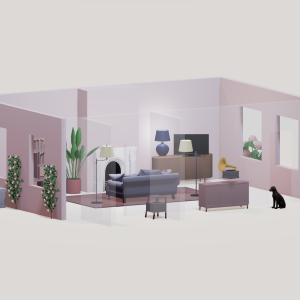 Interior design app
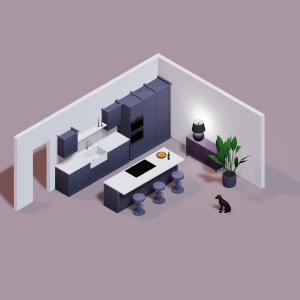 Kitchen design tool
 House design software
 Landscape design software
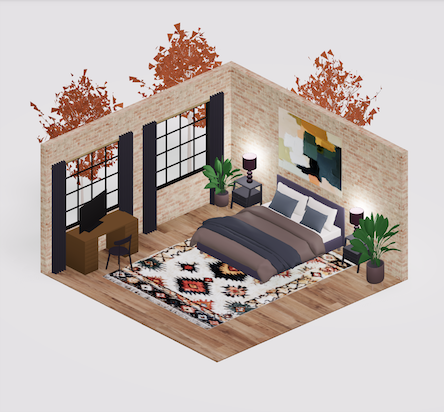
 Bedroom design
 Office floor plan creator
 How to use Arcadium — full guide
 3D object library - free
 Articles and blog