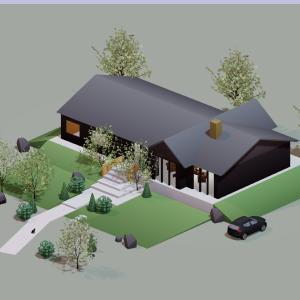
Renovations are exciting until they go wrong. A wall gets removed and the room feels too open. The new kitchen cabinets arrive and they block a window. The paint color that looked perfect on a sample card overwhelms the entire bedroom.
Nearly three out of four homeowners who renovate end up regretting at least one decision they made during the process. In most cases, the regret comes from the same root cause: they could not clearly visualize the finished result before committing to it.
This guide walks you through the complete process of using a 3D room planner to plan your renovation from start to finish. Whether you are remodeling a kitchen, redesigning a bathroom, opening up a living room, or simply rearranging a bedroom, these steps will help you make confident decisions and avoid the costly surprises that derail renovation projects.
Why visualizing your renovation in 3D matters
Flat floor plans and mood boards can only communicate so much. A 2D drawing shows where walls and furniture sit, but it cannot show you how the space will actually feel when you stand inside it. It cannot tell you whether the countertop color clashes with the flooring, whether the new island makes the kitchen feel cramped, or whether the window placement fills the room with light or leaves dark corners.
A 3D room planner bridges this gap. It lets you explore your renovation from eye level, walk through the space virtually, and evaluate proportions, materials, and colors the way you would experience them in real life.
This changes the entire decision making process. Instead of guessing and hoping the result matches what you imagined, you can see it clearly and adjust before anything permanent happens.
The financial impact is significant. Mid project changes are among the most expensive parts of any renovation. Changing a layout after framing has started, reordering materials because the first choice did not work, or adjusting cabinet dimensions after installation all add up fast. Decisions made in a 3D planner cost nothing to change. Decisions made on a construction site cost real money. The earlier you catch a problem, the cheaper it is to fix.
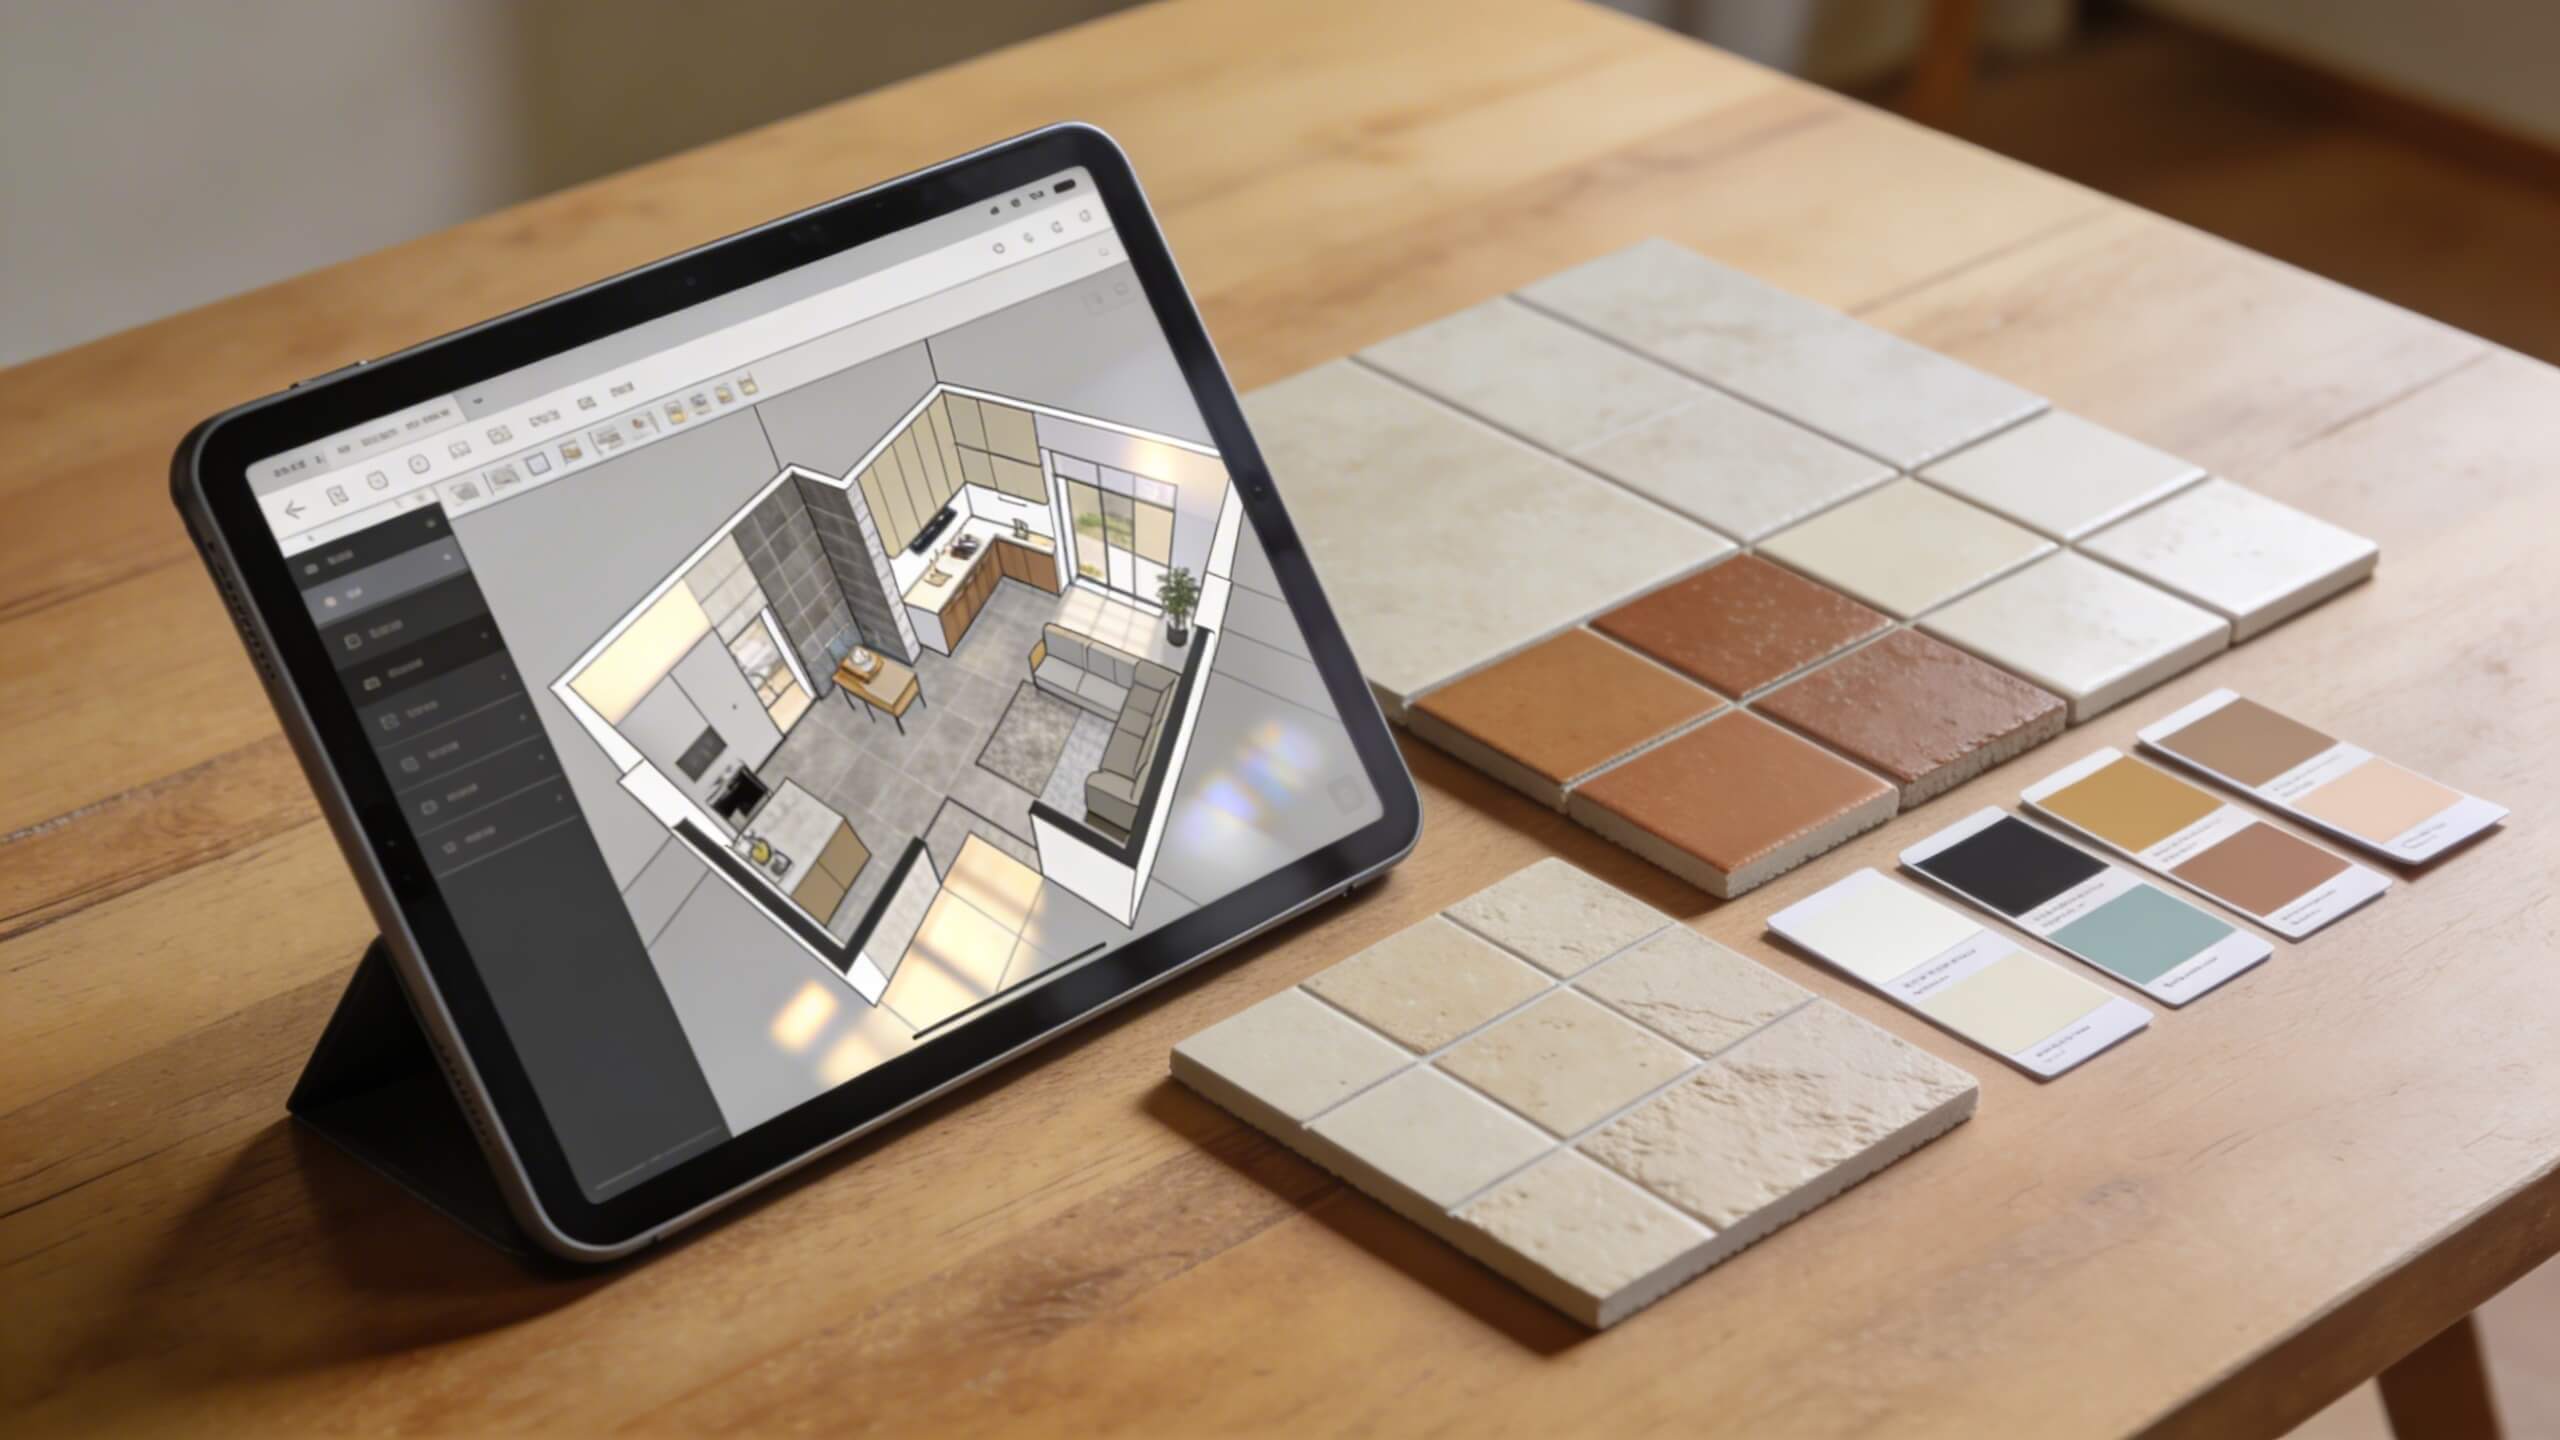
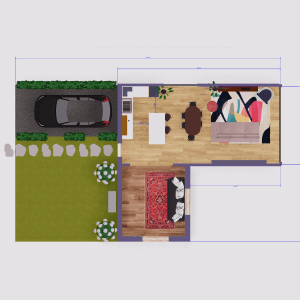
Step 1: Measure your room and build the floor plan
Every successful 3D renovation plan starts with accurate measurements. Take the length and width of the room. Measure the height of the ceiling. Note the exact position of every door, window, and fixed feature like a fireplace, column, or built in shelving. Record the distance from each wall to these features.
For kitchens and bathrooms, also document the location of plumbing connections, electrical outlets, and any appliances that will stay in place. These fixed points constrain your layout options, and your 3D plan needs to account for them.
Once you have your measurements, open our 3d room planner and recreate your room digitally. Draw the walls to match your measurements, add doors and windows in their correct positions, and set the ceiling height. This digital replica becomes the foundation for every design decision that follows. An accurate floor plan prevents the frustrating experience of ordering furniture or cabinets that do not fit once they arrive.
Take your time with this step. Every inch matters in a renovation, especially in kitchens and bathrooms where appliances, fixtures, and cabinetry need to align precisely. If you have the original architectural blueprints of your home, use them as a reference to confirm your measurements.
Step 2: Define your renovation goals and priorities
Before you start experimenting with designs, write down exactly what you want the renovation to achieve. Is the goal to create more storage in the kitchen? Make the bedroom feel more spacious? Add a home office nook to the living room? Improve the flow between the dining and cooking areas?
Having clear goals prevents scope creep, which is one of the most common reasons renovations go over budget. When you know the purpose of every change, you can evaluate each design decision against that purpose. If a change does not serve one of your stated goals, it is probably unnecessary.
Rank your priorities. In most renovations, you will face tradeoffs. More counter space might mean less floor space. A larger shower might reduce storage in the bathroom. A window seat adds charm but takes away wall space for furniture. When you have ranked priorities, these tradeoffs become easier to navigate because you know which goals matter most.
Enter these priorities into your 3D planning process as constraints. When you test layouts in the planner, evaluate each option against your ranked list. The layout that best satisfies your top priorities is your strongest candidate, even if it means compromising on lower ranked preferences.
Step 3: Experiment with layout changes in 3D
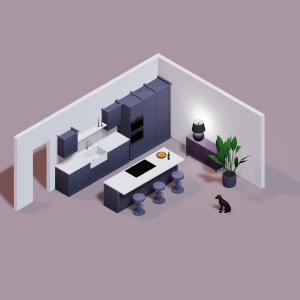
This is where the 3D planner earns its value. Start rearranging the elements of your room and see how each change affects the overall space. Move the kitchen island to a different position and check whether the traffic flow improves. Swap the location of the stove and refrigerator and evaluate whether the work triangle becomes more efficient. Rotate the bed 90 degrees and see if the bedroom gains or loses usable floor space.
The power of 3D planning is iteration. You can test five or ten different layouts in the time it would take to physically move one piece of furniture. Each version is saved and can be compared side by side. This rapid iteration reveals options you would never discover through guesswork alone.
Pay attention to practical details as you experiment. Leave at least 36 inches of clearance for main walkways. Make sure cabinet doors and appliance doors do not collide when opened. Confirm that electrical outlets remain accessible after furniture is placed. Check that windows are not blocked by tall furniture. These functional details are easy to overlook on paper but immediately visible when you walk through the space in 3D.
If you are planning to remove a wall, the 3D planner lets you see what the open space will look like before any demolition happens. You can evaluate sight lines, lighting, and proportions in advance and decide whether the wall removal actually improves the space or creates problems you did not anticipate.
Step 4: Test materials, colors, and finishes virtually
Choosing materials from small samples is one of the leading causes of renovation regret. A two inch tile sample looks nothing like an entire bathroom floor covered in that tile. A paint swatch held up to a wall in store lighting behaves differently under the natural light in your bedroom. What seems like a subtle difference in a sample becomes an overwhelming presence when applied at full scale.
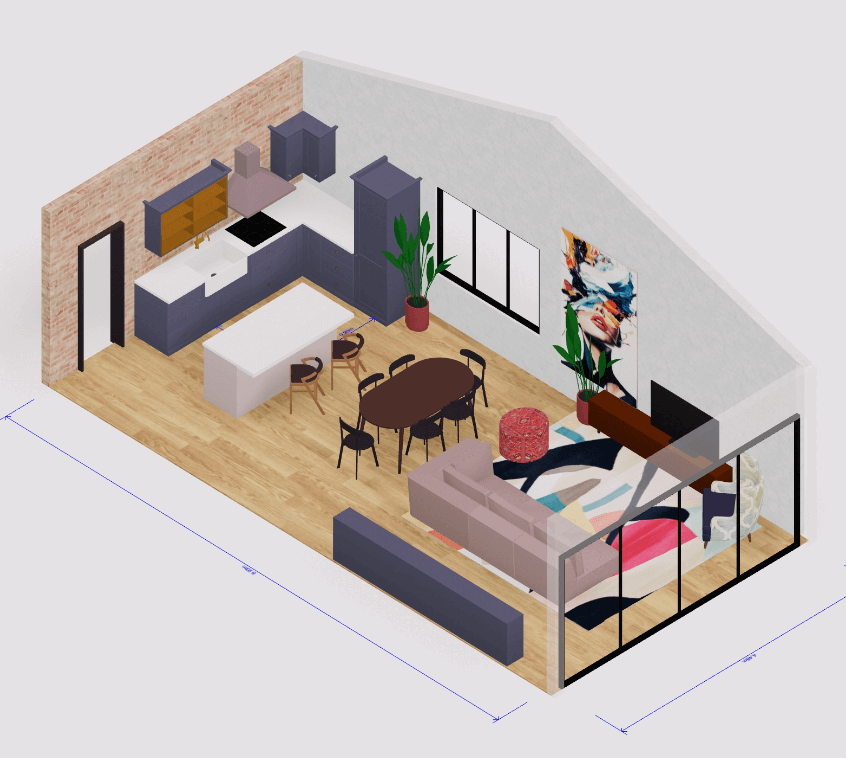
A 3D room planner lets you apply materials to your virtual room and see them at full scale, in context, and in relation to every other surface. Change the floor tile and instantly see how it looks against the wall color, the cabinet finish, and the countertop material. Swap the countertop from marble to quartz and evaluate the difference without ordering samples of both.
Test color combinations methodically. Apply your first choice of wall color and check it against the flooring, trim, and furniture. If something feels off, swap it and compare. Create two or three variations of the same room with different color palettes and view them side by side. This comparative approach reveals which combination creates the atmosphere you want far more effectively than staring at individual samples in isolation.
Pay attention to how materials interact with light. A dark floor absorbs light and makes a room feel cozier but potentially smaller. Glossy tiles reflect light and add brightness but can look cold in certain contexts. A matte finish on cabinets hides fingerprints but appears different from the same color in a gloss finish. Seeing these interactions in 3D helps you make informed choices rather than discovering problems after installation.
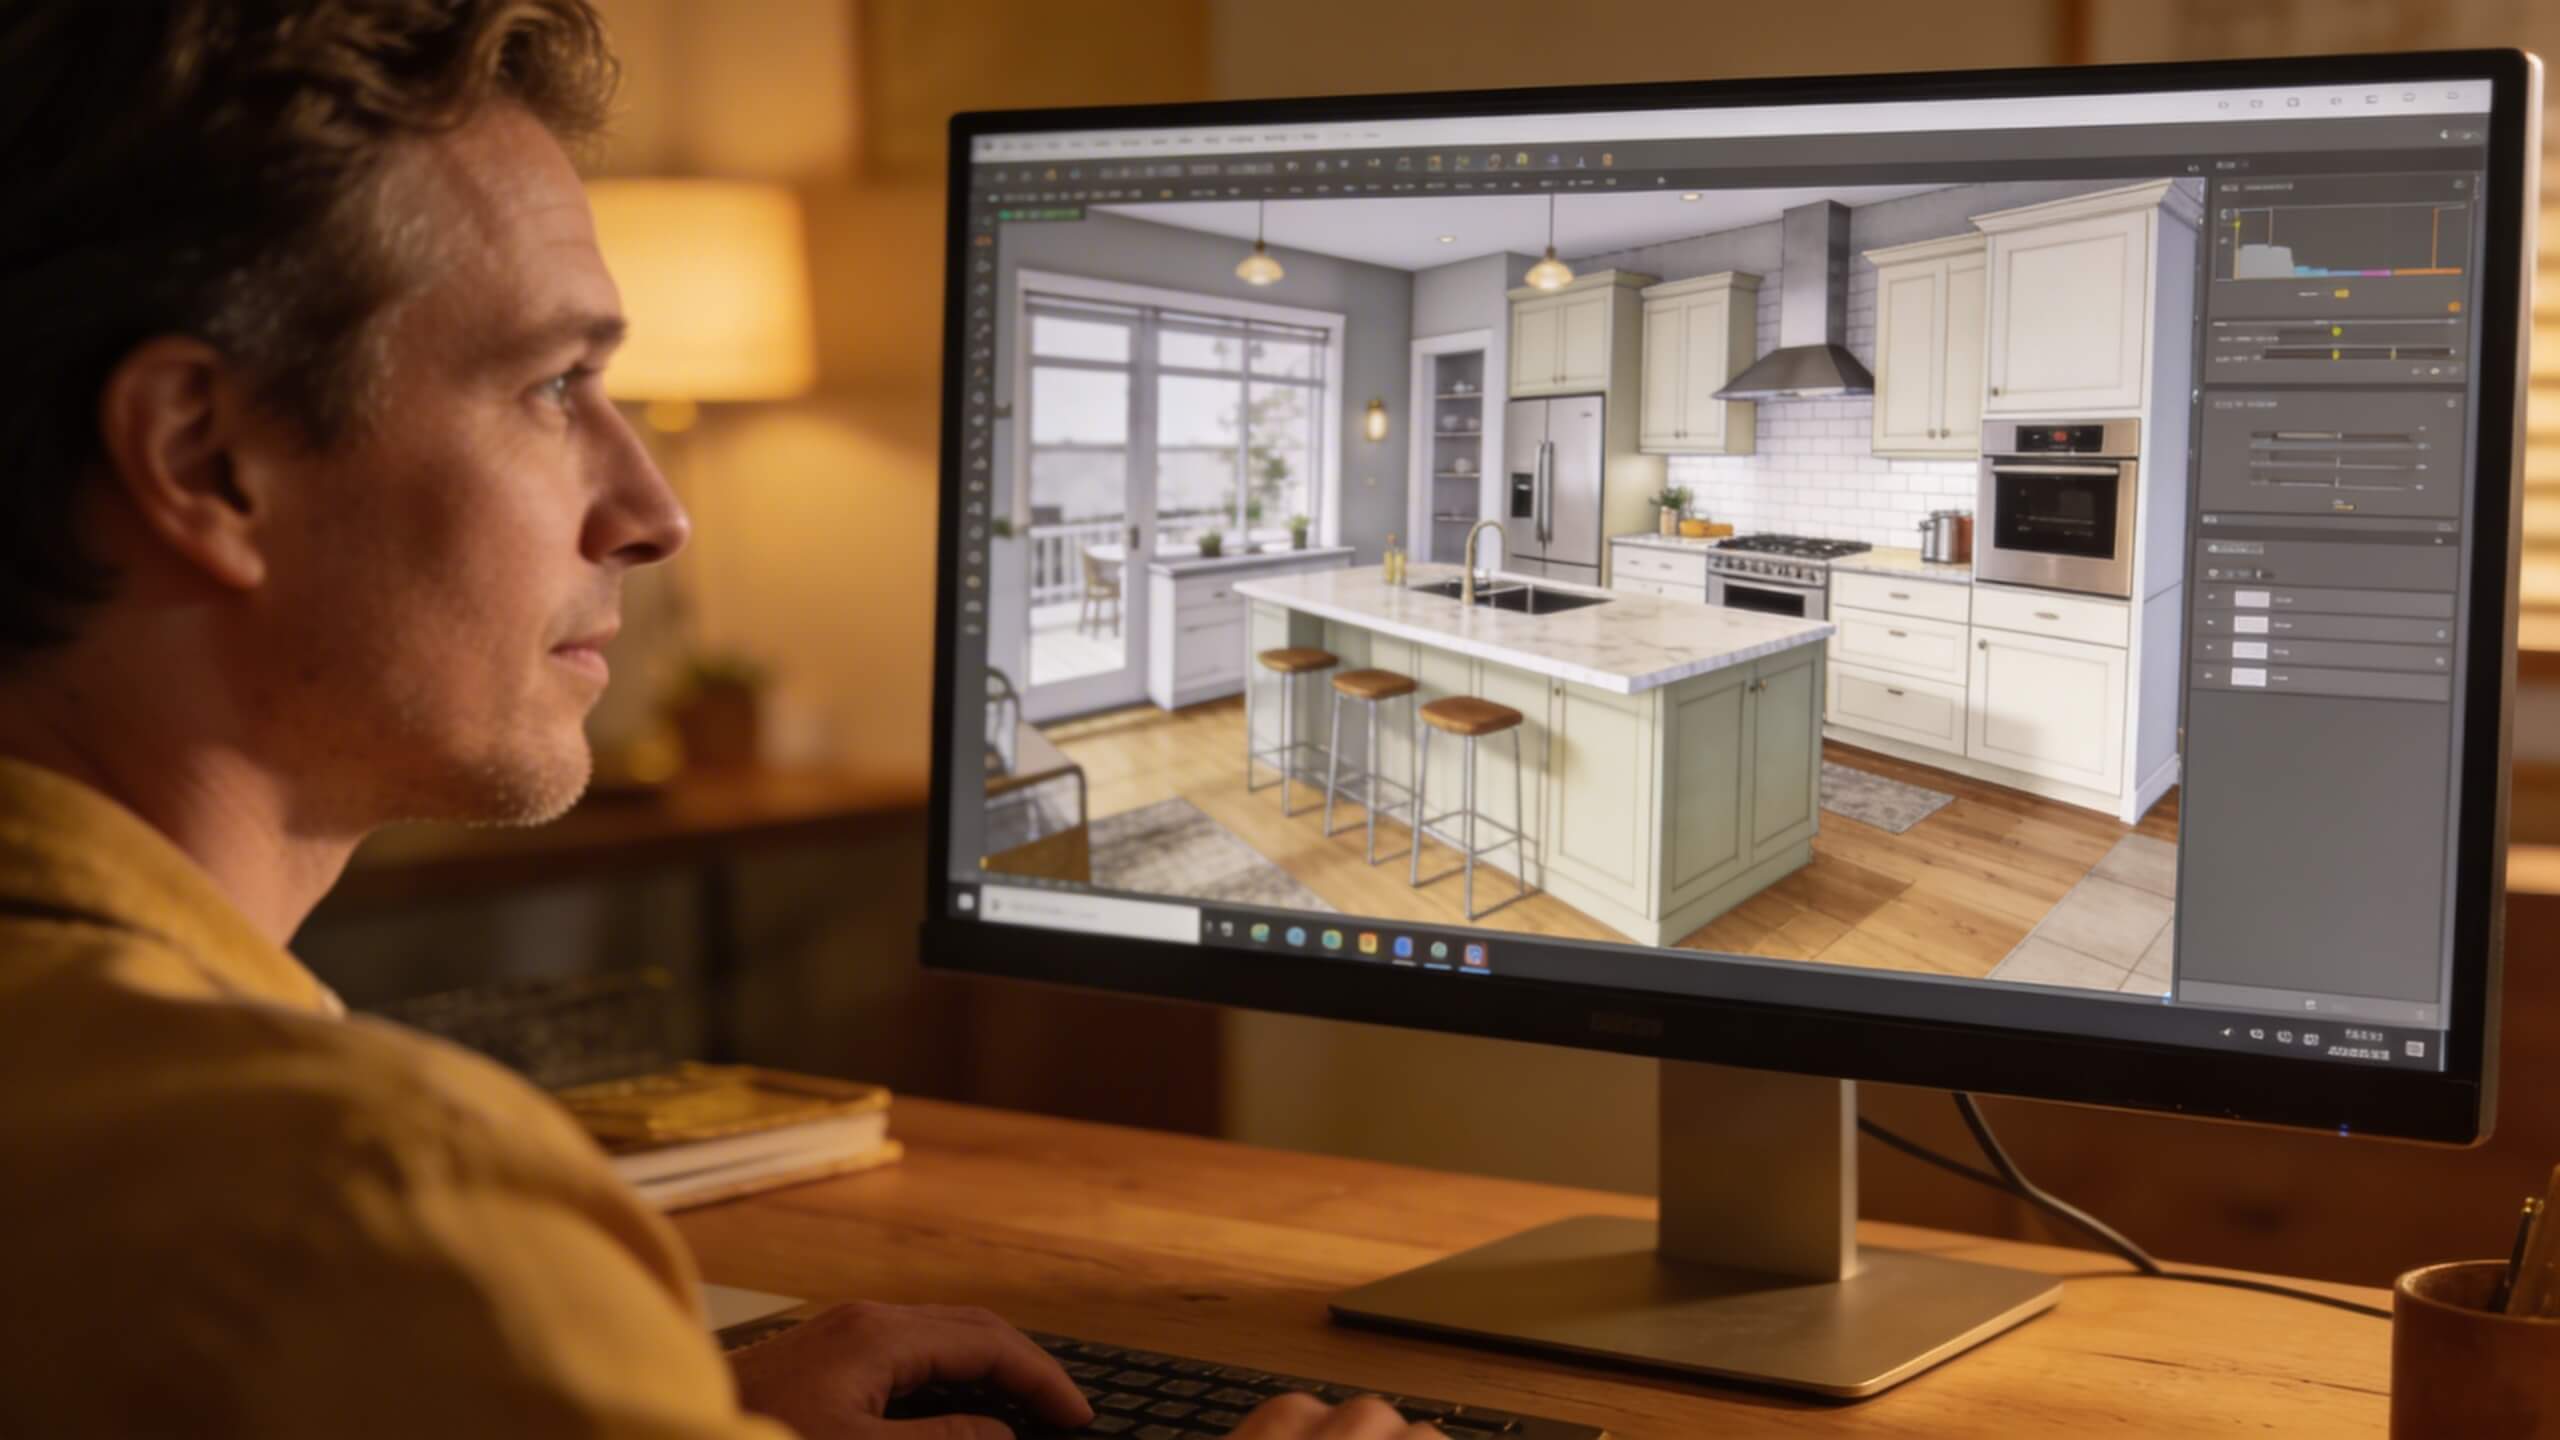
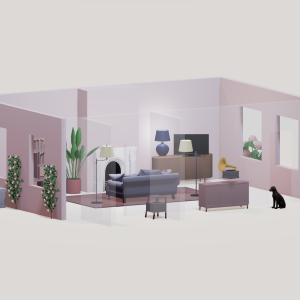
Step 5: Plan furniture placement and check proportions
Furniture can make or break a renovated room. A sofa that is too large for the space overwhelms the layout. A dining table that barely fits forces everyone to squeeze between chairs and walls. These scale mismatches are obvious in 3D but nearly impossible to judge from measurements alone.
Place furniture in your 3D plan using accurate dimensions. Most 3D planners include furniture libraries with standard sized pieces, but for the best results, enter the exact dimensions of furniture you already own or plan to purchase. This prevents the common disappointment of ordering a piece that looked great in the showroom but dominates your actual room.
Check proportions from multiple angles. View the room from above to confirm that furniture does not overcrowd the floor plan. Switch to eye level view to check that sight lines are clear and the room does not feel cluttered. Walk through the space virtually to make sure you can move between furniture pieces comfortably without squeezing through tight gaps.
If you are planning a renovation that involves built in elements like custom cabinetry, a window seat, or a built in bookshelf, model these in 3D first. Built in features are permanent. Seeing them at scale in your virtual room before construction ensures they integrate with the rest of the space rather than dominating it.
Step 6: Evaluate lighting before installation
Lighting is one of the most overlooked elements in renovation planning. Homeowners often finalize electrical plans before the furniture layout is decided, which leads to light switches hidden behind doors, outlets blocked by cabinets, and overhead fixtures that light the wrong areas.
Use your 3D plan to position lighting intentionally. Place ceiling fixtures where they illuminate work surfaces and gathering areas rather than empty floor space. Check that pendant lights over a kitchen island hang at the right height and do not obstruct sight lines. Confirm that floor lamp placements near seating areas are close to electrical outlets.
Consider how natural light enters the room at different times of day. If your 3D planner supports lighting simulation, test morning and afternoon light conditions. A window that floods the kitchen with morning sun might create blinding glare on the countertop if the layout positions the workspace directly in the light path. Discovering this in the planner lets you adjust the layout before installation makes changes expensive.
Layered lighting works best in renovated spaces. Plan for ambient lighting (general room illumination), task lighting (focused light for cooking, reading, or working), and accent lighting (wall sconces or LED strips that highlight architectural features). Seeing all three layers in your 3D plan ensures complete coverage with no dark spots.
Step 7: Share your design for feedback and contractor coordination
One of the most practical advantages of a 3D room planner is the ability to share your design with other people. Family members who will use the space daily should see and approve the layout before work begins. A partner who cooks every evening needs to validate the kitchen workflow. Children who share a room need to confirm that both study and sleep zones work for them.
Sharing a 3D model is also invaluable when working with contractors. Instead of describing what you want verbally or pointing at magazine photos, you hand the contractor a visual reference that shows exact dimensions, furniture positions, and material choices. This eliminates the miscommunication that causes mid project changes and cost overruns.
Arcadium 3D makes sharing especially simple. Your design is stored in the cloud and accessible via a URL. You send the link to your partner, your contractor, or your family, and they can view the full 3D layout in their browser without downloading anything. Everyone sees the same design, gives feedback on the same plan, and agrees on the direction before the first nail is driven.
If your contractor suggests structural changes during the build, you can update the 3D plan in real time and see how the change affects the overall layout. This turns what would normally be a stressful on site decision into an informed choice backed by visual evidence.
Step 8: Finalize your plan and create a renovation checklist
Once your 3D design is complete and approved by everyone involved, use it to create a detailed renovation checklist. Walk through the virtual room and document every element that needs to be purchased, installed, or changed. List the wall color codes, flooring materials, cabinet dimensions, light fixture positions, and furniture pieces with their exact measurements.
This checklist becomes the single source of truth for your entire project. It prevents the common problem of arriving at the hardware store and forgetting which shade of gray you chose, or having the electrician ask where you want outlets and not remembering the plan you had in mind three weeks ago.
Save or export your 3D design as a reference that travels with you. When you visit showrooms, pull up the design on your phone to compare products against your planned space. When the contractor has a question, reference the model instead of trying to recall details from memory. The 3D plan acts as a visual contract between your vision and the final result.
Having this level of preparation also helps you get more accurate quotes from contractors. When they can see exactly what you want, with dimensions and materials specified, their estimates are tighter and you face fewer surprise costs during the build.
Common renovation planning mistakes a 3D Planner helps you to avoid
Choosing materials from small samples without seeing them at scale. A 3D planner shows every material on full surfaces so you can evaluate the true visual impact before ordering.
Ignoring traffic flow until furniture arrives. Walking through your layout in 3D reveals blocked pathways, tight squeezes, and awkward furniture placement before anything is installed.
Underestimating how a wall removal changes the room. Seeing the open space in 3D, complete with furniture and lighting, prevents the shock of discovering that the room feels too large, too exposed, or poorly proportioned after demolition.
Placing electrical outlets and light fixtures before finalizing the furniture layout. Modeling both together in 3D ensures outlets are accessible, switches are reachable, and fixtures illuminate the right zones.
Making costly changes mid project because the result does not match expectations. When you have already seen the finished room in 3D and approved every detail, mid project surprises become rare rather than routine.
Frequently asked questions
Do I need design experience to use a 3D room planner?
No. Modern 3D room planners are built for homeowners with no design background. You draw walls, place furniture with drag and drop, and the tool handles the 3D rendering automatically.
Can a 3D room planner help me save money on my renovation?
Yes. Testing layouts, materials, and furniture virtually eliminates costly mid project changes. Decisions made in a 3D planner cost nothing to adjust. Changes made during construction cost real money.
How accurate are 3D room planners for renovation planning?
As accurate as your measurements. If you input precise room dimensions, door and window positions, and furniture sizes, the 3D model closely reflects how the actual space will look and function.
Can I share my 3D plan with a contractor?
Yes. Platforms like Arcadium 3D let you share your design via URL. Your contractor can view the full 3D layout in their browser without installing any software, ensuring you both agree on the plan before work starts.
What rooms benefit most from 3D planning before renovation?
Kitchens and bathrooms benefit most because they involve tight coordination of plumbing, electrical, cabinetry, and fixtures. However, any room with a complex layout or significant furniture investment benefits from 3D visualization.
Is it better to use a 3D planner or hire a professional designer?
For most homeowners, a 3D room planner provides enough capability to plan a renovation independently. Professional designers add value for complex architectural changes, but the majority of layout, material, and furniture decisions can be made confidently in a good 3D tool.


 Color palette generator
 Floor plan creator
 Interior design app
 Kitchen design tool
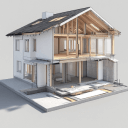
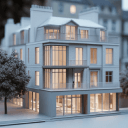
 House design software
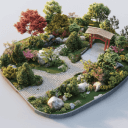
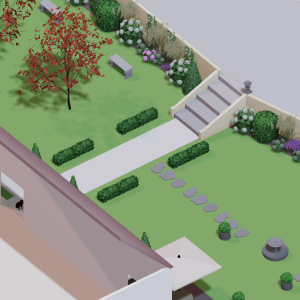 Landscape design software
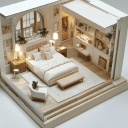
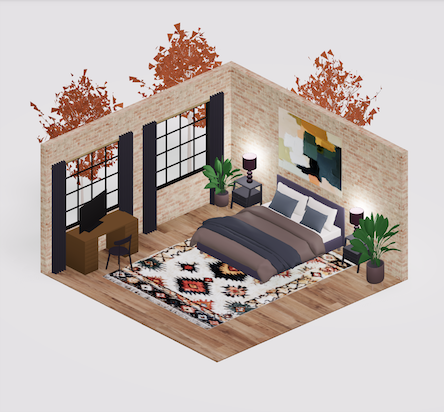
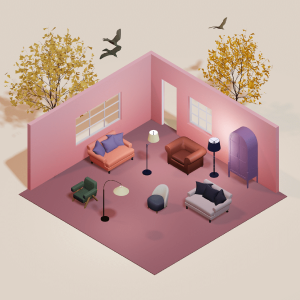 Bedroom design
 Office floor plan creator
 How to use Arcadium — full guide
 3D object library - free
 Articles and blog