Your kitchen cabinet layout is the single biggest decision that shapes how your kitchen looks, feels, and functions every day. Whether you are remodeling an existing space or building from scratch, the configuration of your cabinets determines your storage capacity, workflow efficiency, and even how comfortably multiple people can move around during meal prep.
As a 3D designer who has planned hundreds of kitchens, I can tell you that picking the right cabinet layout is not about following trends. It is about understanding your room dimensions, your cooking habits, and your household needs.
This guide walks you through every major kitchen cabinet configuration, the design principles behind them, and practical tips so you can plan a layout that works for your life. And if you want to visualize your ideas before committing, our free kitchen design tool lets you experiment with different configurations in real time, right in your browser.
Why your kitchen cabinet layout matters more than aesthetics
Most homeowners start a kitchen project thinking about cabinet colors, countertop materials, or hardware finishes. Those choices matter, but they come second. Your layout is the foundation. A beautifully styled kitchen with a poorly planned cabinet configuration will frustrate you every time you cook.
The right layout accomplishes three things. First, it creates an efficient workflow so you are not walking back and forth between the fridge, sink, and stove more than necessary. Second, it maximizes storage by placing cabinets where they are most useful. Third, it keeps traffic flowing smoothly so that people moving through the kitchen do not collide with the person cooking. When you get the layout right, everything else falls into place.
Assessing your space before choosing a configuration
Before you browse cabinet styles or pick a layout type, you need a clear picture of what you are working with. Grab a tape measure and document the following: total floor area in square feet, exact wall lengths where cabinets could go, locations of windows and doors (including swing direction), positions of existing plumbing and electrical connections, and ceiling height.
Plumbing and electrical locations are especially important because moving a sink drain or gas line is one of the most expensive parts of a kitchen remodel. If your budget is limited, designing a cabinet layout around existing connections will save you thousands.
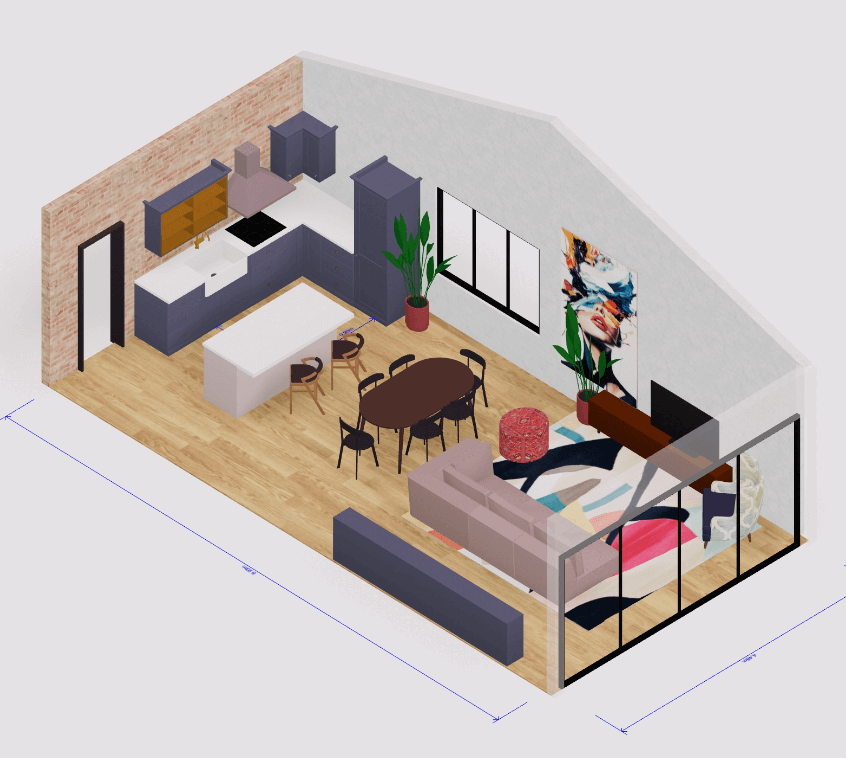
This is where 3D planning tools become incredibly valuable. Instead of guessing how a layout will look on paper, you can use Arcadium 3D to input your exact room dimensions and see how different cabinet configurations fit before you make any purchases. Seeing your kitchen in 3D catches problems that flat floor plans miss, like a cabinet door that swings into a doorway or an island that blocks your path to the dining room.
Understanding the work triangle and kitchen zones
The work triangle principle
The kitchen work triangle has guided designers since the 1940s, and for good reason. The concept is simple: your sink, stove, and refrigerator are the three most used elements in any kitchen. When you draw an imaginary line between them, they should form a triangle. The National Kitchen and Bath Association recommends that each side of this triangle should measure between 4 and 9 feet, with the total perimeter staying between 13 and 26 feet. No cabinets or islands should block the path between these three points by more than 12 inches, and household traffic should not cut through the triangle.
This principle still works well in compact and mid sized kitchens. However, in larger open plan spaces where two or more people cook together, the triangle alone is not enough.
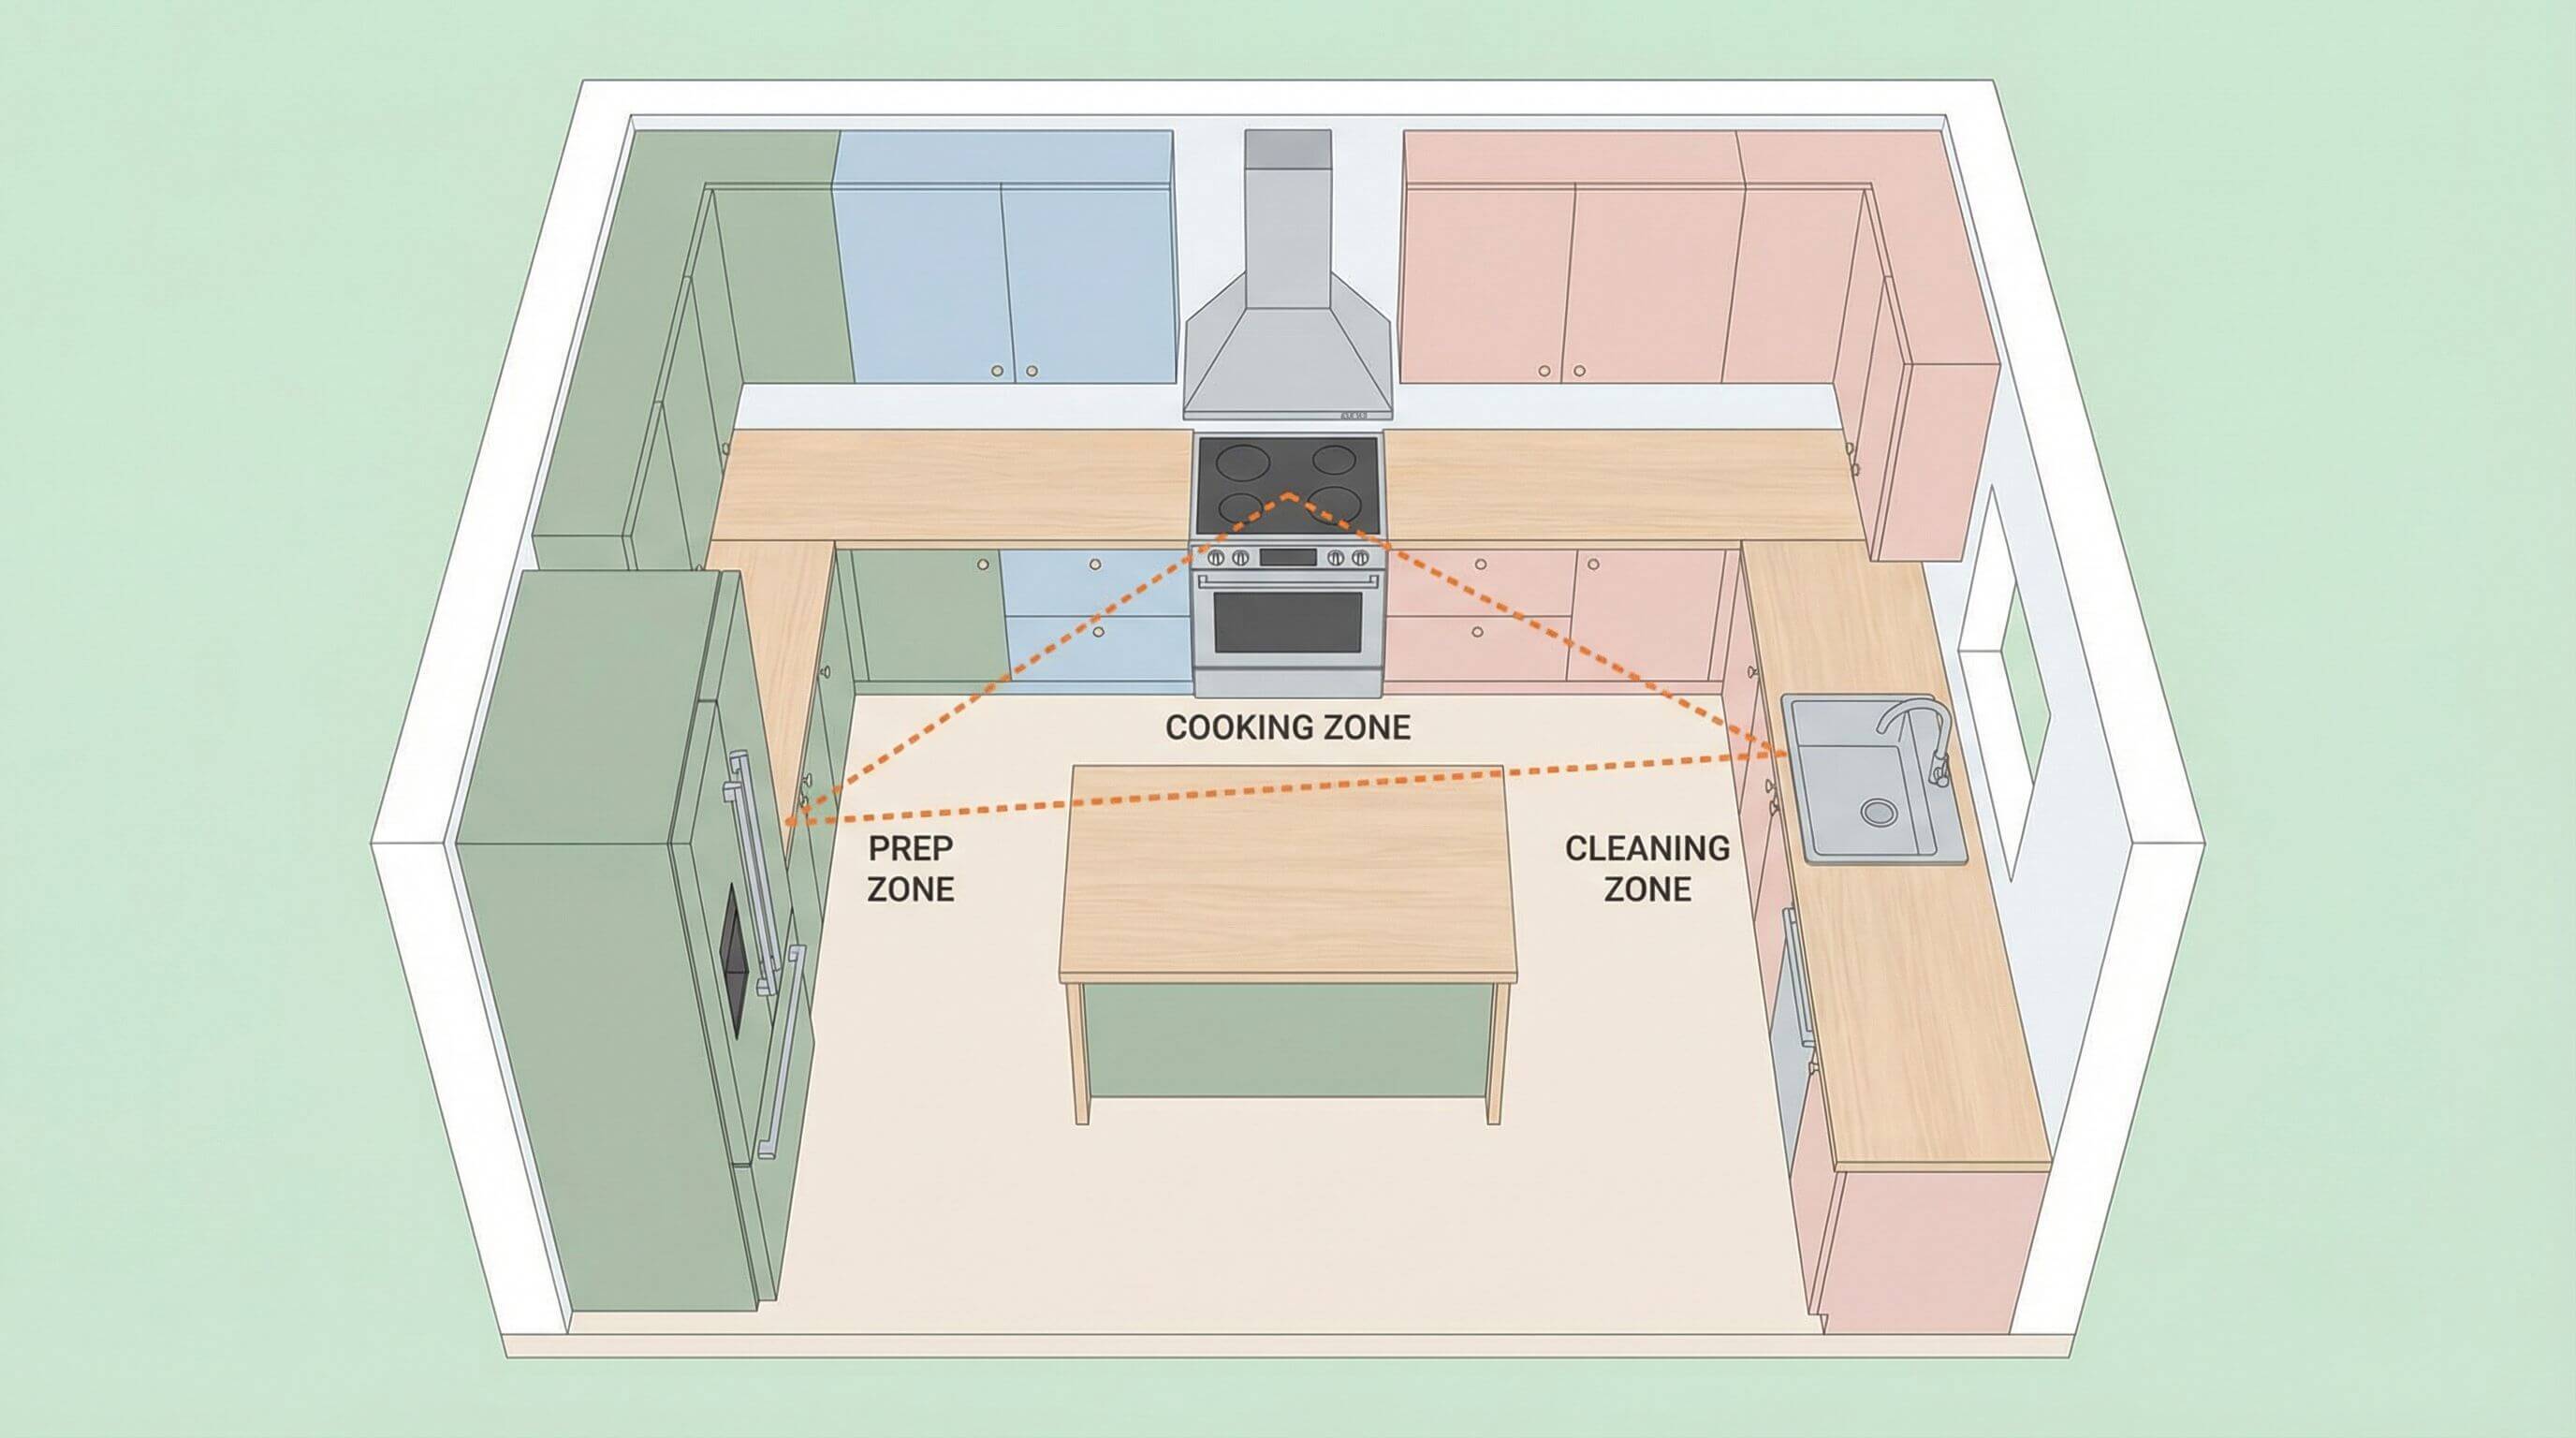
The zone-based approach
Modern kitchen design often layers a zone based strategy on top of the work triangle. Instead of thinking only about the three main appliances, you divide your kitchen into functional zones: a prep zone with counter space, cutting boards, and mixing bowls nearby; a cooking zone with your stove, oven, pots, and pans within arm’s reach; a cleaning zone around the sink and dishwasher with dish storage close by; and a storage zone where your pantry, refrigerator, and dry goods live together.
When your cabinets are organized by zone, every item has a logical home. You stop wasting steps and stop digging through cluttered drawers. As a designer, I always recommend that clients map out these zones in a 3D model first. Arcadium 3D makes this easy because you can drag and drop cabinets into different positions and immediately see whether the zones flow naturally or create bottlenecks.
Kitchen cabinet layout types: Which configuration fits your space
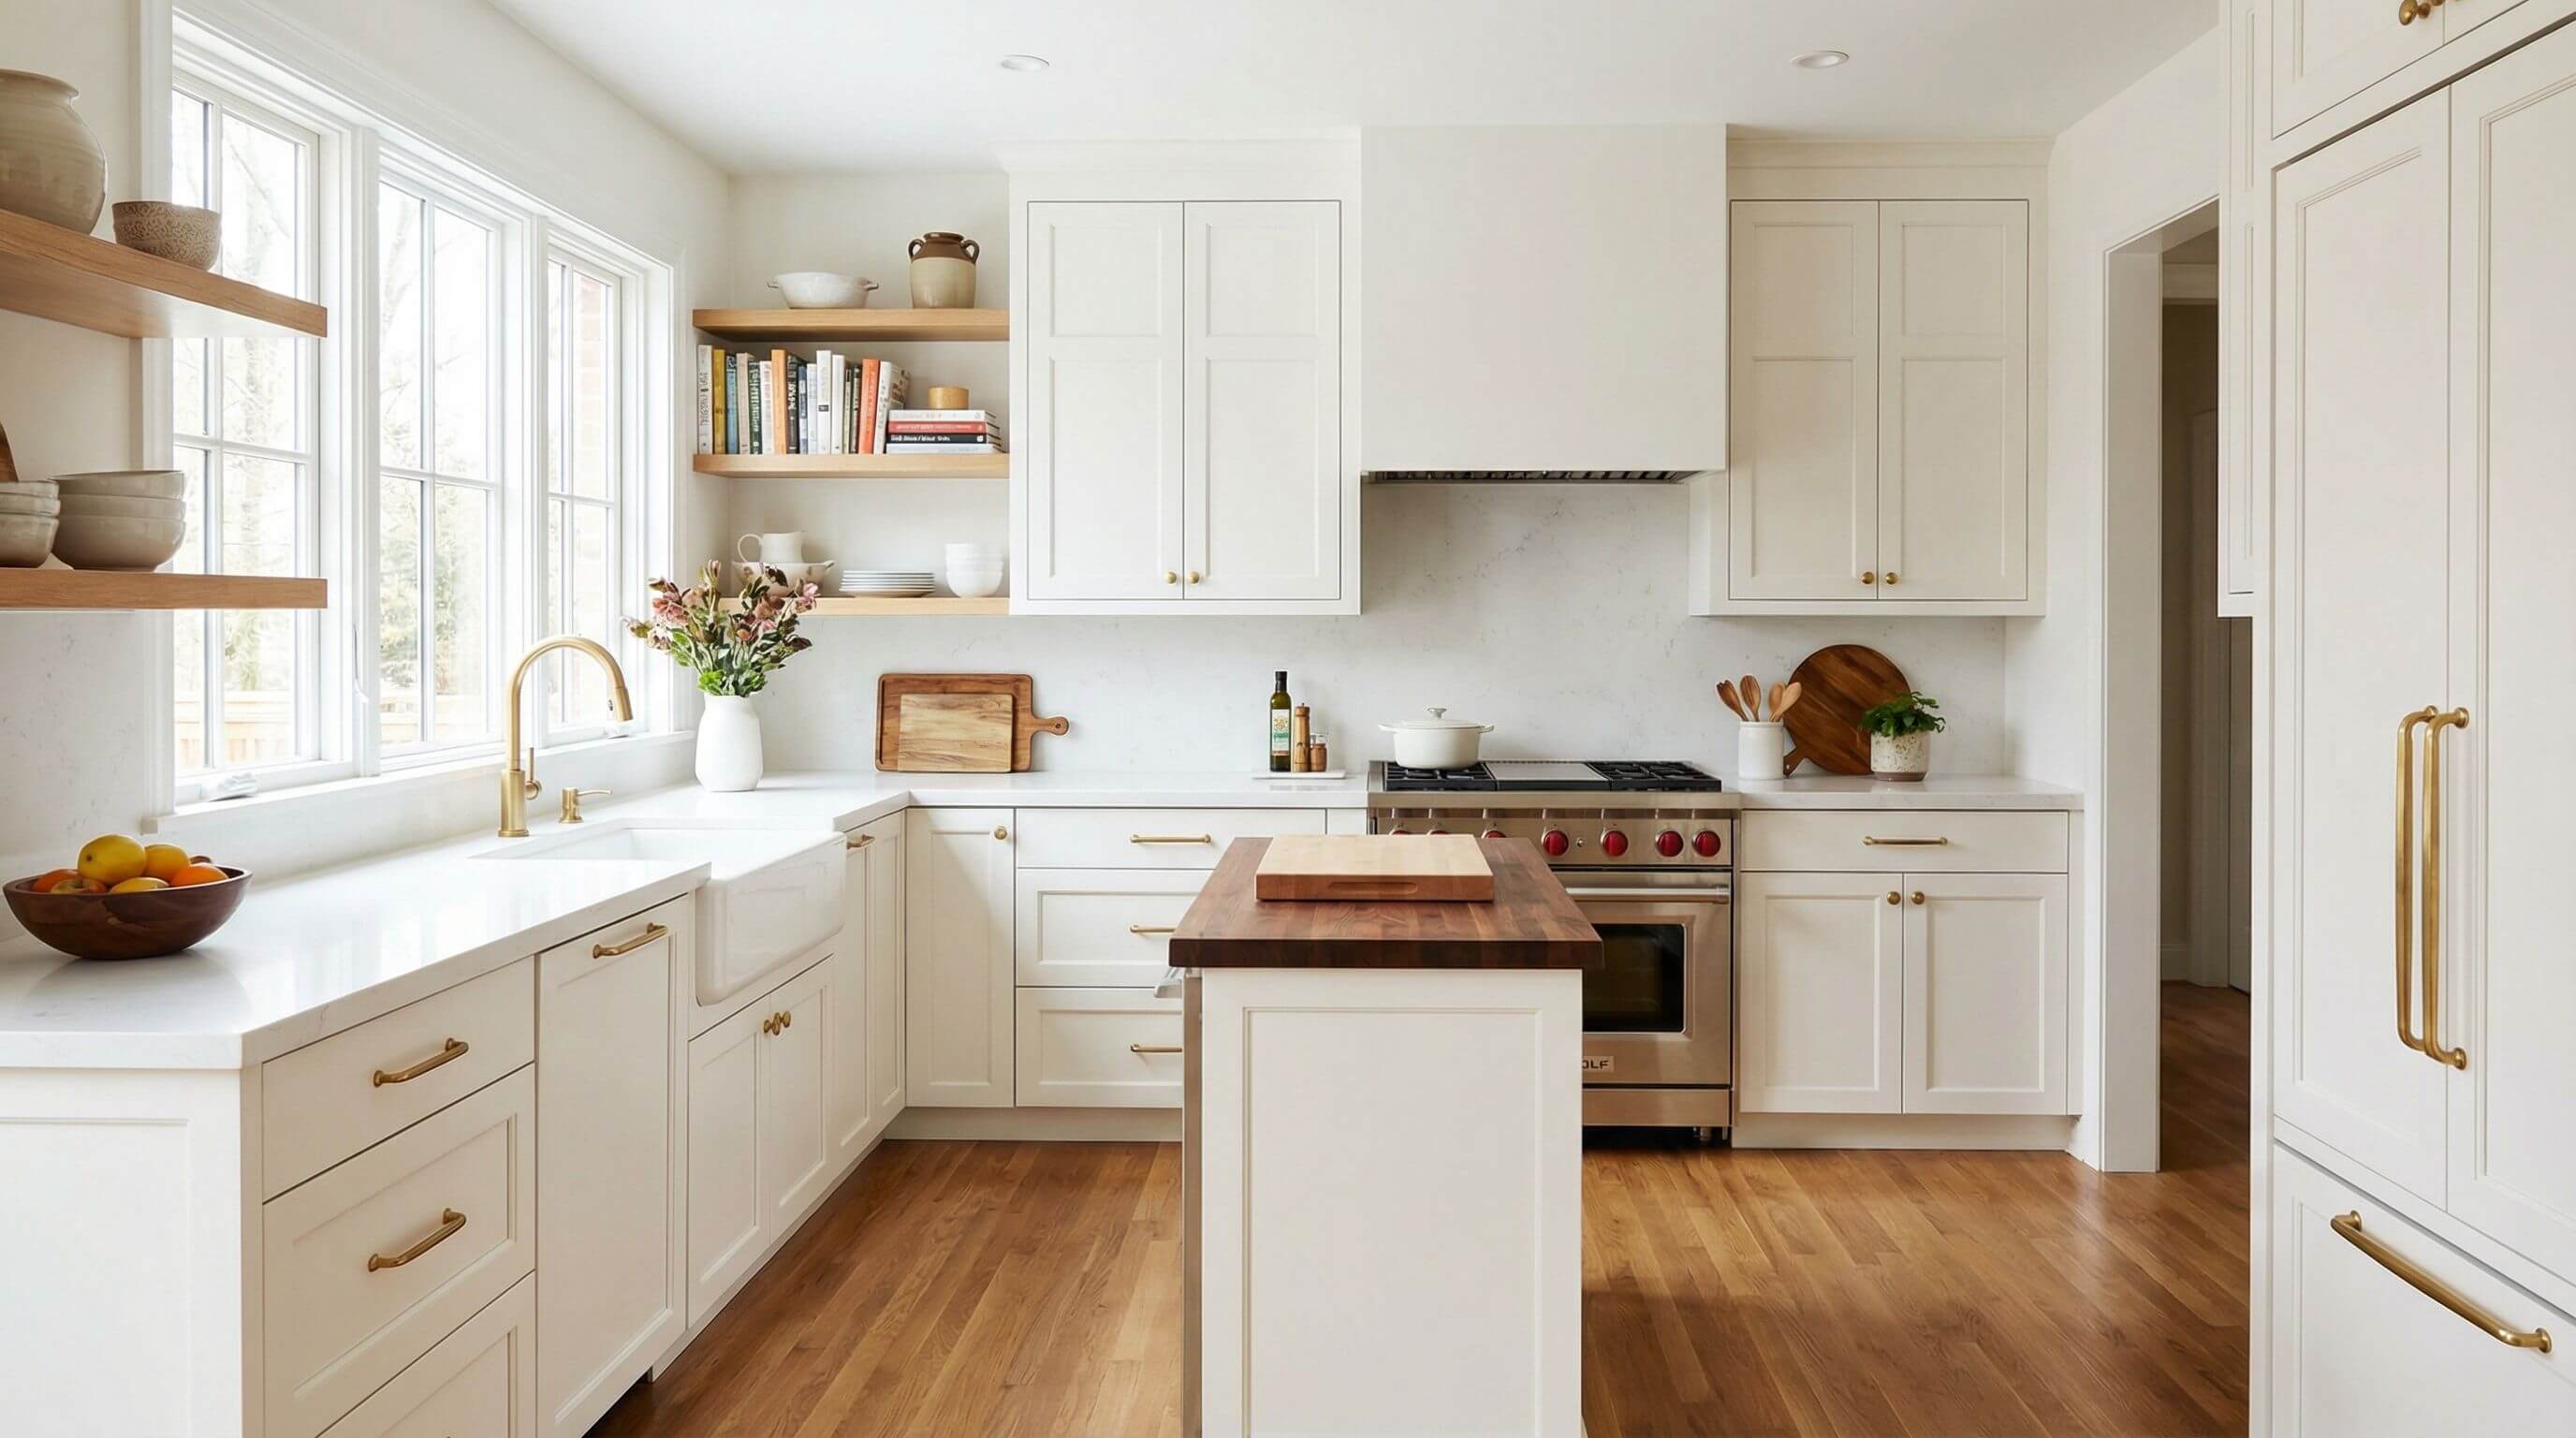
L-Shaped kitchen layout
The L shaped layout places cabinets along two adjacent walls, forming a natural right angle. This is one of the most popular configurations because it adapts to almost any room size. The open side of the L creates space for a dining table, an island, or simply an unobstructed path to adjacent rooms.
From a cabinet planning perspective, the L shape gives you a generous run of base and upper cabinets along two walls. The corner where the two walls meet is prime territory for a lazy Susan, a blind corner cabinet, or a pull out tray system. Without a smart corner solution, that space becomes a dead zone where items get lost.
Best for: Small to large kitchens, open concept living, households that want an optional island.
U-Shaped kitchen layout
The U-shaped layout wraps cabinets around three walls, creating a horseshoe of counter space and storage. This configuration offers the most cabinet real estate of any standard layout and keeps the cook surrounded by work surfaces on three sides. Each wall can serve a different zone, making the prep, cook, and clean workflow seamless.
The trade off is that U shaped kitchens have more corners to manage. Two corner base cabinets mean two potential dead spots, so investing in corner storage solutions like rotating carousels or pull out shelves is essential. Also, if the U is too narrow (less than about 5 feet between opposing counters), the space can feel tight and difficult to navigate with the oven door open.
Best for: Medium to large kitchens, serious cooks, multi zone layouts, households needing maximum storage.
Galley (Corridor) kitchen layout
A galley kitchen runs two parallel rows of cabinets with a walkway in between. This layout is the workhorse of small and narrow kitchens, apartments, and condominiums. Everything is within a few steps, which creates an extremely efficient workflow for a single cook.
The key to a successful galley layout is maintaining at least 42 inches of clearance between the two cabinet runs (48 inches if two people cook together). Position your sink on one wall and your stove on the opposite wall so you can turn between them without taking extra steps. Use upper cabinets on both walls to maximize vertical storage, and consider open shelving or glass front uppers on one side to prevent the space from feeling closed in.
Best for: Small and narrow kitchens, apartments, single cook households, efficient workflows.
Single wall kitchen layout
The single wall layout lines up all cabinets, counters, and appliances along one wall. This is the most space efficient configuration and is common in studio apartments, tiny homes, and kitchens that share square footage with a living or dining area. While storage is limited, it opens up the rest of the room completely.
To compensate for the reduced cabinet count, prioritize tall pantry cabinets at one or both ends of the wall, use pull out organizers in every base cabinet, and stack wall cabinets as close to the ceiling as possible. Adding a portable island or a rolling cart introduces extra counter and storage space that you can move out of the way when not cooking.
Best for: Studios, micro kitchens, open concept spaces where the kitchen is secondary to living areas.
G-Shaped kitchen layout
The G shaped layout is a modified U shape with a partial fourth wall or peninsula extending from one end. This peninsula acts as a divider between the kitchen and an adjacent room while giving you an extra run of cabinets and counter space. It also provides a natural spot for bar seating.
The G shape delivers the most storage and counter space of any standard layout, but it can feel enclosed. Make sure the opening between the peninsula and the nearest wall is wide enough (at least 36 inches) for comfortable entry. This layout works best in larger kitchens where the extra cabinets do not create a cramped feel.
Best for: Large kitchens, entertainers, households that want defined kitchen boundaries with a breakfast bar.
Island kitchen layout
An island is a freestanding cabinet unit placed in the center of the kitchen, separate from the perimeter cabinets. Islands can be added to L-shaped, U-shaped, or single-wall configurations, provided you have enough floor space. You need at least 36 to 42 inches of clearance on all sides of the island for comfortable movement, which means the kitchen itself should be at least 12 feet wide before considering an island.
Islands are incredibly versatile. They can house a sink, cooktop, dishwasher, extra drawers, open shelving, or seating. In open plan homes, the island serves double duty as a visual boundary between the kitchen and living area while adding significant cabinet storage underneath.
Best for: Open concept homes, large kitchens, entertaining, families that gather around the kitchen.
Practical tips for planning your cabinet configuration

Start with the base cabinets first
Base cabinets carry the most weight in your layout, literally and figuratively. They support your countertops, house your sink and major appliances, and provide the bulk of your accessible storage. Begin your plan by placing the sink and range first, then build outward with base cabinets that fill the remaining wall space. Standard base cabinet widths include 9, 12, 15, 18, 24, 30, and 36 inches. Mix sizes strategically: wider cabinets near the stove for pots and pans, narrower pull outs near the range for spice storage and utensils.
Balance upper cabinets with open space
Running upper cabinets across every wall maximizes storage but can make a kitchen feel heavy and dark. In open concept layouts, leave the wall facing the living area free of uppers or use open shelving. Over windows, use shorter cabinets that do not block natural light. Standard upper cabinets are 30 or 36 inches tall, and mounting them 18 inches above the countertop is the industry standard for comfortable reach.
Do not forget the corners
Corner cabinets are the most underutilized space in most kitchens. A standard 90 degree corner creates a deep, dark area that swallows small items. Solve this with a lazy Susan turntable, a blind corner pull out, a diagonal corner cabinet, or an angled cabinet that provides direct access. When planning in 3D, pay close attention to how corner cabinet doors and drawers interact with adjacent cabinets. A door that cannot open fully because it hits the neighboring cabinet handle is a design failure you can avoid with a 3D walkthrough.
Use tall cabinets to maximize vertical space
Tall pantry cabinets (84 or 96 inches) are storage powerhouses. A single 24 inch wide pantry cabinet with pull out shelves can hold more than multiple upper cabinets combined. Place tall cabinets at the ends of a cabinet run or flanking a wall oven to anchor the layout visually while adding deep storage. If your ceiling height allows, extend cabinets all the way up to eliminate the dust collecting gap above standard cabinets.
Plan for drawers over doors
Deep drawers in base cabinets are more ergonomic than traditional door and shelf cabinets. You can see everything in a drawer at a glance without crouching or reaching to the back of a dark shelf. Use deep drawers for pots and pans, a two tier cutlery drawer for utensils, and soft close pull outs for trash and recycling. The investment in drawer based cabinets pays off daily in usability.
Visualizing your layout before you commit
One of the most expensive mistakes in kitchen remodeling is finalizing a layout on a 2D floor plan and discovering problems after cabinets are installed. A cabinet that looked fine on paper might block a window, limit an appliance door swing, or leave an awkward gap.
This is exactly why I recommend that every homeowner use a 3D design tool before ordering cabinets. Arcadium 3D is built for this. You enter your room dimensions, place walls, windows, and doors, then drag in cabinets and appliances to test different layouts. Because the tool runs directly in your browser, there is no software to download. You can experiment with an L shaped layout, swap to a U shape, add an island, and see each option from multiple angles in minutes.
Seeing your kitchen in three dimensions reveals clearance issues, traffic flow problems, and visual imbalances that flat drawings hide. It also makes it easier to communicate your vision to a contractor or cabinet supplier because you can share a realistic 3D rendering instead of trying to describe what you want in words.
Common mistakes to avoid when choosing a cabinet layout
Ignoring the work triangle or zone flow. Placing the fridge across the room from the sink might seem fine on paper, but it means dozens of extra steps every time you cook. Always check the distance between your three primary work stations.
Choosing an island when the kitchen is too small. An island needs at least 36 inches of clearance on every side. If adding one shrinks your walkways below that, it will disrupt traffic flow and make the kitchen feel cramped. Test the fit in a 3D model before committing.
Overloading one wall with cabinets. Packing every available inch with uppers and bases can make a kitchen feel like a corridor of boxes. Leave strategic open areas for visual breathing room, especially on walls visible from adjacent rooms.
Neglecting clearance for appliance doors. Oven doors, dishwasher doors, and refrigerator doors all need space to swing open. If two appliance doors collide when open, you have a layout conflict that will annoy you daily.
Skipping corner storage solutions. A dead corner wastes up to 20 percent of your base cabinet storage capacity. Always plan a corner solution during the layout phase, not as an afterthought.


 Color palette generator
 Floor plan creator
 Interior design app
 Kitchen design tool
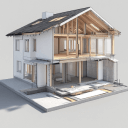
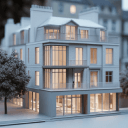
 House design software
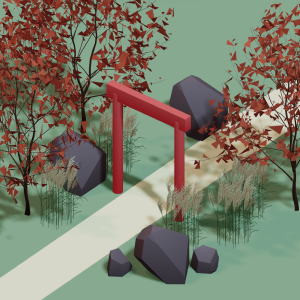
 Landscape design software
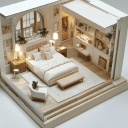
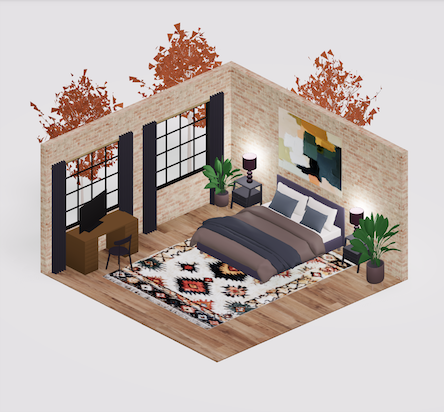
 Bedroom design
 Office floor plan creator
 How to use Arcadium — full guide
 3D object library - free
 Articles and blog