Kitchen remodels consistently rank as the most expensive renovation project homeowners undertake, with average costs reaching well into five figures. They also produce the highest rate of regret. Studies show that nearly three out of four homeowners who remodel their kitchen wish they had done at least one thing differently.The pattern behind most of that regret is the same: decisions were made without clearly seeing how they would play out in the actual space.
A layout that looked logical on paper turns out to block traffic flow. An island that seemed perfectly sized in the showroom overwhelms the kitchen once installed. Cabinets that appeared functional in a catalog create dead zones where doors collide. Countertop materials chosen from small samples clash with the flooring at full scale. These are not minor inconveniences. They are expensive problems that often require tearing out work that was just completed.
This guide covers the most common kitchen remodel mistakes homeowners regret and shows how each one can be caught and corrected before construction begins by using a 3D kitchen planner. Every mistake listed here has a visual solution: if you can see the problem in 3D before it becomes real, you can fix it when changes still cost nothing.
1. Choosing an island that does not fit the kitchen
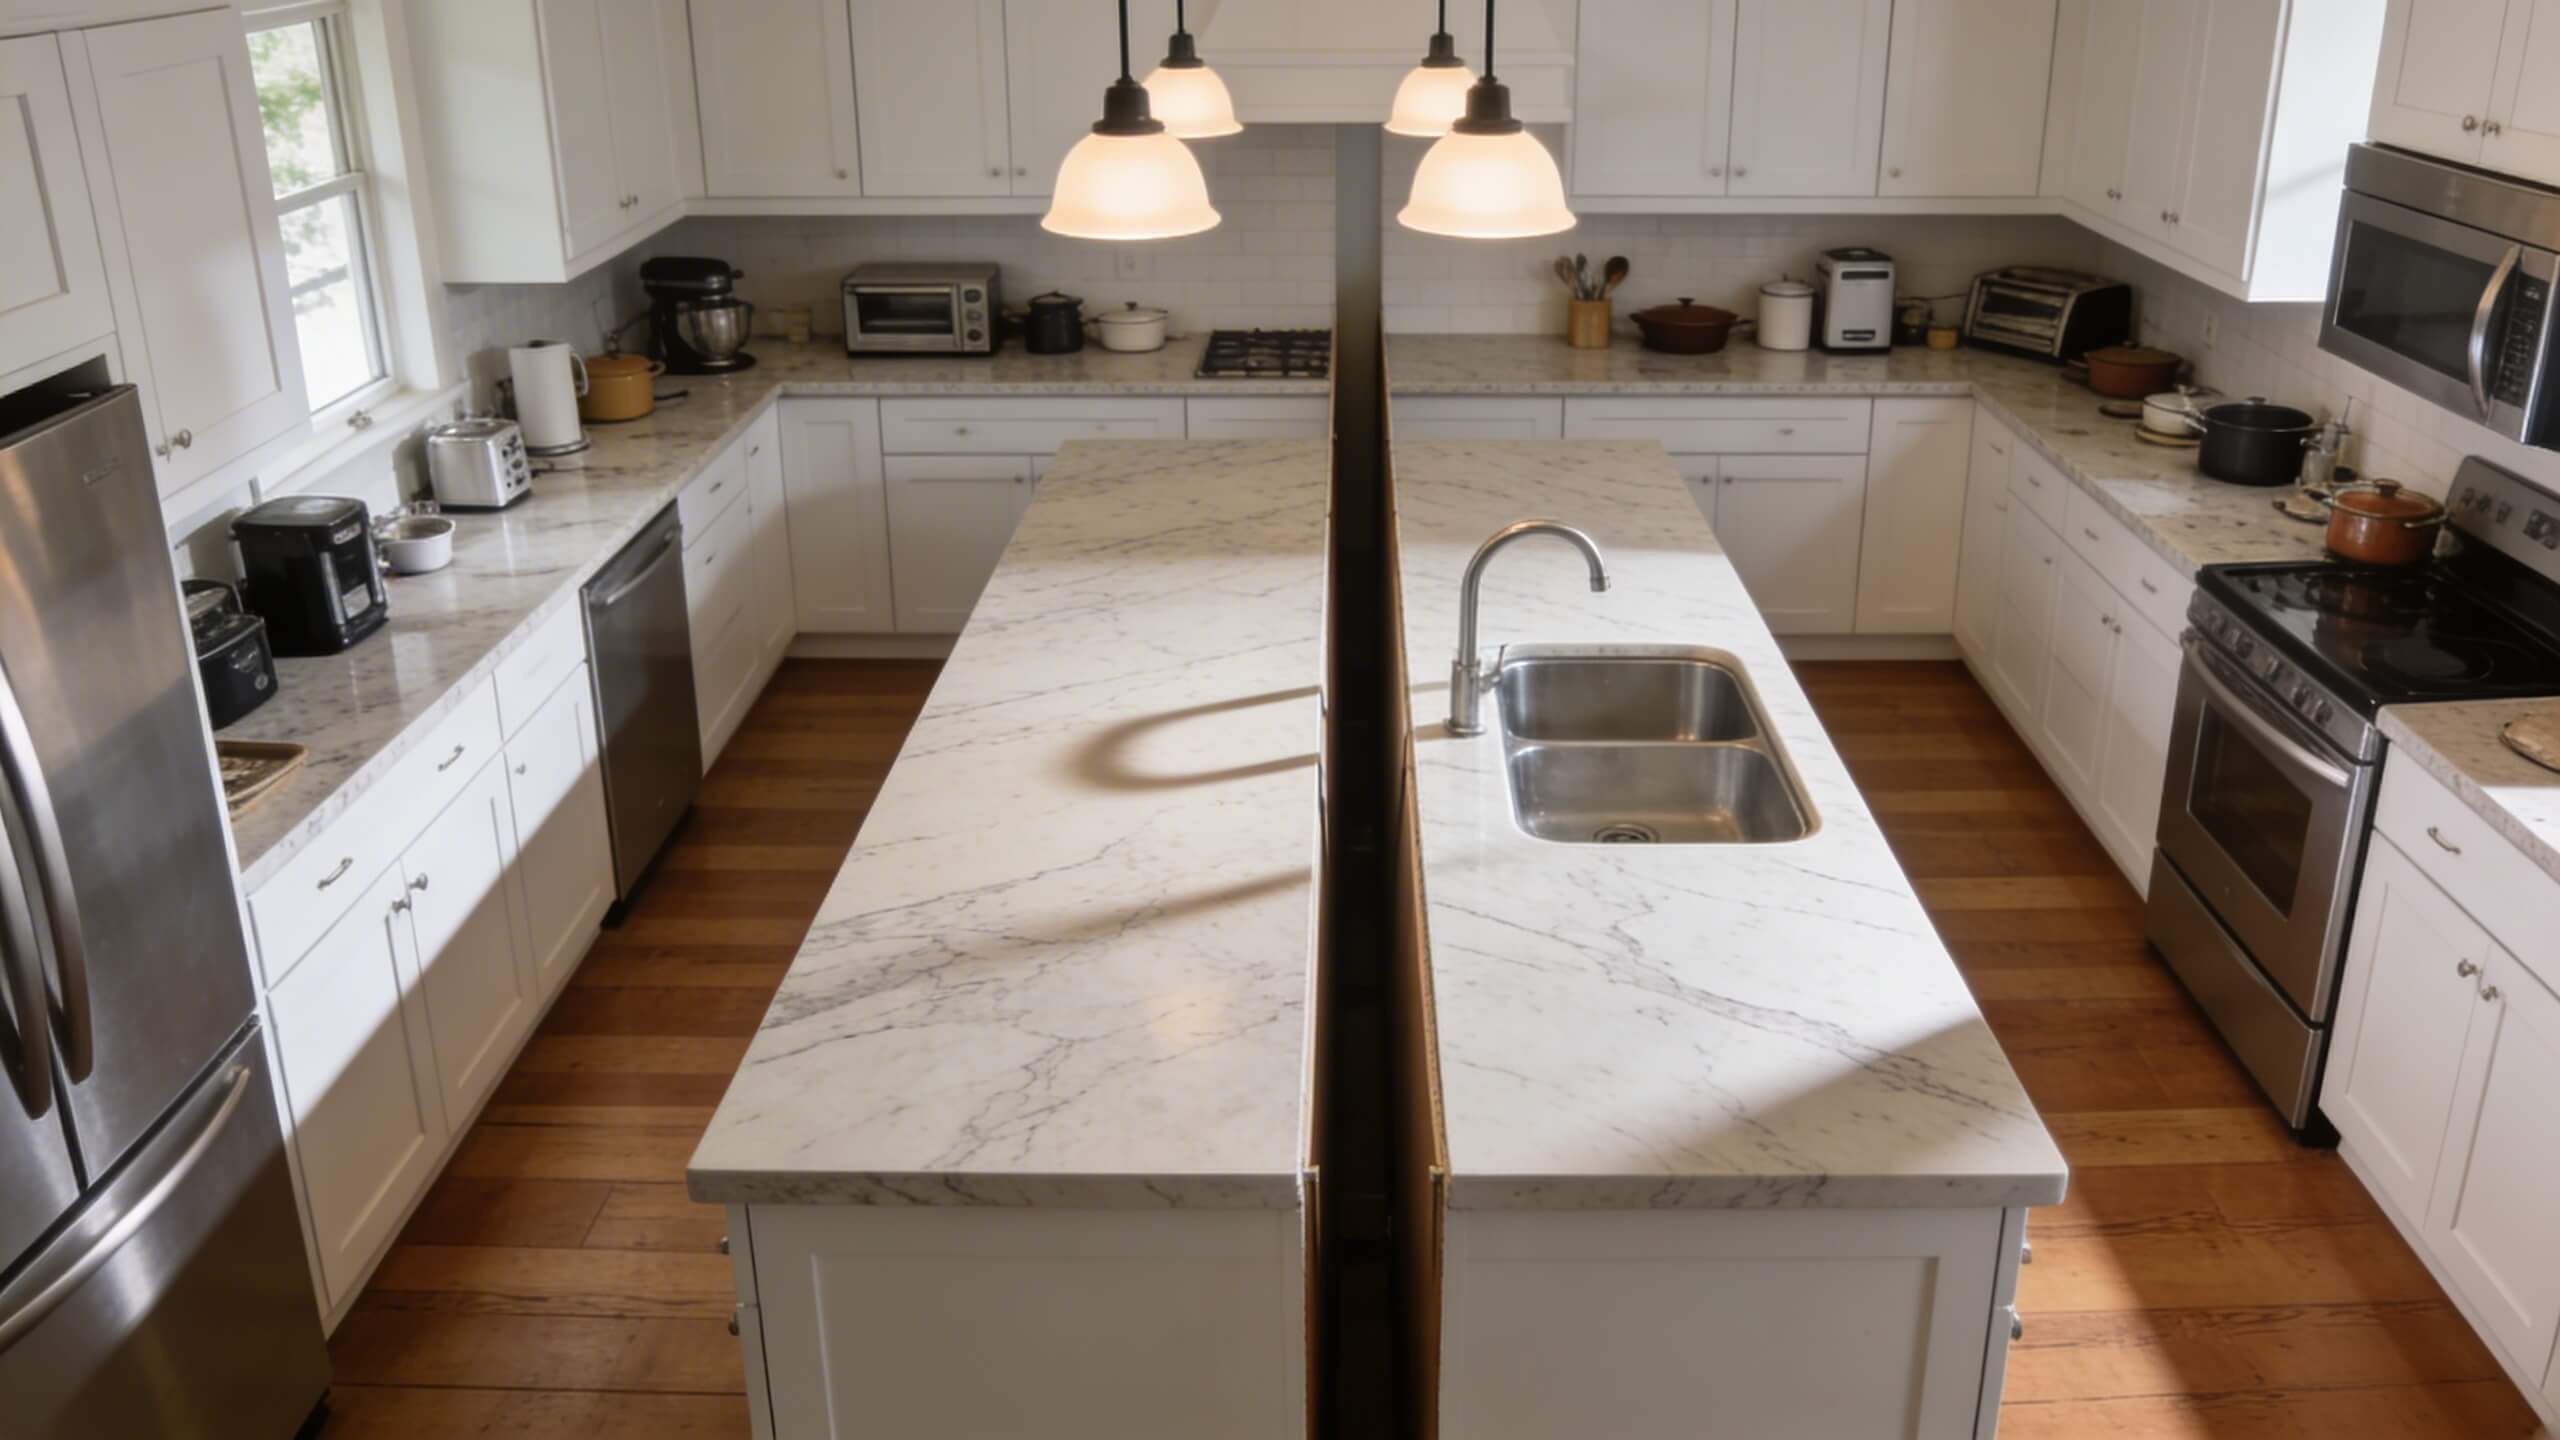
This is the single most common layout regret in kitchen remodels. Homeowners see stunning island kitchens in magazines and showrooms and assume the same look will work in their space. But an island requires clearance on all four sides. The minimum is 36 inches, and 42 to 48 inches is recommended for comfortable movement. When you add those clearance zones to the island itself, the total floor space consumed is far more than most people estimate.
In kitchens under 150 square feet, a full island frequently creates two narrow corridors that feel cramped during cooking. Cabinet and appliance doors collide with the island edges. The work triangle between the sink, stove, and refrigerator gets interrupted. What was supposed to be the centerpiece of the kitchen becomes an obstacle you walk around dozens of times a day.
The fix is straightforward: measure your kitchen, subtract the footprint of existing cabinets and appliances, and calculate whether 42 inches of clearance remains on every side after placing the island. If it does not, a peninsula attached to one wall provides the same counter space and seating while requiring clearance on only three sides. This single change recovers significant floor area and improves traffic flow.
Testing this in a 3d kitchen planner before ordering any cabinetry shows you exactly how the island or peninsula sits in your space. You can swap between options, adjust dimensions, and see the clearance from eye level rather than guessing from a tape measure on the floor.
2. Breaking the work triangle without realizing it
The kitchen work triangle connects the three most used stations: the sink, the stove, and the refrigerator. Each side of the triangle should measure between 4 and 9 feet, and no obstacle should interrupt the path between any two points. When homeowners add an island, extend a peninsula, or relocate an appliance, they often break this triangle without noticing until they start cooking in the new layout.
The most common version of this mistake is placing an island directly between the sink and the stove, forcing the cook to walk around the island every time they carry a pot of water from the sink to the burner. The second most common version is moving the refrigerator to a wall that looks symmetrical but puts it 12 feet away from the prep counter, turning every meal into a marathon of back and forth trips.
A 3D planner lets you map your work triangle before any construction starts. Place the sink, stove, and refrigerator in the planned positions, add the island or peninsula, and then trace the path between each pair of stations. If the island interrupts the triangle, you can reposition it immediately. If the refrigerator placement creates too much distance, you can test a closer wall before committing to plumbing and electrical work.
3. Ignoring appliance door clearance
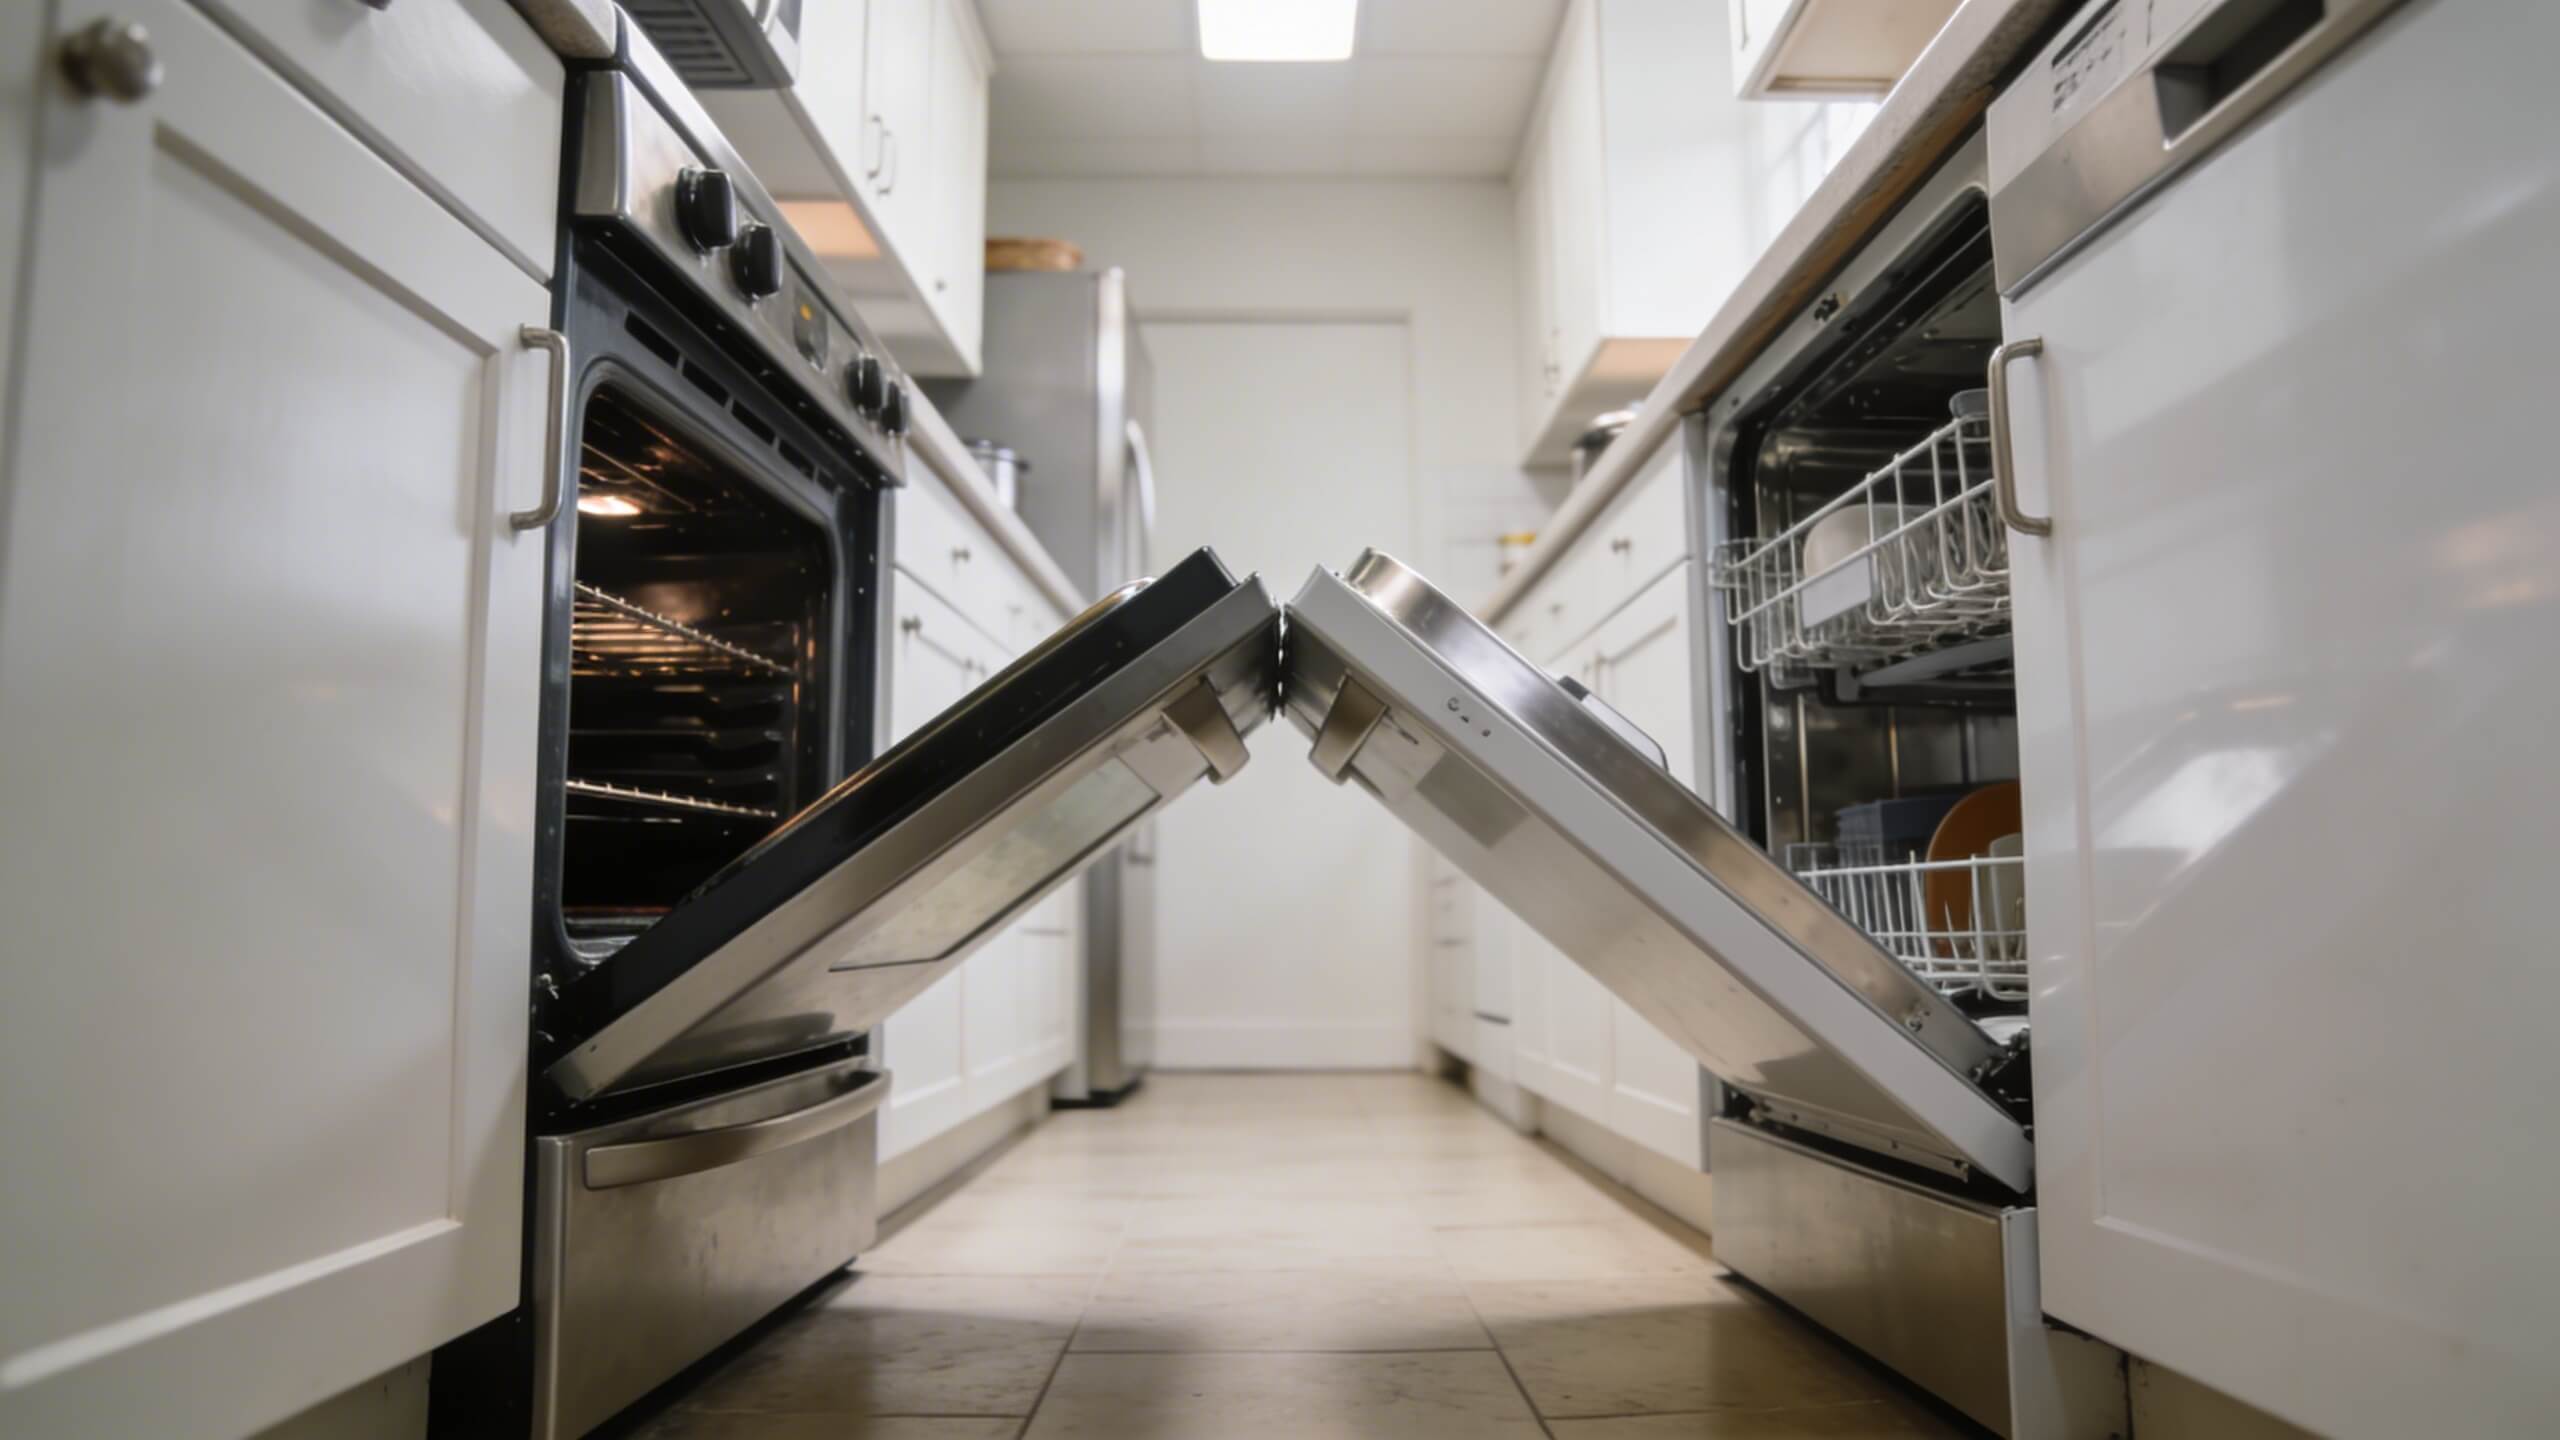
This mistake does not show up on a flat floor plan. A 2D drawing tells you where the oven, dishwasher, and refrigerator sit, but it cannot show you what happens when all three are open at the same time. Homeowners discover too late that the dishwasher door hits the island when fully extended, the oven door blocks the walkway between the island and the counter, or the refrigerator door cannot open beyond 90 degrees because a cabinet is in the way.
This problem is especially common with islands and peninsulas, where the distance between the new structure and the existing appliance line is tight. A dishwasher needs approximately 24 inches of clearance in front when the door is open. An oven door requires similar space. If your island sits 36 inches from the counter and both the oven and dishwasher are on that counter run, there is only 12 inches of walkable space when either door is down.
In a 3D planner, you can simulate open appliance doors and check whether they collide with the island, peninsula, or adjacent cabinetry. This takes seconds in a digital model but would cost thousands to fix after installation.
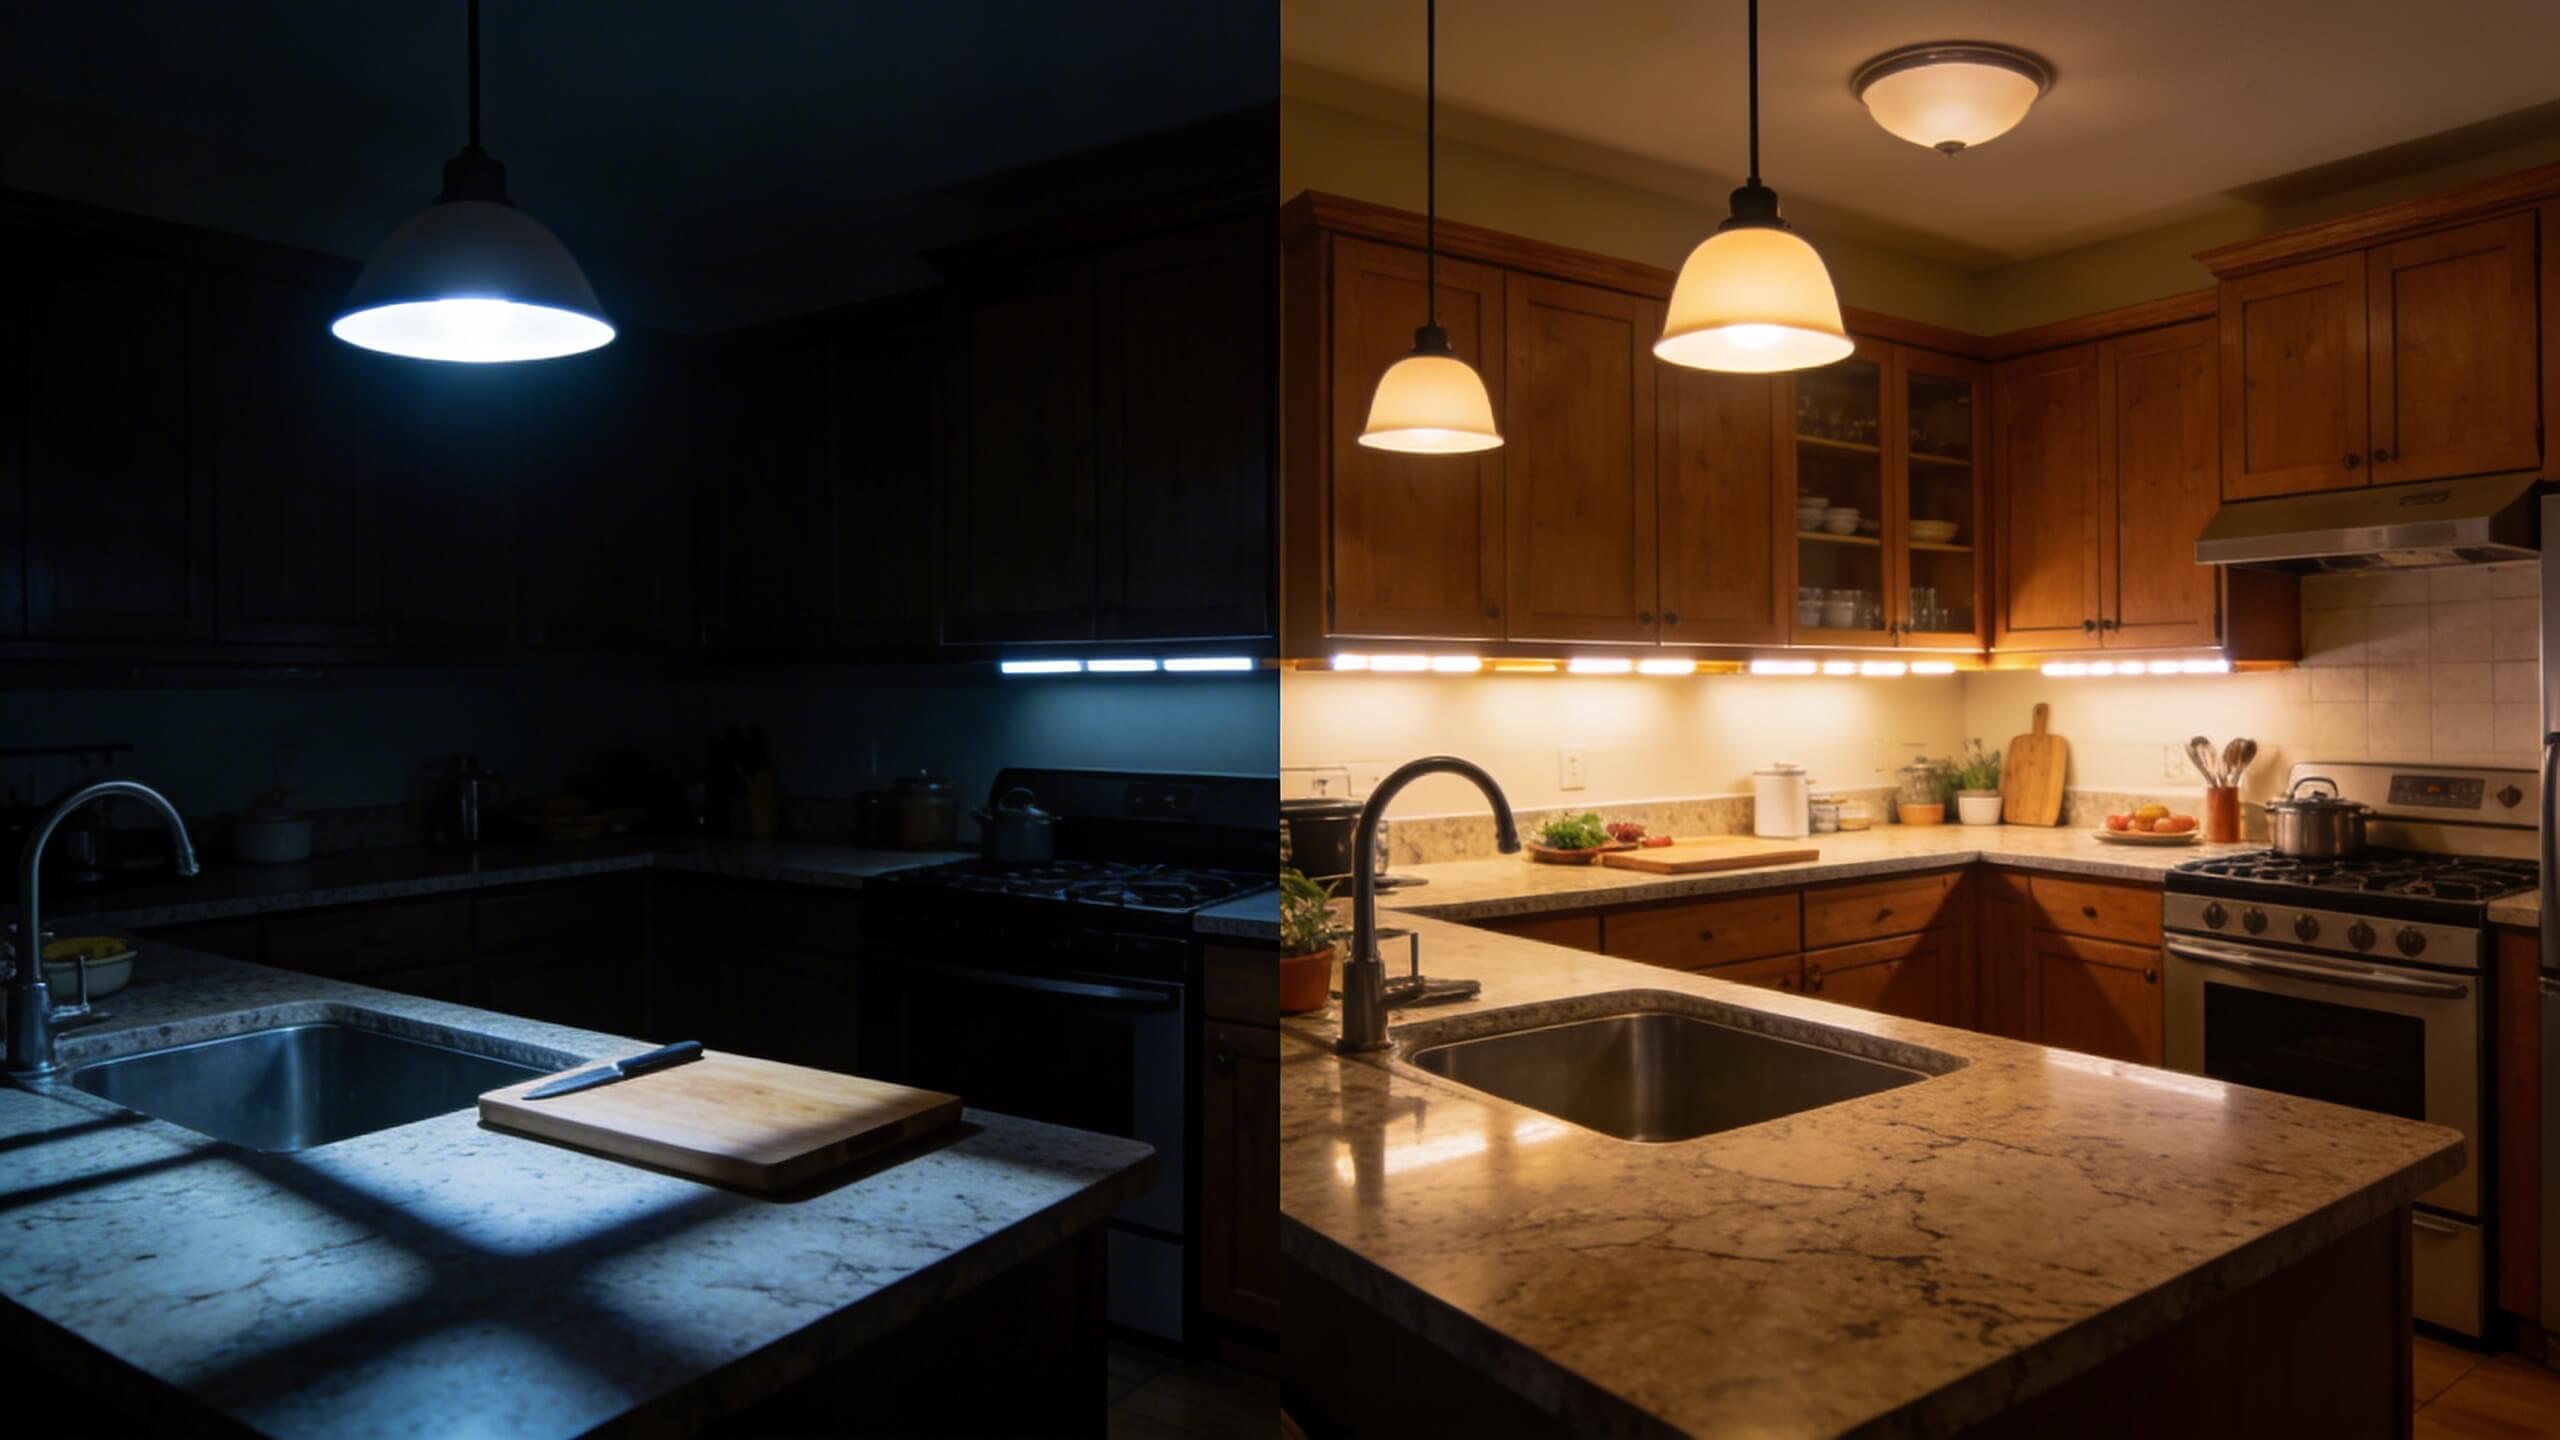
4. Underestimating the impact of poor lighting
Lighting is one of the top five regrets in kitchen remodels. Homeowners plan the layout, choose materials, order cabinetry, and then treat lighting as an afterthought. The result is a kitchen where the countertop next to the stove sits in shadow because the overhead light is centered on the room rather than on the workspace. Or pendant lights hang over the island at a height that blocks the sight line between the kitchen and the living room.
Effective kitchen lighting requires three layers. Task lighting illuminates work surfaces directly: under cabinet LEDs for countertops and focused pendants over the island or peninsula. Ambient lighting provides general room illumination. Accent lighting adds visual warmth and highlights architectural features. When all three layers work together, the kitchen feels bright during cooking and warm during gathering.
The mistake happens when the electrical placement is finalized before the furniture and appliance layout is decided. Recessed cans end up over empty floor space instead of over the cutting board. Pendant fixtures are wired to a spot that does not align with the final island position. Switches land behind a cabinet door. Planning the lighting in 3D, with the full layout visible, ensures fixtures illuminate where work actually happens.
5. Sacrificing storage for aesthetics
Open shelving looks beautiful in design magazines. In real life, it collects grease, dust, and visual clutter within weeks. Homeowners who replace closed cabinets with open shelves frequently regret the decision within six months. The same applies to removing upper cabinets entirely for a more minimal look. The aesthetic is clean on day one, but the loss of storage sends small appliances, spice collections, and everyday items spilling across the countertops.
Another common storage mistake is choosing an island or peninsula with a beautiful waterfall countertop but no cabinets or drawers underneath. The surface area is gained, but the storage opportunity is lost. Every island and peninsula should include functional storage beneath the counter: drawers on the cook's side for utensils and prep tools, cabinets on the seating side for less frequently used items.
A 3D planner helps you audit storage before construction. Count your existing cabinet and drawer spaces. Add up what the new layout provides. If the new design offers fewer storage slots than your current kitchen, you will feel the shortage within the first week of living in the remodeled space. Adjust the plan until storage meets or exceeds what you have now.
6. Choosing materials from small samples
A two inch tile sample and a four inch countertop swatch tell you almost nothing about how a material will look when it covers 30 square feet of floor or 20 square feet of countertop. Color temperature shifts at scale. Patterns that look subtle on a small chip become overwhelming across an entire surface. Veining in marble or quartz that appears elegant on a sample can look busy and chaotic when repeated across a full kitchen island.
Homeowners also struggle to evaluate material combinations. The backsplash tile that looked perfect against the countertop sample in the showroom may clash once both materials are installed at full scale under the kitchen's actual lighting conditions.
A 3D kitchen planner lets you apply materials to full surfaces and evaluate them in context. Change the countertop from white quartz to warm beige and see how it interacts with the cabinet color and flooring across the entire room. Swap the backsplash material and check the combination from multiple angles. This eliminates the most common material regret: choosing based on small samples and being shocked by the full scale result.
7. Not planning electrical outlets early enough
Outlets in a kitchen remodel are almost always planned too late. Homeowners finalize the cabinet layout, order the island, and then realize they need outlets on the island for a mixer, phone charger, or laptop. Running electrical to a freestanding island after the floor is sealed means cutting into finished flooring and patching it, which adds cost and rarely looks seamless.
Building codes require at least one outlet for every nine square feet of island countertop, and all kitchen outlets must be GFCI protected. Peninsula outlets are easier to route because they connect to the wall, but they still need to be planned before cabinetry is installed.
In a 3D planner, mark outlet positions on the island and peninsula before the layout is finalized. Verify that outlets are accessible and not hidden behind bar stools or blocked by the cabinet structure. Check that the distance from the outlet to the nearest appliance does not require cords stretched across the countertop. This level of detail takes minutes in a digital model and prevents weeks of post installation frustration.
8. Forgetting about ventilation and range hood clearance
Spending thousands on a professional grade range and then pairing it with an undersized ventilation hood is one of the most frequently cited regrets among serious home cooks. A weak hood allows cooking odors, grease, and moisture to spread through the open kitchen and into adjacent living areas. In open concept layouts where the kitchen, dining, and living room share one space, this problem is amplified.
Islands with cooktops require overhead hood installation or a downdraft system, both of which involve ductwork that needs to be planned during the rough in phase, not after the ceiling is finished. Peninsulas with cooktops face similar requirements, though ducting to an exterior wall is often shorter because the peninsula connects to the wall structure.
A 3D model lets you check hood clearance above the cooktop (minimum 24 to 30 inches, depending on the hood type), confirm the ducting path, and ensure that a ceiling mounted hood over an island does not hang so low that it blocks the sight line across the kitchen. These are spatial problems that are obvious in 3D and invisible on a flat drawing.
9. Designing for looks instead of how you actually cook
This is the regret that ties many of the others together. Homeowners get inspired by showroom kitchens and magazine photos and design a space optimized for how it looks rather than how they live. They install a massive double oven because it looks impressive, even though they rarely cook more than one dish at a time. They place the sink in the island because it looks beautiful, then discover they hate facing a pile of dirty dishes while guests sit across the counter.
The solution is to track your actual cooking habits before designing. Where do you stand most often when cooking? How do you move between the refrigerator, the prep area, and the stove? Do you need a secondary prep sink, or would you rather have uninterrupted counter space? Do you want the island to face the living room for socializing, or do you prefer the peninsula arrangement where seating faces away from the cooking mess?
A 3D planner lets you simulate your daily workflow. Place yourself virtually at the stove and check what is within arm's reach. Stand at the island and verify that the sink, trash can, and cutting board are positioned for the way you actually prep food. These functional checks catch lifestyle mismatches that would become daily frustrations once the kitchen is built.
How a 3D kitchen planner prevents every one of these mistakes
Every regret on this list shares the same root cause: the homeowner could not see the problem before it became permanent. Flat floor plans do not show traffic flow, appliance door swings, lighting coverage, or material scale. Imagination fills in the gaps, but imagination is unreliable when thousands of dollars are on the line.
A 3D kitchen planner turns assumptions into visible, testable decisions. Arcadium 3D lets you build your kitchen to scale in your browser, place cabinets, appliances, and an island or peninsula, and explore the layout from every angle.
You can test clearance around the island by walking through the space virtually. You can swap materials on countertops and backsplashes and see them at full scale. You can share the design with your partner or contractor via a simple URL so everyone agrees on the layout before construction starts.
The cost of changes in a 3D model is zero. The cost of changes on a construction site runs into hundreds or thousands of dollars per modification. The earlier you catch a problem, the less it costs. A 3D planner moves that discovery point from the construction phase to the planning phase, where every adjustment is free and instant.


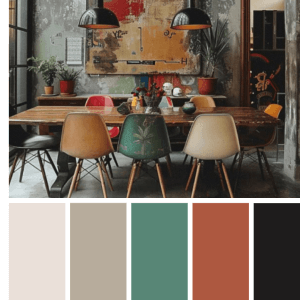 Color palette generator
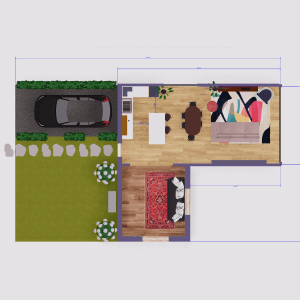 Floor plan creator
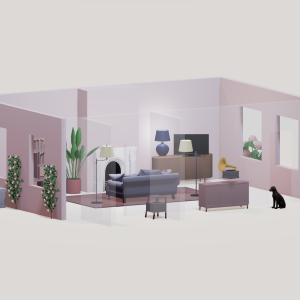 Interior design app
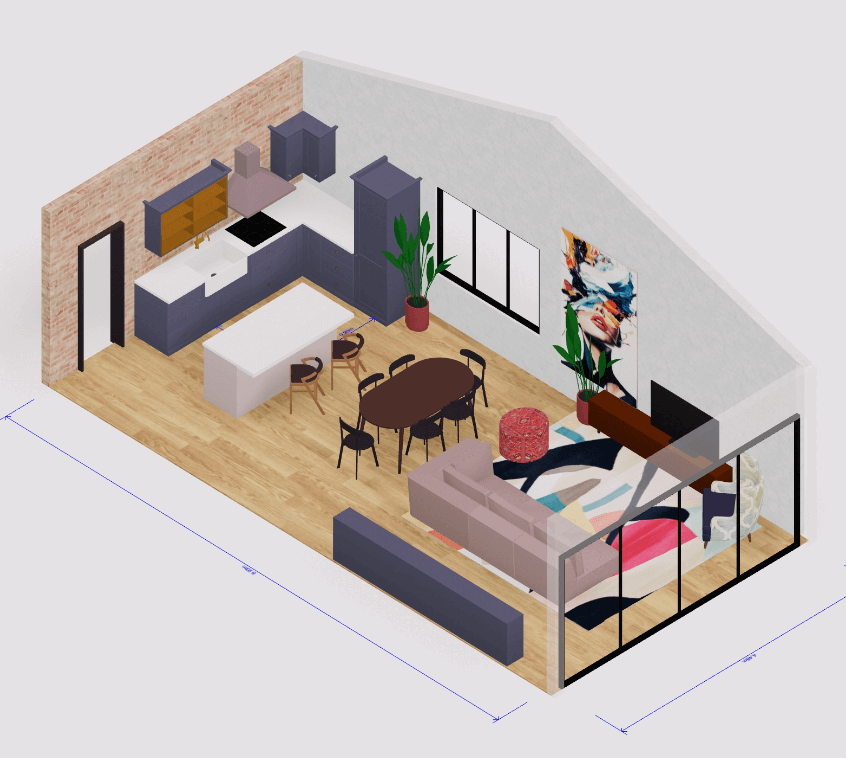
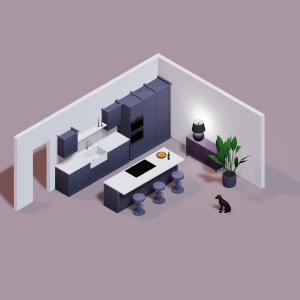 Kitchen design tool
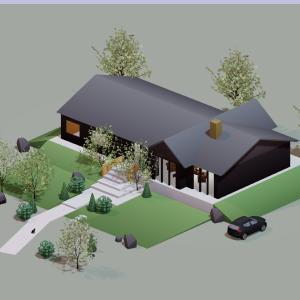 House design software
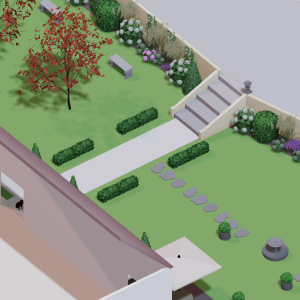 Landscape design software
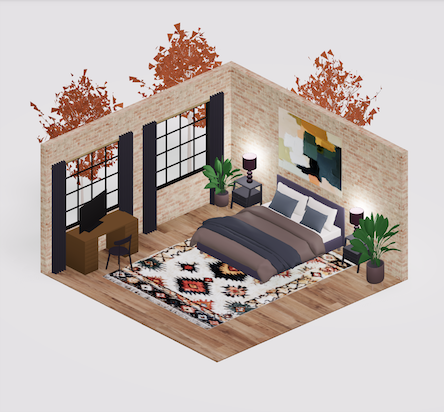
 Bedroom design
 Office floor plan creator
 How to use Arcadium — full guide
 3D object library - free
 Articles and blog