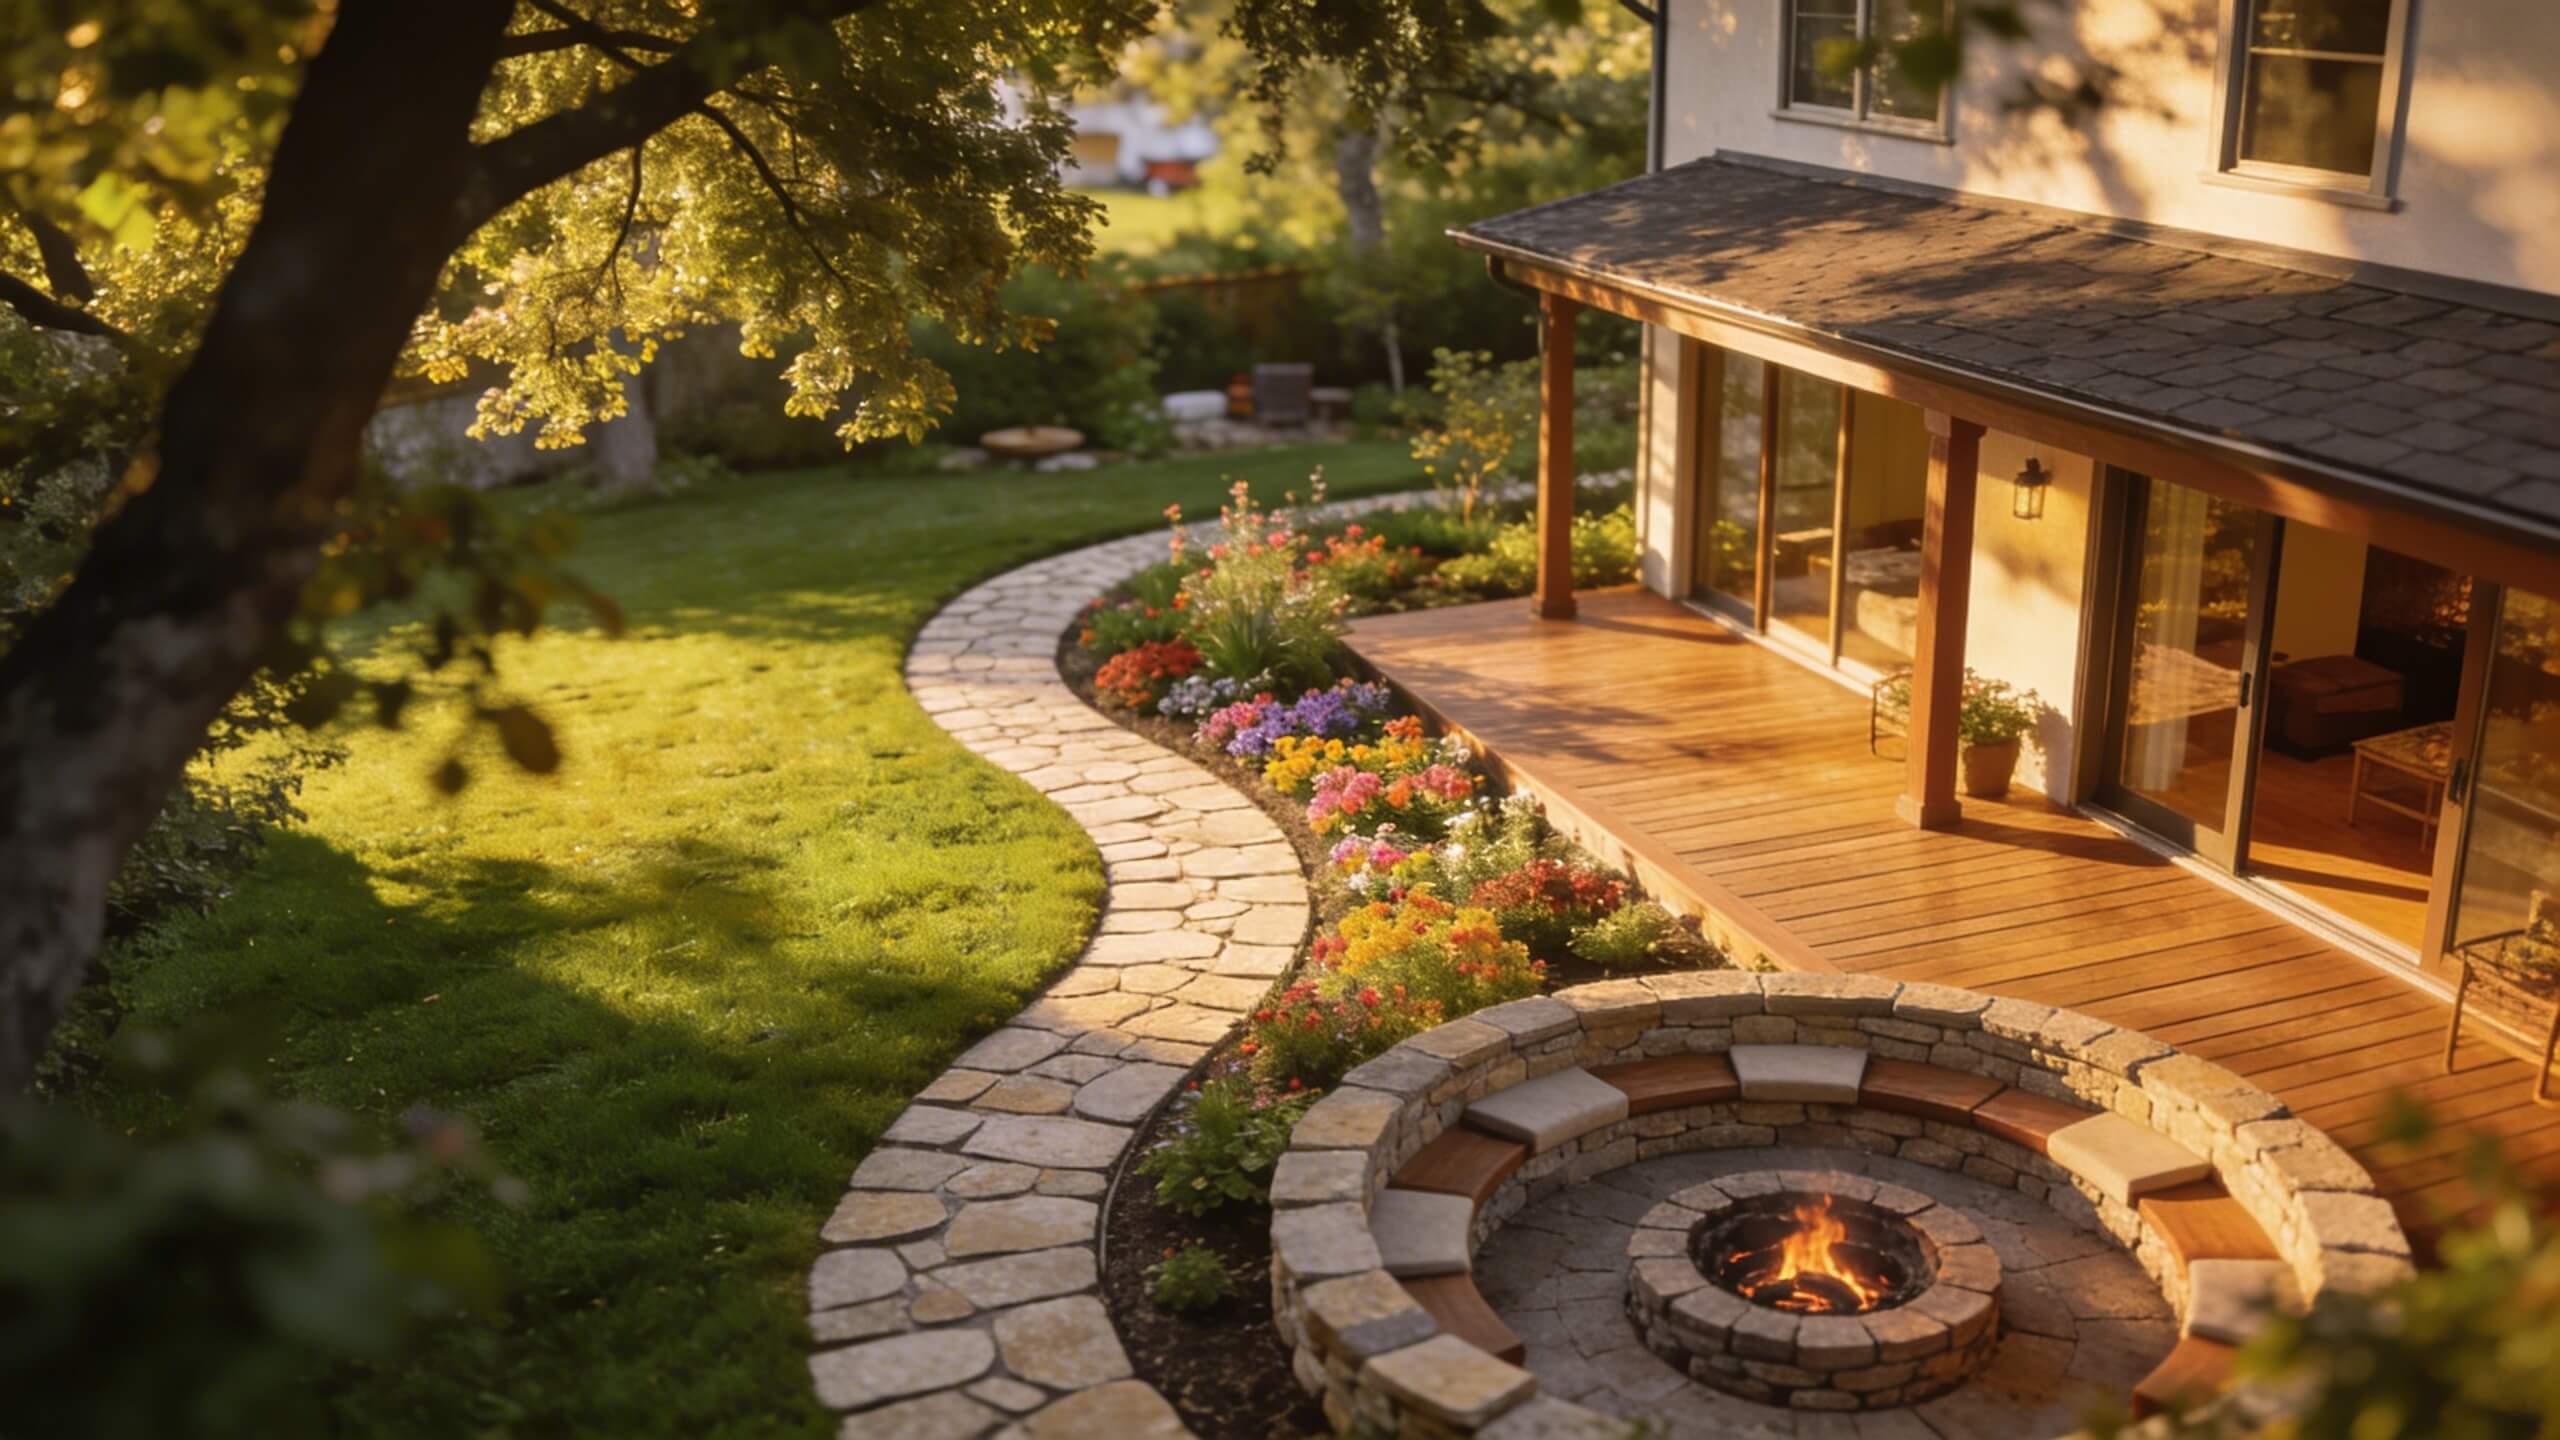
Most backyard landscaping projects fail before the first shovel hits the ground. Not because of bad plant choices or cheap materials, but because there was no plan. Homeowners skip straight to buying pavers, plants, and furniture without mapping out how the space will actually function.
The result is a patio that sits too close to the property line, a garden bed that blocks the path to the shed, or an outdoor dining area that gets full afternoon sun when you wanted shade. Planning your backyard layout before you start landscaping prevents these mistakes and saves you from ripping out work you just paid for.
This guide walks through every step of the process, from measuring your yard to zoning functional areas, placing hardscape elements, and testing the full layout in 3D before any construction begins.
Step 1: Measure your yard and record fixed elements
Start by measuring the full perimeter of your backyard. Record the length and width of the space, including any irregular angles or curves along the property line. Note the exact position of every fixed element that will not move during landscaping: the house wall, garage, fences, utility boxes, existing trees you plan to keep, drainage grates, septic system access points, and any underground utility lines.
Mark the location of exterior doors and windows on the house wall that faces the yard. The position of your back door determines the primary entry point into the outdoor space, and the layout should flow naturally from that point. Windows matter because you want the most attractive features of your yard to be visible from inside the house.
Note the direction your yard faces (north, south, east, west) and observe where sunlight falls at morning, midday, and evening. Sun exposure determines where you can place a vegetable garden (needs 6 to 8 hours of direct sun), where shade loving plants will thrive, and where a seating area will be comfortable during the hours you plan to use it most. Also record any slopes, low spots where water collects after rain, and areas where wind funnels through.
Transfer all these measurements and observations onto paper or into a digital planning tool. This site map is the foundation for every design decision that follows. Without it, you are guessing, and guessing in landscaping costs real money.
Step 2: Define how you want to use the Space
Before you draw a single design element, write down what you want your backyard to do. This is the step most people skip, and it is the reason most backyard layouts feel random rather than intentional.
Think in terms of activities. Do you want a space for outdoor dining? A play area for children? A fire pit zone for evening gatherings? A vegetable or herb garden? A quiet reading corner? Space for a hot tub or pool? Room for a dog to run? A workshop or shed with clear access? Each activity requires a specific amount of space, specific ground conditions, and a specific relationship to the house and to other zones.
Rank your priorities. Most backyards cannot accommodate everything on the wish list, especially in urban and suburban lots where space is limited. Deciding what matters most ensures that the top priority zones get the best positions and the most space, while lower priority features fill the remaining areas.
Get input from everyone who uses the yard. A backyard designed entirely around adult entertaining will frustrate a family with young children who need safe play space. A yard designed purely for gardening may disappoint a household that also wants space for grilling and outdoor dining. Gathering input early prevents costly redesigns later.
Step 3: Create zones using bubble diagrams
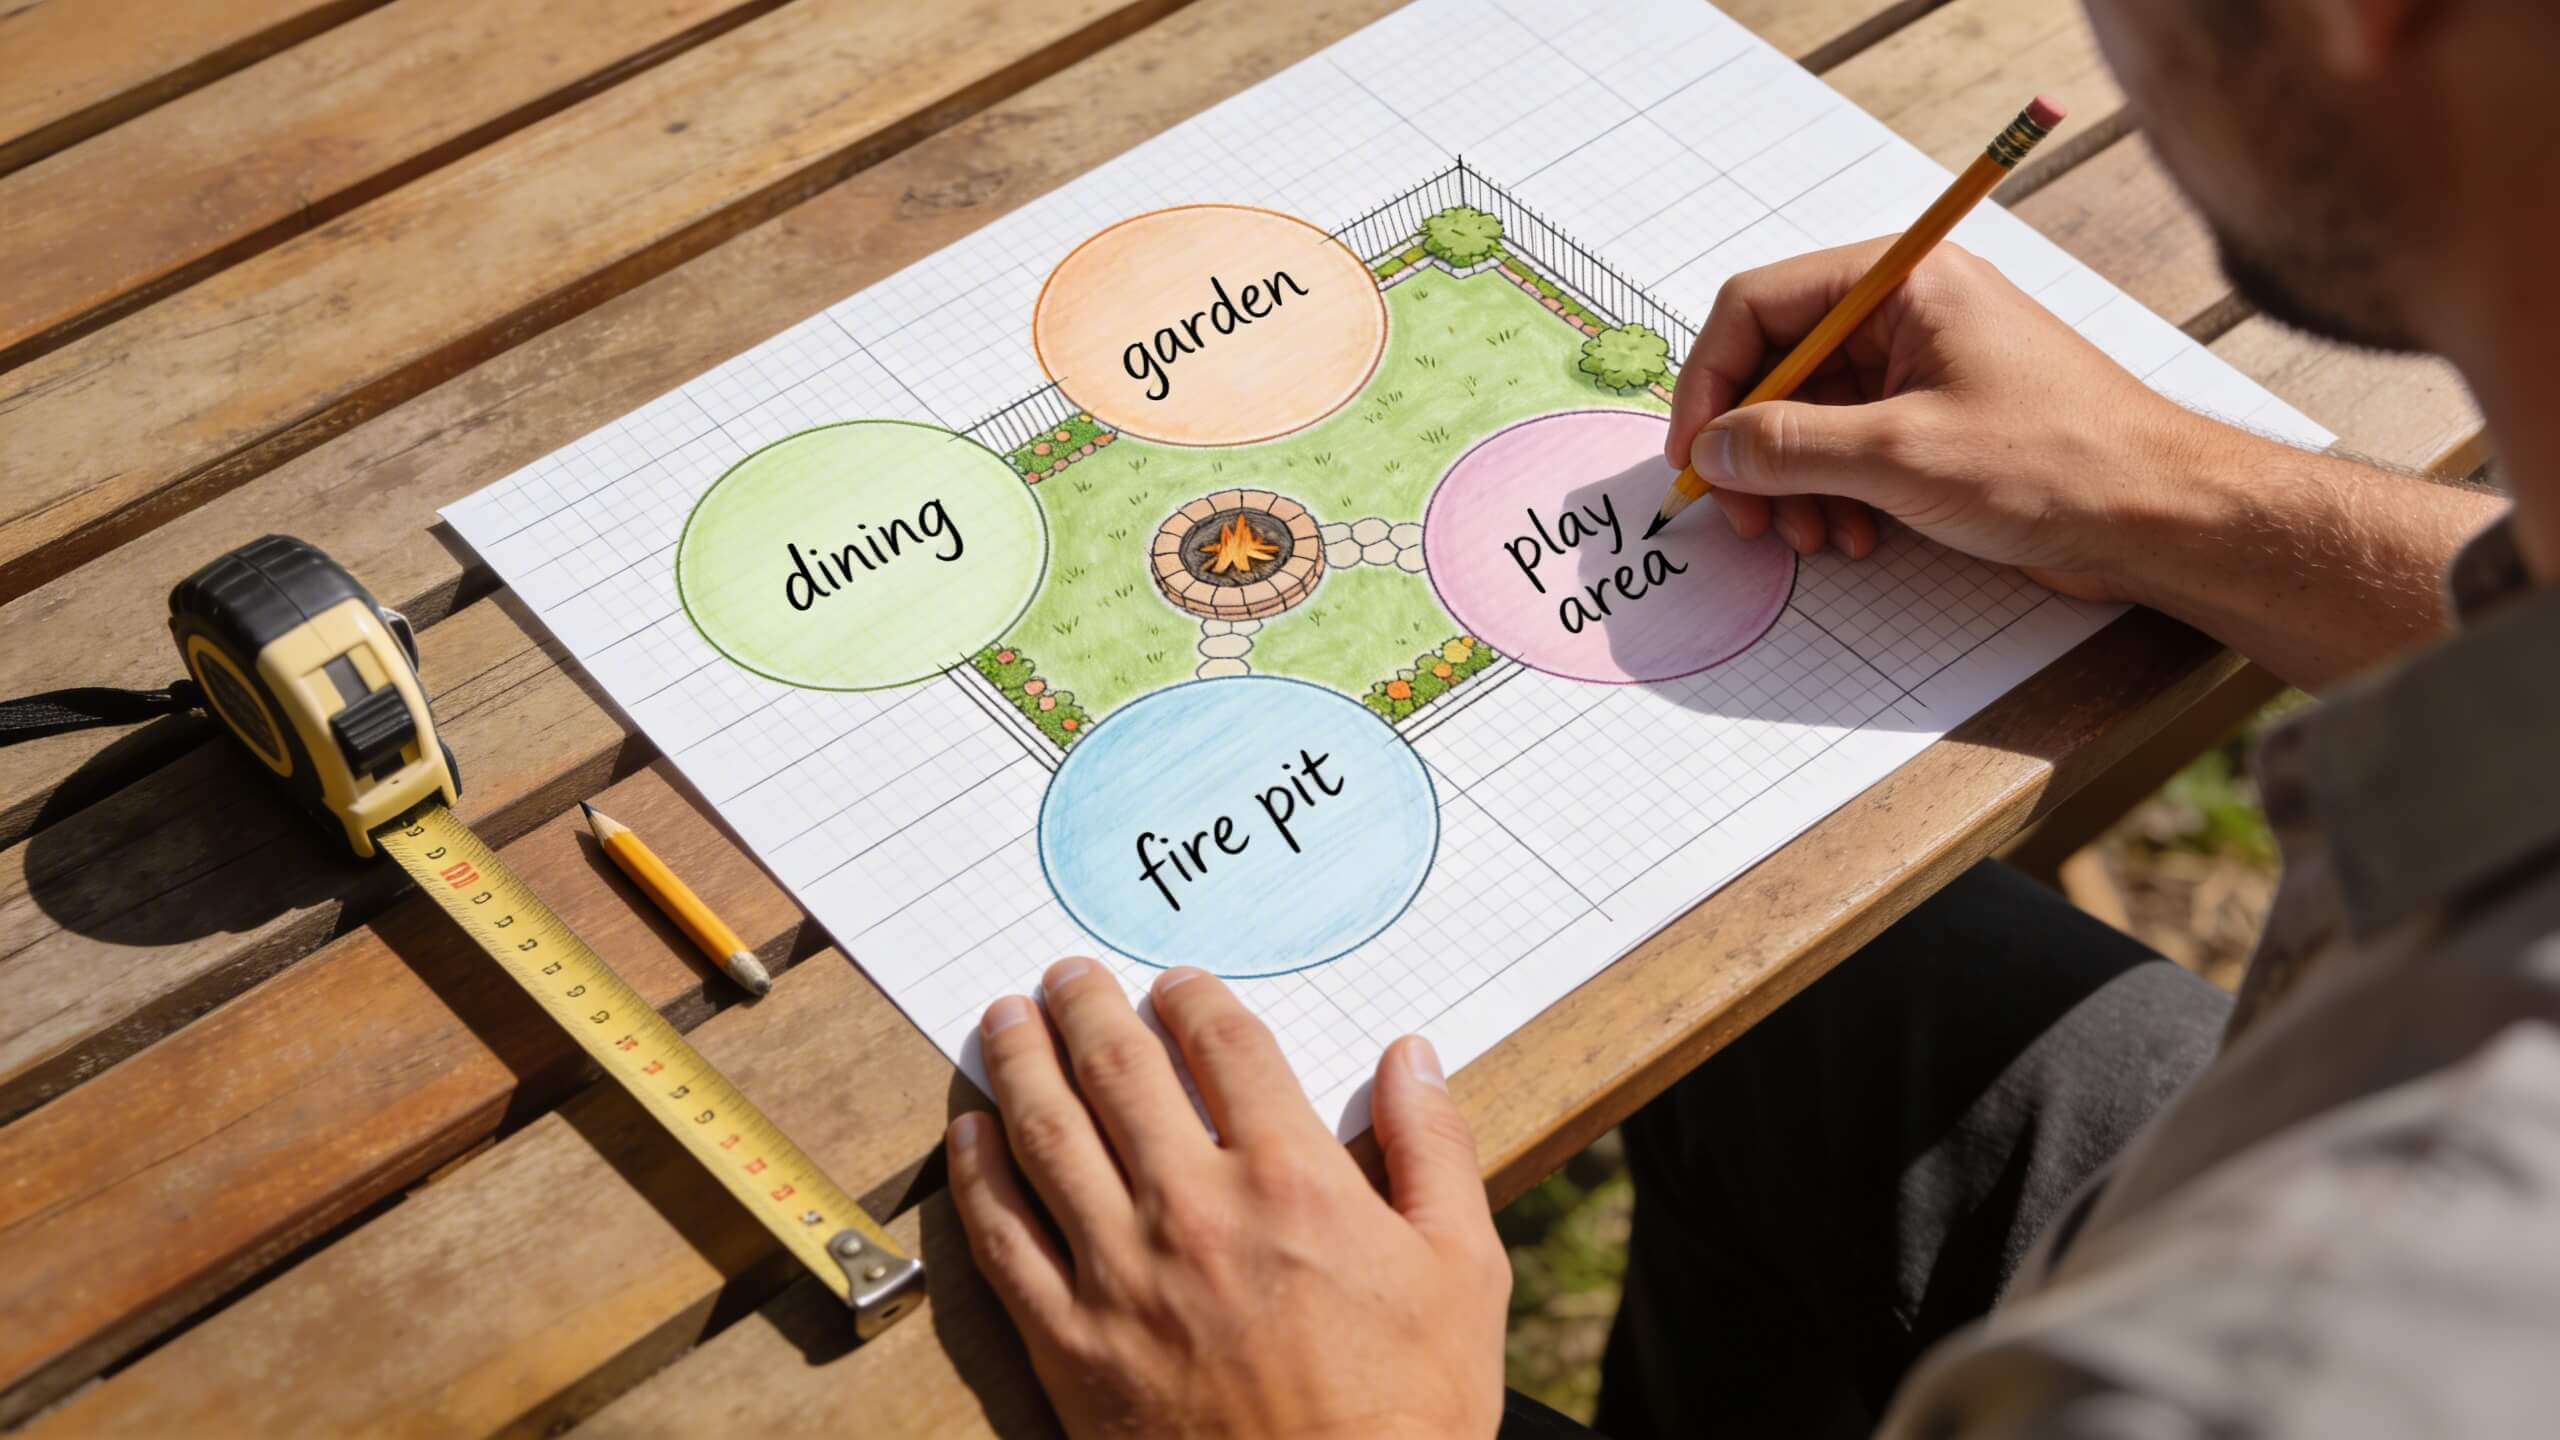
Bubble diagrams are the fastest way to explore layout options without committing to specific shapes or materials. On a copy of your site map, draw rough circles or ovals to represent each zone you identified in Step 2. Label each bubble: dining, cooking/grilling, fire pit, garden, play area, relaxation, pathway, storage.
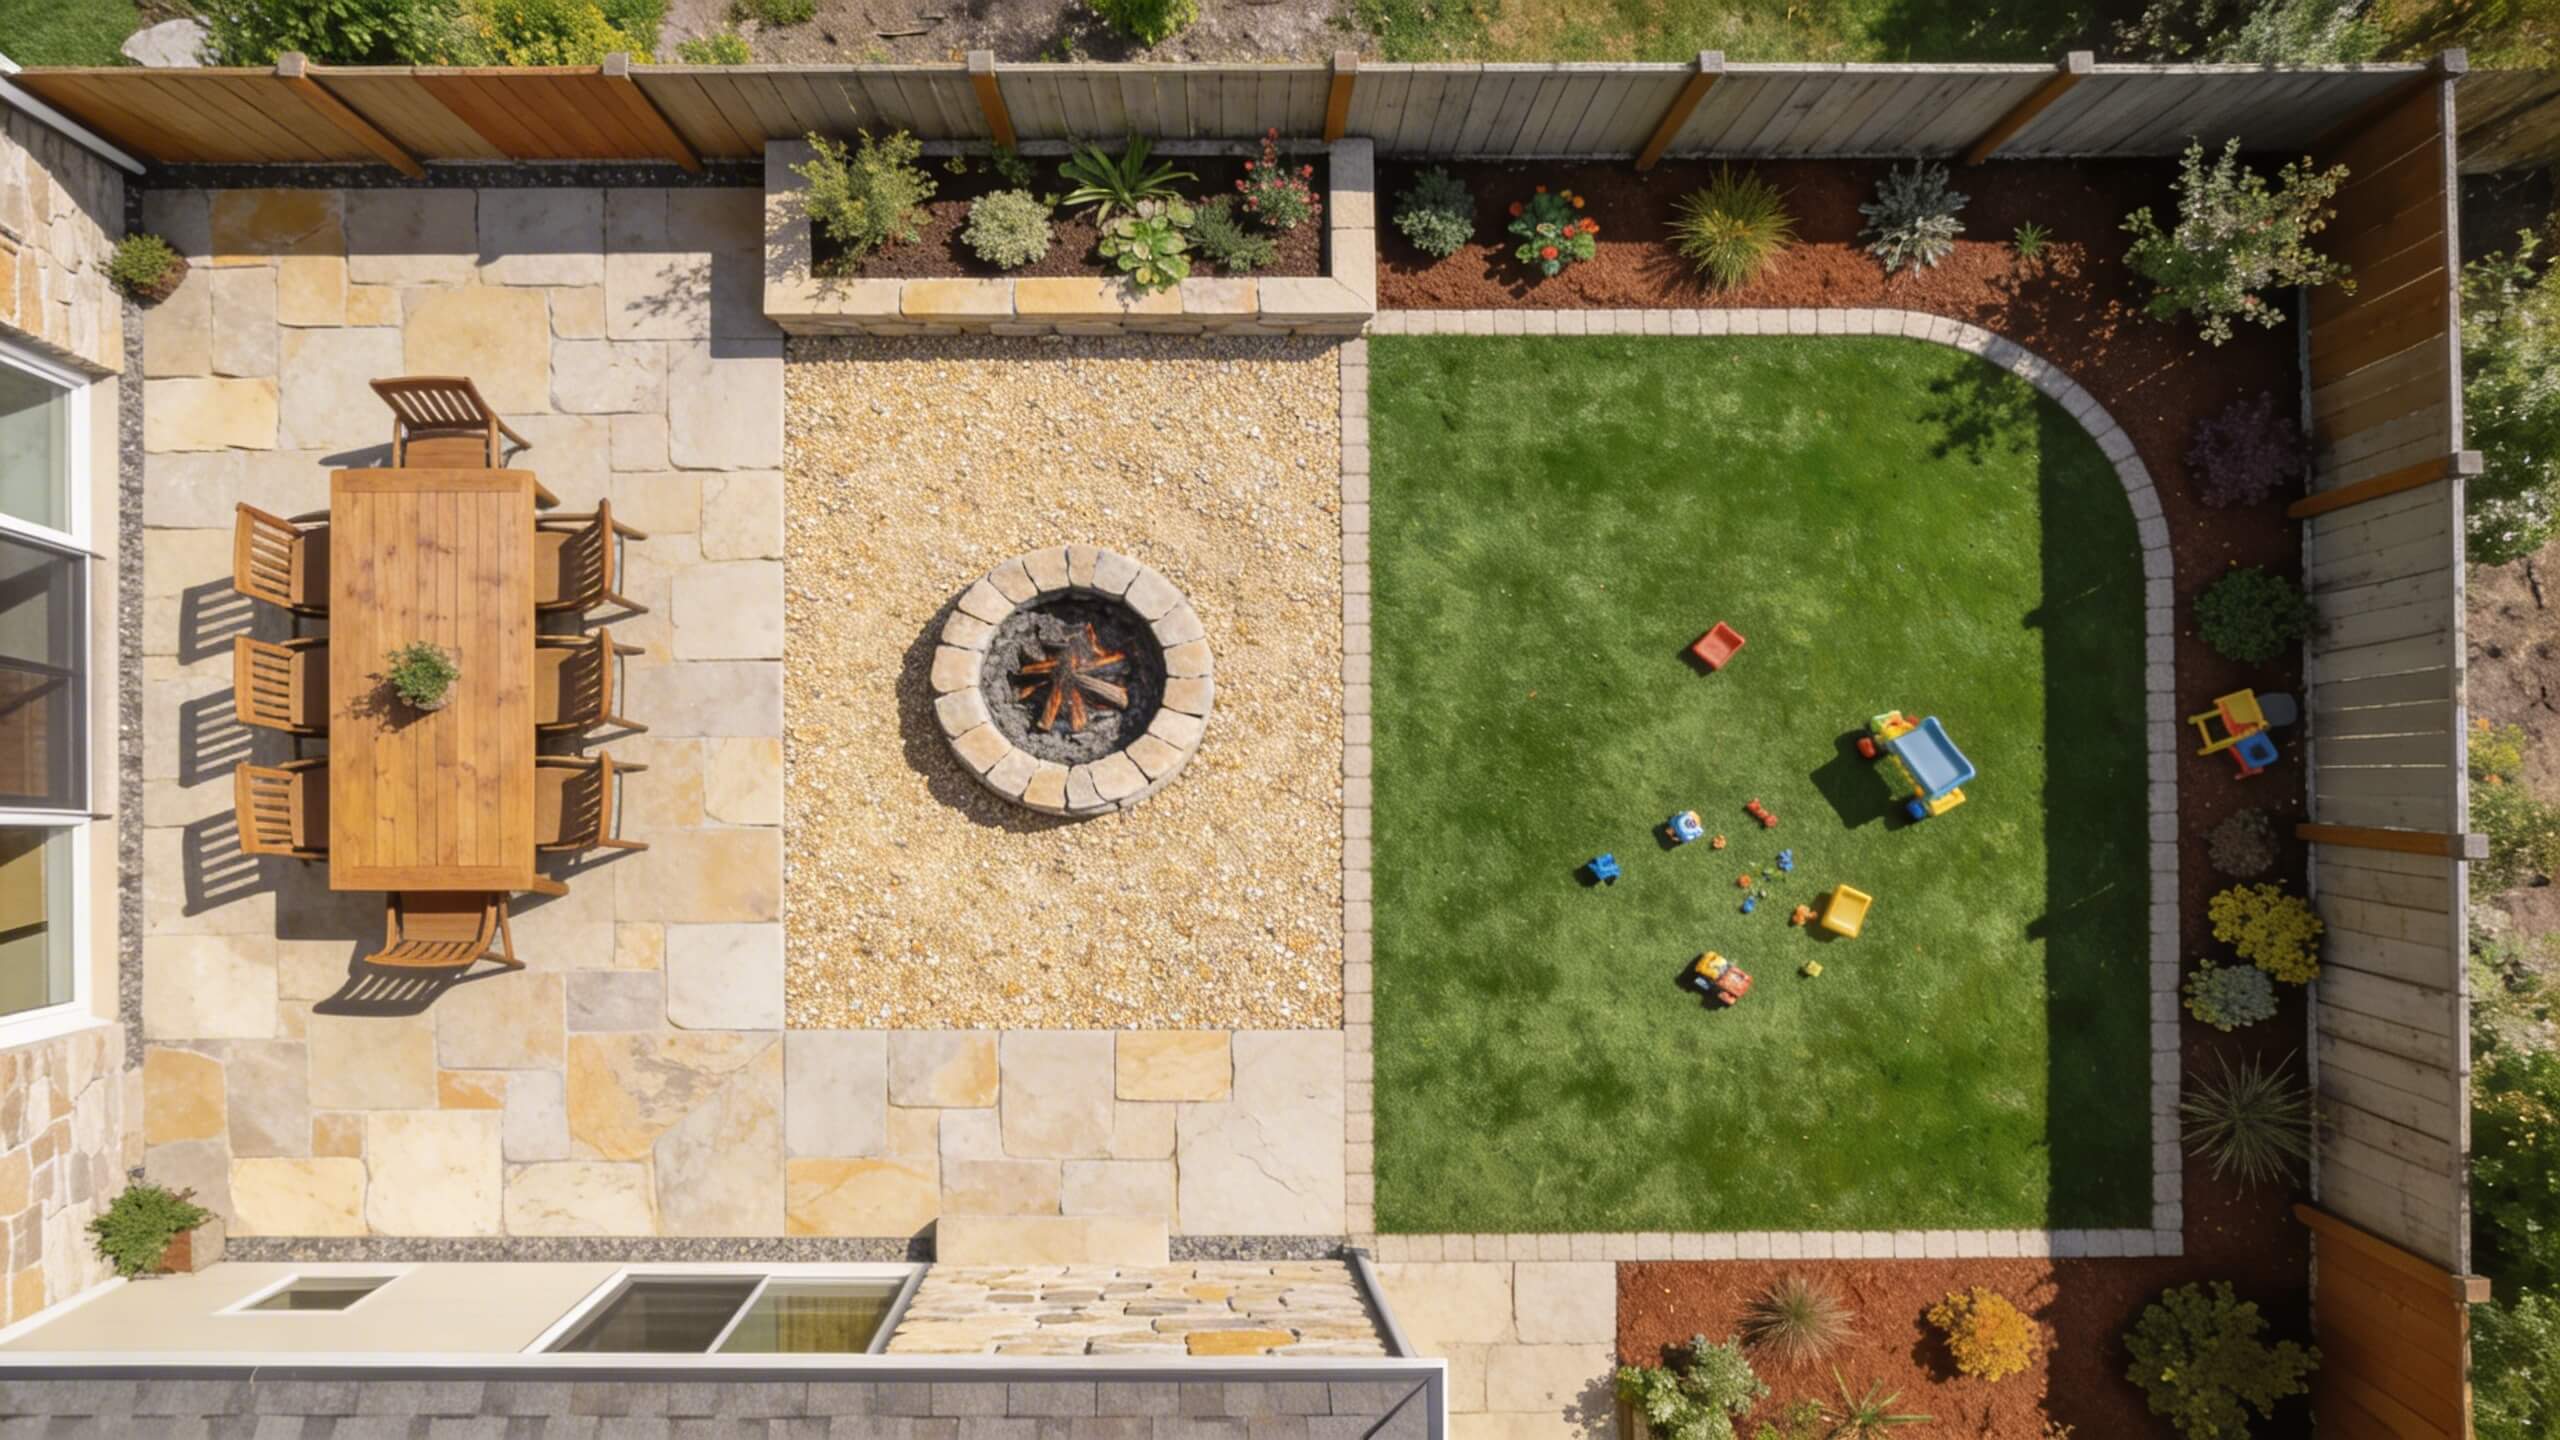
Position the bubbles based on practical logic. Place the dining and grilling zone near the back door for easy access to and from the kitchen. Position the garden in the area that receives the most sun. Place the fire pit far enough from the house and any overhanging trees (check local fire codes for minimum distances). Put the children's play area where it is visible from the kitchen window or the dining zone so adults can supervise while socializing.
Draw multiple versions. Most designers sketch 5 to 10 bubble diagrams before settling on a direction. Each version tests a different arrangement of the same zones, and the best ideas often come from unexpected combinations. Tracing paper over your base map makes this fast: sketch one layout, lay a new sheet over the base, and try another.
The goal of bubble diagrams is flow. Each zone should connect logically to adjacent zones, and the paths between them should feel natural rather than forced. If you have to walk through the dining area to reach the garden, that route should feel intentional and not disruptive. If the fire pit zone backs up to the neighbor's fence, consider whether the proximity creates privacy issues.
Step 4: Plan hardscape elements first
Hardscape goes in before softscape, always. Patios, walkways, retaining walls, fire pits, pergolas, and fences form the structural skeleton of your backyard. Plants, mulch, and grass fill in around them. If you plant first and build later, construction equipment will destroy your plantings and compacted soil will harm root systems.
Start with the patio or main gathering surface. Size it based on the furniture you plan to use: a standard outdoor dining table with six chairs needs a patio area of at least 12 by 12 feet to feel comfortable with room for people to pull out chairs and walk behind seated guests. Add additional space if the patio includes a grill station or lounge seating.
Plan walkways to connect the back door to each major zone. Primary walkways should be at least 4 feet wide to allow two people to walk side by side. Secondary paths can be 3 feet wide. Avoid creating paths that cut diagonally across the lawn unless the diagonal follows a natural desire line (the route people actually walk when taking the shortest path between two points).
If your yard has a slope, plan any terracing or retaining walls before placing other elements. Retaining walls change grade levels and create flat surfaces for patios, gardens, or play areas. Their position affects drainage, so they need to be engineered correctly. A 3D planning tool lets you model grade changes and see how terracing affects the overall visual balance of the yard.
Step 5: Position planting areas and softscape
With hardscape in place, plan where planting beds, lawn areas, and ground cover will go. Planting areas serve both aesthetic and functional purposes: they soften hard edges, create privacy screens, add color and texture, manage erosion on slopes, and attract pollinators.
Place taller plants and trees toward the back and sides of the yard to create a layered effect that adds depth. Use mid height shrubs as transitions between planting beds and lawn areas. Keep low growing plants along walkway edges and near the front of beds where they will be visible without blocking sight lines.
Consider maintenance when sizing planting beds. Every square foot of garden requires ongoing care: watering, weeding, pruning, and seasonal cleanup. Be realistic about how much time you will spend maintaining the yard. A 200 square foot perennial border looks stunning in June but becomes a burden if you do not have the hours to maintain it. Lawn requires less variety of care but needs consistent mowing throughout the growing season.
Plan for mature plant size, not the size at purchase. A shrub that is 2 feet wide at the nursery may grow to 6 feet wide in three years. If you plant it 3 feet from the walkway, it will overhang the path and require constant pruning. Spacing plants to their mature width prevents overcrowding and reduces long term maintenance.
Step 6: Plan outdoor lighting and irrigation
Lighting extends the usable hours of your backyard and adds safety to walkways and stairs after dark. Plan lighting in three layers, just as you would for an indoor room.
Ambient lighting provides overall illumination for gathering areas. String lights over a dining patio, post cap lights on a pergola, or recessed fixtures in a retaining wall all serve this role. Task lighting focuses on functional zones: a spotlight on the grill surface, path lights along walkways, and step lights on any grade changes. Accent lighting highlights focal points like a specimen tree, a water feature, or an architectural element.
Run electrical conduit for outdoor lighting before final grading and planting. Trenching through a finished lawn or planting bed to add lighting later damages the landscape and costs more than doing it during the initial build.
Irrigation follows the same principle: install it before planting. Drip irrigation for garden beds and spray zones for lawn areas should be mapped onto your layout with the planting plan in mind. Each zone of your irrigation system should match the water needs of the plants in that area. Grouping plants with similar water requirements (known as hydrozoning) reduces water waste and keeps plants healthier.
Step 7: Test your full layout in 3D before breaking round
This is the step that separates planned landscapes from improvised ones. A flat drawing shows where things go, but it cannot show you how the backyard will feel when you stand in it. It cannot show whether the pergola blocks the view from the kitchen window, whether the fire pit feels too close to the neighbor's fence, or whether the walkway curves feel natural at ground level.
A 3d landscape design tool lets you build your entire backyard plan in 3D and explore it from every angle. Walk through the space virtually. Stand at the back door and check that the layout looks balanced. Sit at the dining table and see what is in your line of sight. View the yard from above to verify that zones are proportional and pathways flow smoothly.
Arcadium 3D makes this process accessible directly in your browser. Build your yard to scale, place hardscape elements, add planting zones, and visualize the full layout in 3D without downloading software. Share your design via URL with a landscaping contractor so they see exactly what you have planned, with dimensions and placement confirmed before they start quoting materials and labor.
Testing in 3D catches problems that would not surface until the project is partially built. A patio that looks perfectly sized on paper might feel cramped when you see it at ground level with furniture in place. A garden bed that seems well positioned might block the natural walking path between the back door and the gate. Discovering these issues in a digital model costs nothing. Discovering them after concrete is poured and plants are in the ground costs time, money, and frustration.
Step 8: Create a phased implementation plan
Most backyard landscapes do not need to be built all at once. In fact, phasing the project over time often produces better results because it allows you to live with each phase, observe how you actually use the space, and adjust later phases based on real experience rather than assumptions.
Phase 1 should always include the hardscape: patio, walkways, retaining walls, and underground infrastructure (electrical conduit, irrigation lines, drainage). These elements are disruptive to install and should be completed before any planting begins.
Phase 2 typically covers the major planting: trees, shrubs, and the primary garden beds. Trees take years to reach maturity, so planting them early gives them a head start. Anchor shrubs that define borders and provide privacy should also go in during this phase.
Phase 3 adds finishing elements: perennials, ground covers, mulch, outdoor furniture, lighting fixtures, and decorative features. These are the details that bring the design to life and can be adjusted seasonally without major disruption.
Having the full plan designed and tested in 3D before starting Phase 1 ensures that every phase builds toward the same unified vision. Without a master plan, each phase risks contradicting the previous one, and the yard ends up looking like a patchwork of unrelated projects.
Frequently asked questions
How do I start planning a backyard layout if I have no design experience?
Start by measuring your yard and listing what you want the space to do. Create simple bubble diagrams to test zone placement. Then build the layout in a 3D tool like Arcadium 3D to visualize proportions and flow before committing to materials.
Should hardscape or planting go in first?
Hardscape always goes first. Patios, walkways, retaining walls, and underground infrastructure (electrical, irrigation) must be installed before planting. Construction disturbs soil and can damage existing plantings.
How wide should backyard walkways be?
Primary walkways should be at least 4 feet wide to allow two people to walk side by side. Secondary paths can be 3 feet wide. Keep tall plants at least 2 to 3 feet back from walkway edges to prevent overgrowth.
How much space does an outdoor dining area need?
A dining table with six chairs needs a patio area of at least 12 by 12 feet. This provides room for pulling out chairs, walking behind seated guests, and accommodating a grill or serving surface nearby.
Can I plan my backyard layout in 3D without hiring a designer?
Yes. Browser based tools like Arcadium 3D let you build your yard to scale, place hardscape and planting zones, and explore the layout in 3D. You can share the design with a landscaping contractor via URL for accurate quoting.
How do I decide where to put a fire pit in my backyard?
Place fire pits at least 10 to 20 feet from the house and any structures (check local fire codes). Position them away from overhanging branches. Choose a spot that is visible from the main gathering area but far enough away that smoke does not blow toward the dining or seating zone.
Should I plan for irrigation before or after planting?
Before. Install irrigation lines after hardscape is complete but before planting begins. Map irrigation zones to match the water needs of the plants in each area. This prevents trenching through finished planting beds later.


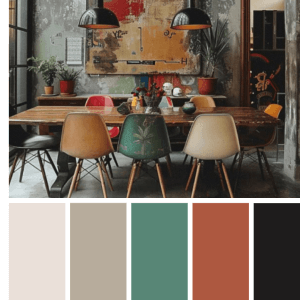 Color palette generator
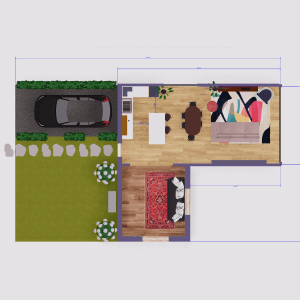 Floor plan creator
 Interior design app
 Kitchen design tool
 House design software
 Landscape design software
 Bedroom design
 Office floor plan creator
 How to use Arcadium — full guide
 3D object library - free
 Articles and blog