A raised garden bed without a layout plan is just a box of dirt. You fill it with whatever looks good at the nursery, run out of space halfway through planting season, and end up with tomatoes shading your lettuce and squash overrunning your herbs.
The fix is simple: plan the layout before you build or fill a single bed. Layout planning determines how many beds you need, where they go in your yard, what size produces the best results, and which plants go where inside each bed.
It also prevents the most common vegetable garden mistakes: overcrowding, poor sun exposure, wasted walkway space, and incompatible plants fighting for the same resources. This guide covers the full process from choosing bed dimensions to arranging crops for maximum yield.
Why layout planning matters for raised bed gardens
Raised beds concentrate your growing into a defined space. Unlike traditional row gardens where plants spread across open ground, raised beds force every square foot to earn its place. Poor planning in a raised bed wastes a higher percentage of your growing area than poor planning in an open garden because the space is so limited.
A well planned layout increases yield per square foot by ensuring proper plant spacing, maximizing sun exposure, and grouping compatible plants together. It also reduces maintenance. When you know exactly what goes where and how much space each plant needs at maturity, you spend less time transplanting overcrowded crops, less time fighting for access between beds, and less time replacing plants that failed because they were in the wrong spot.
Planning also lets you think ahead to succession planting. When early crops like lettuce, radishes, and peas finish producing, a planned layout tells you exactly which warm season crop fills that empty space next. Without a plan, those gaps sit empty or get filled randomly, wasting weeks of growing time.
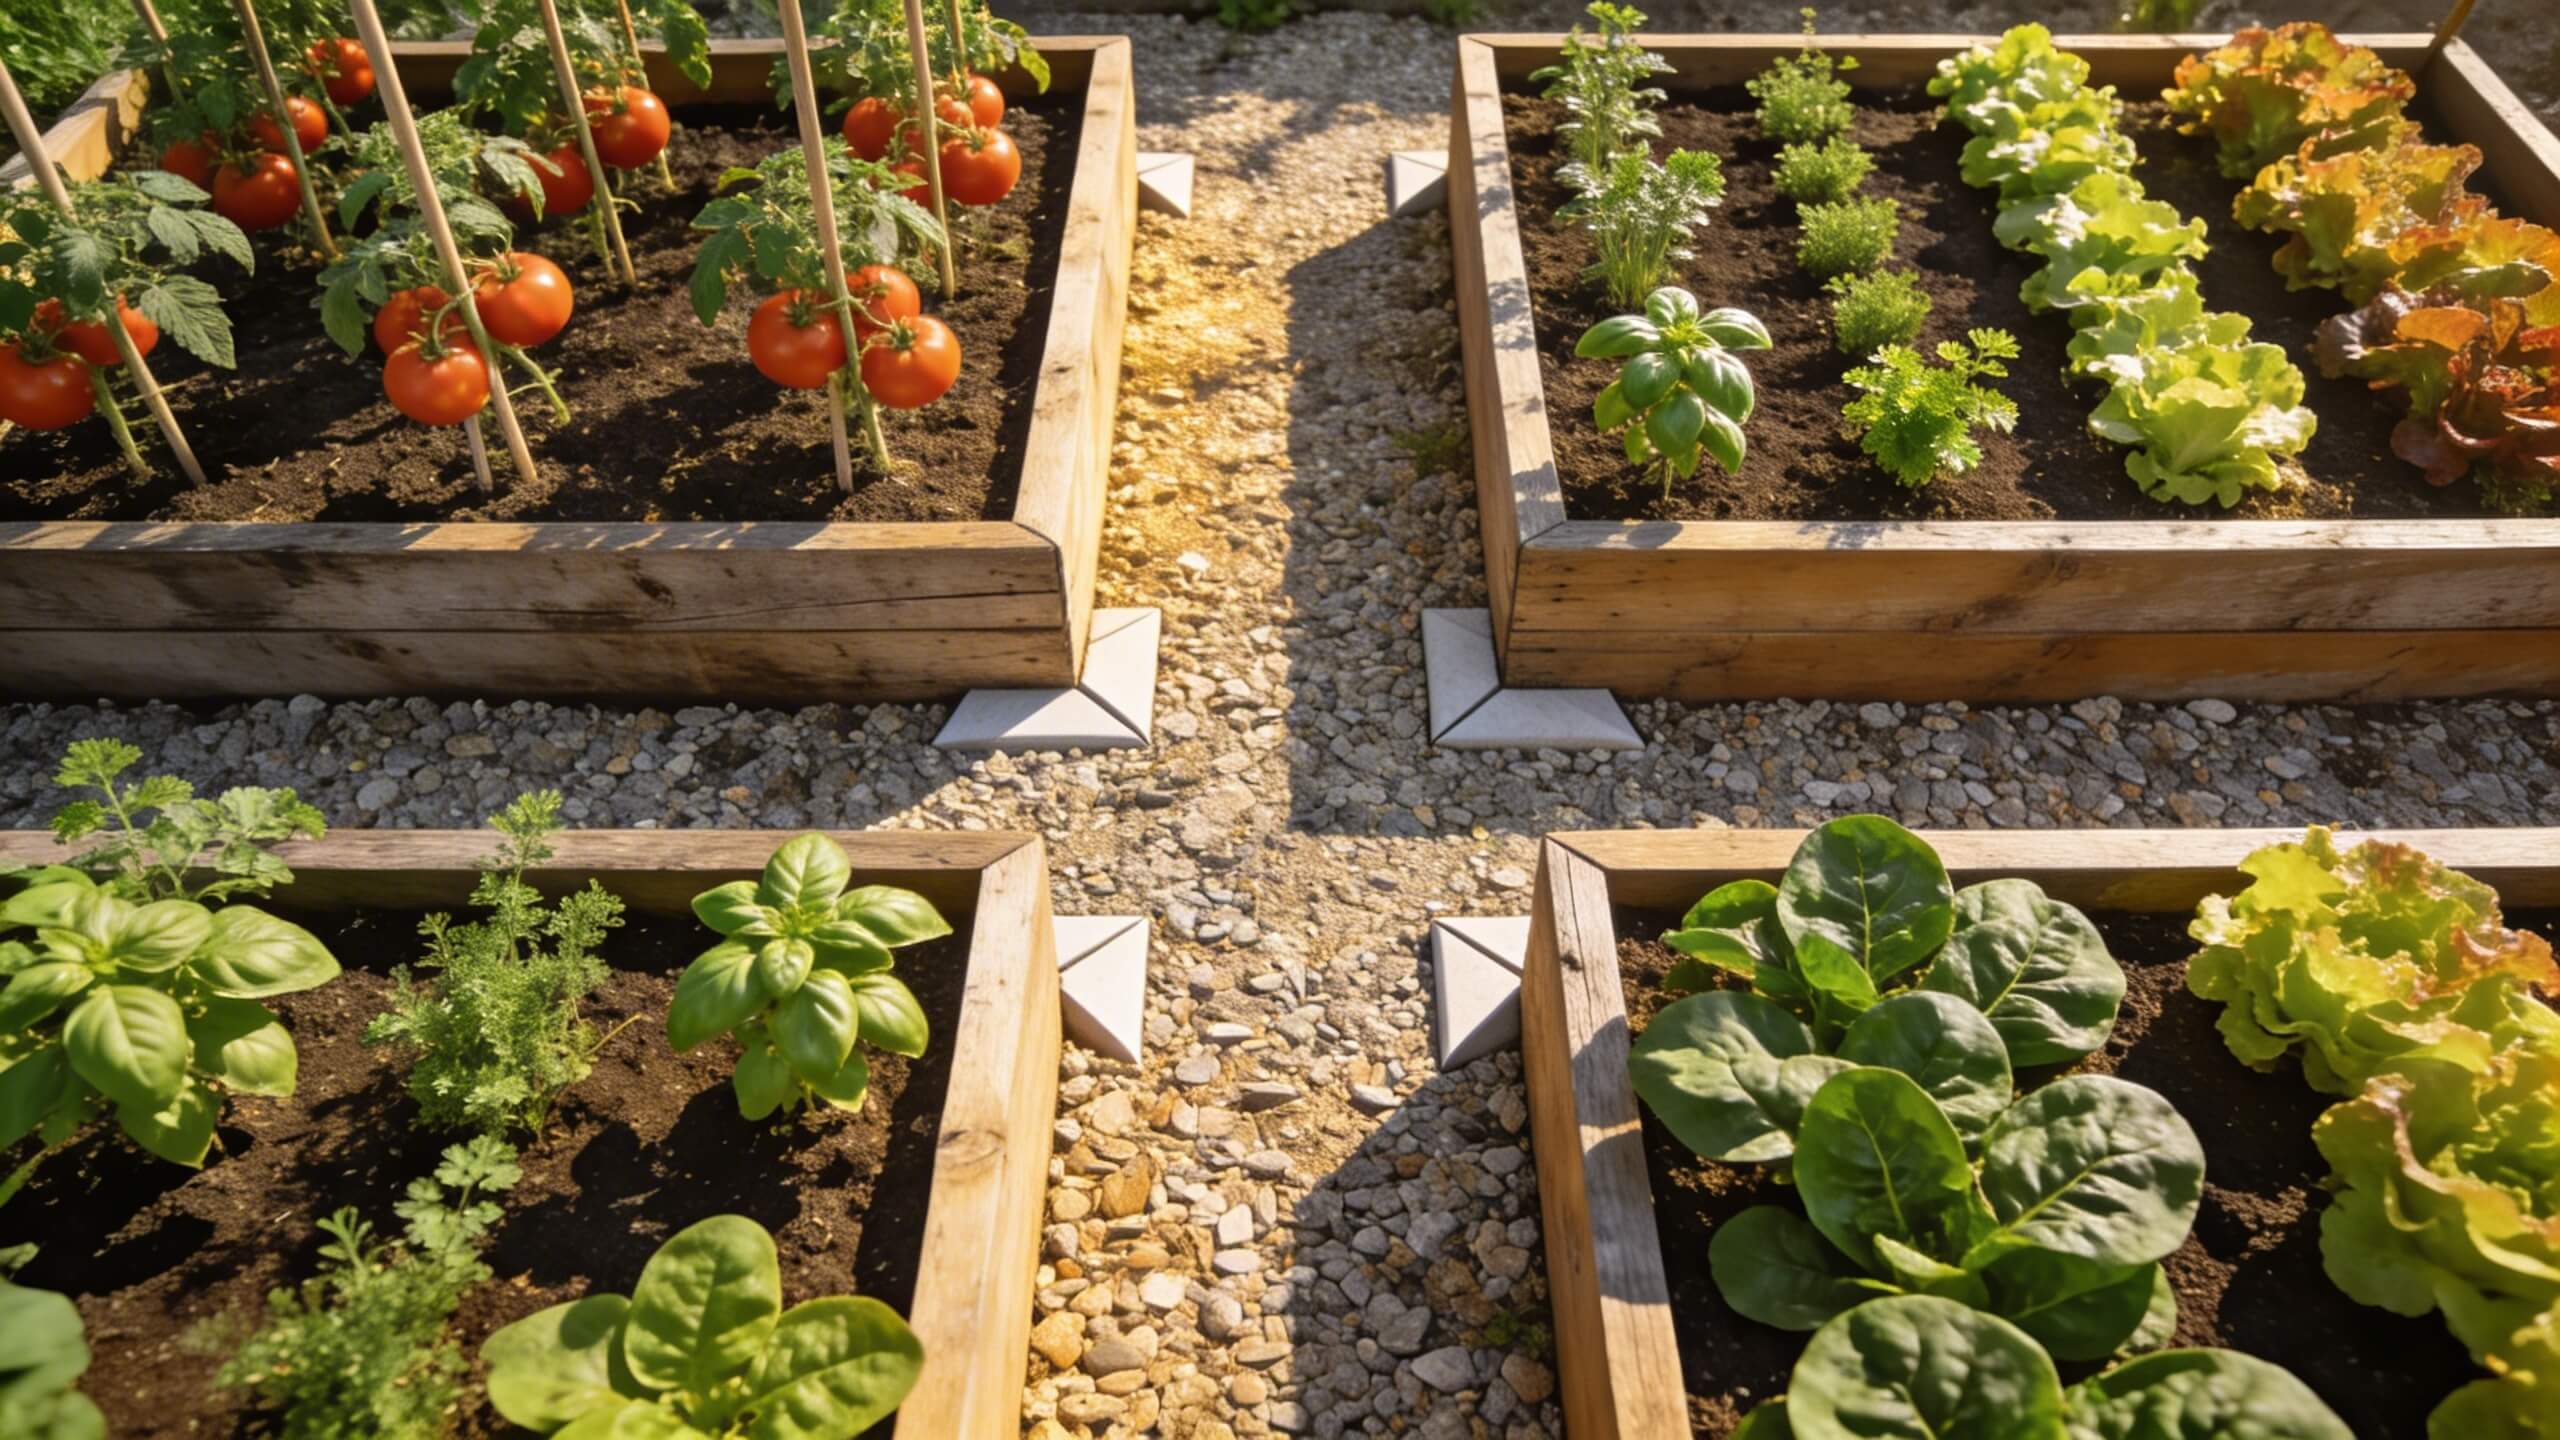
Choosing the right bed size and dimensions
The most popular raised bed size for vegetable gardens is 4 feet wide by 8 feet long. The 4 foot width is not arbitrary. It allows an adult to reach the center of the bed from either side without stepping on the soil. Stepping on raised bed soil compacts it, which destroys the drainage and aeration advantages that make raised beds productive in the first place.
If the bed is placed against a fence or wall and accessible from only one side, reduce the width to 2 to 2.5 feet. Your arm can only reach about 2 feet comfortably, and stretching farther to weed or harvest becomes frustrating by the third week of the growing season.
Bed height depends on your existing soil and physical needs. A height of 6 to 12 inches works well for most gardens where the native soil below is decent and you want roots to extend into the ground beneath the bed. If the native soil is poor, compacted, or contaminated, a height of 18 to 24 inches contains the entire root zone within the bed fill. For gardeners with limited mobility, waist height beds (30 to 36 inches) eliminate bending entirely.
Length is flexible. Beds of 6, 8, 10, or 12 feet all work well. Longer beds are more material efficient (fewer corner joints per linear foot of growing space), but extremely long beds can make it tedious to walk around to the other side. Most gardeners find 8 feet to be the practical sweet spot.
How many beds do you need and how to arrange them
The number of beds depends on how much you want to grow and how much space your yard allows. A single 4 by 8 foot bed provides 32 square feet of growing area, enough to supply a steady harvest of salad greens, herbs, a couple of tomato plants, and a few root vegetables for one or two people. A family of four typically needs three to four beds of this size to grow a meaningful portion of their household vegetables.
Arrange beds with at least 2 to 3 feet of walkway space between them. This is the minimum needed to crouch, harvest, and push a wheelbarrow between beds. If you use wider paths of 3 to 4 feet, you gain room for a garden cart and much more comfortable access during peak harvest when you are carrying baskets of produce.
Orientation matters. Align beds so the long axis runs north to south. This ensures that both sides of the bed receive roughly equal sunlight throughout the day. In a north to south orientation, the sun travels across the short dimension of the bed, preventing tall plants on one side from casting long shadows over the opposite side for the entire day.
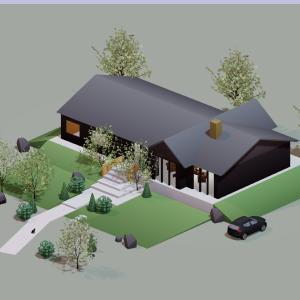
Before committing to a physical arrangement, map your garden area using a 3d garden design online free tool to visualize how multiple beds fit within your available space. Seeing the layout in 3D reveals spacing issues, shadow patterns, and access problems that a flat sketch cannot show. You can test different bed counts, orientations, and path widths before building anything.
Selecting the best location in your yard

Vegetables need 6 to 8 hours of direct sunlight per day. This is the single most important factor in choosing where to place your raised beds. Observe your yard throughout the day and note which areas receive uninterrupted sun from mid morning through late afternoon. Avoid placing beds near large trees or structures that cast shadows during peak sun hours.
Choose level ground whenever possible. Raised beds on sloped ground require leveling the base or building one side taller than the other to keep the soil surface flat. Unlevel soil leads to uneven watering, with one end staying saturated while the other dries out.
Place beds near a water source. Carrying watering cans across the yard gets old fast, especially during summer when beds may need daily watering. A hose bib within 50 feet of the garden saves time and increases the chance you will actually water consistently. If you plan to install drip irrigation (recommended for raised beds), proximity to the water source simplifies the plumbing.
Keep beds accessible from the house. The closer the garden is to your kitchen door, the more often you will harvest. Gardens tucked in a far corner of the yard produce food that often goes unpicked because the walk feels like an errand rather than a quick trip. Visibility from the house also helps you notice pest problems and watering needs before they become serious.
Planning what to plant where inside each bed
Once you know how many beds you have and where they go, the next step is deciding what goes inside each one. This is where most gardeners make their biggest layout mistakes.
Group plants by sun and water needs
All plants in a single raised bed share the same sun exposure and watering schedule. Group plants with similar requirements together. Tomatoes, peppers, and eggplant all need full sun and consistent deep watering. Lettuce, spinach, and radishes prefer cooler conditions and more frequent light watering. Mixing these groups in the same bed means one group always gets too much or too little of something.
Place tall plants on the north side
Position your tallest crops (tomatoes, trellised beans, cucumbers on supports) along the north edge of the bed. This prevents them from casting shadows over shorter crops during the day. Shorter plants like herbs, lettuce, and root vegetables go on the south side where they receive full sun without obstruction.
Use companion planting to your advantage
Certain plant combinations benefit each other. Basil planted near tomatoes may help repel aphids and whiteflies. Carrots and onions planted together can confuse each other's pests. Marigolds along bed edges deter a range of insects. Avoid planting members of the same family (tomatoes, peppers, and eggplant are all nightshades) in the same bed year after year, as this depletes specific soil nutrients and encourages family specific diseases.
Plan for mature plant size
A tomato seedling is 6 inches tall. A mature tomato plant can spread 3 to 4 feet wide and reach 6 feet tall. If you plant two tomatoes 12 inches apart because that is how big they are at transplant, they will be tangled and competing for light within a month. Space plants based on their mature size, not their nursery pot size. A 4 by 8 bed comfortably holds two to three tomato plants, not six.
Maximizing yield with succession and interplanting
A single planting cycle wastes months of potential growing time. Smart layout planning includes a succession plan that fills empty space the moment one crop finishes producing.
Start cool season crops (peas, lettuce, spinach, radishes) in early spring. When they finish producing by early summer, replace them with warm season crops (bush beans, summer squash, a second round of cucumbers). In late summer, plant a fall crop of kale, Swiss chard, carrots, or beets in the space vacated by your earliest warm season harvests.
Interplanting tucks fast maturing crops between slow growers. Radishes mature in 25 to 30 days. Plant them between tomato transplants in spring. By the time the tomatoes need the space, the radishes are harvested and gone. Lettuce works the same way: tuck it between pepper plants in spring and harvest it before the peppers grow large enough to shade it out.
A well planned raised bed can produce three distinct harvests per growing season using succession planting. Without a plan, most gardeners get one harvest and a lot of empty soil from midsummer onward.
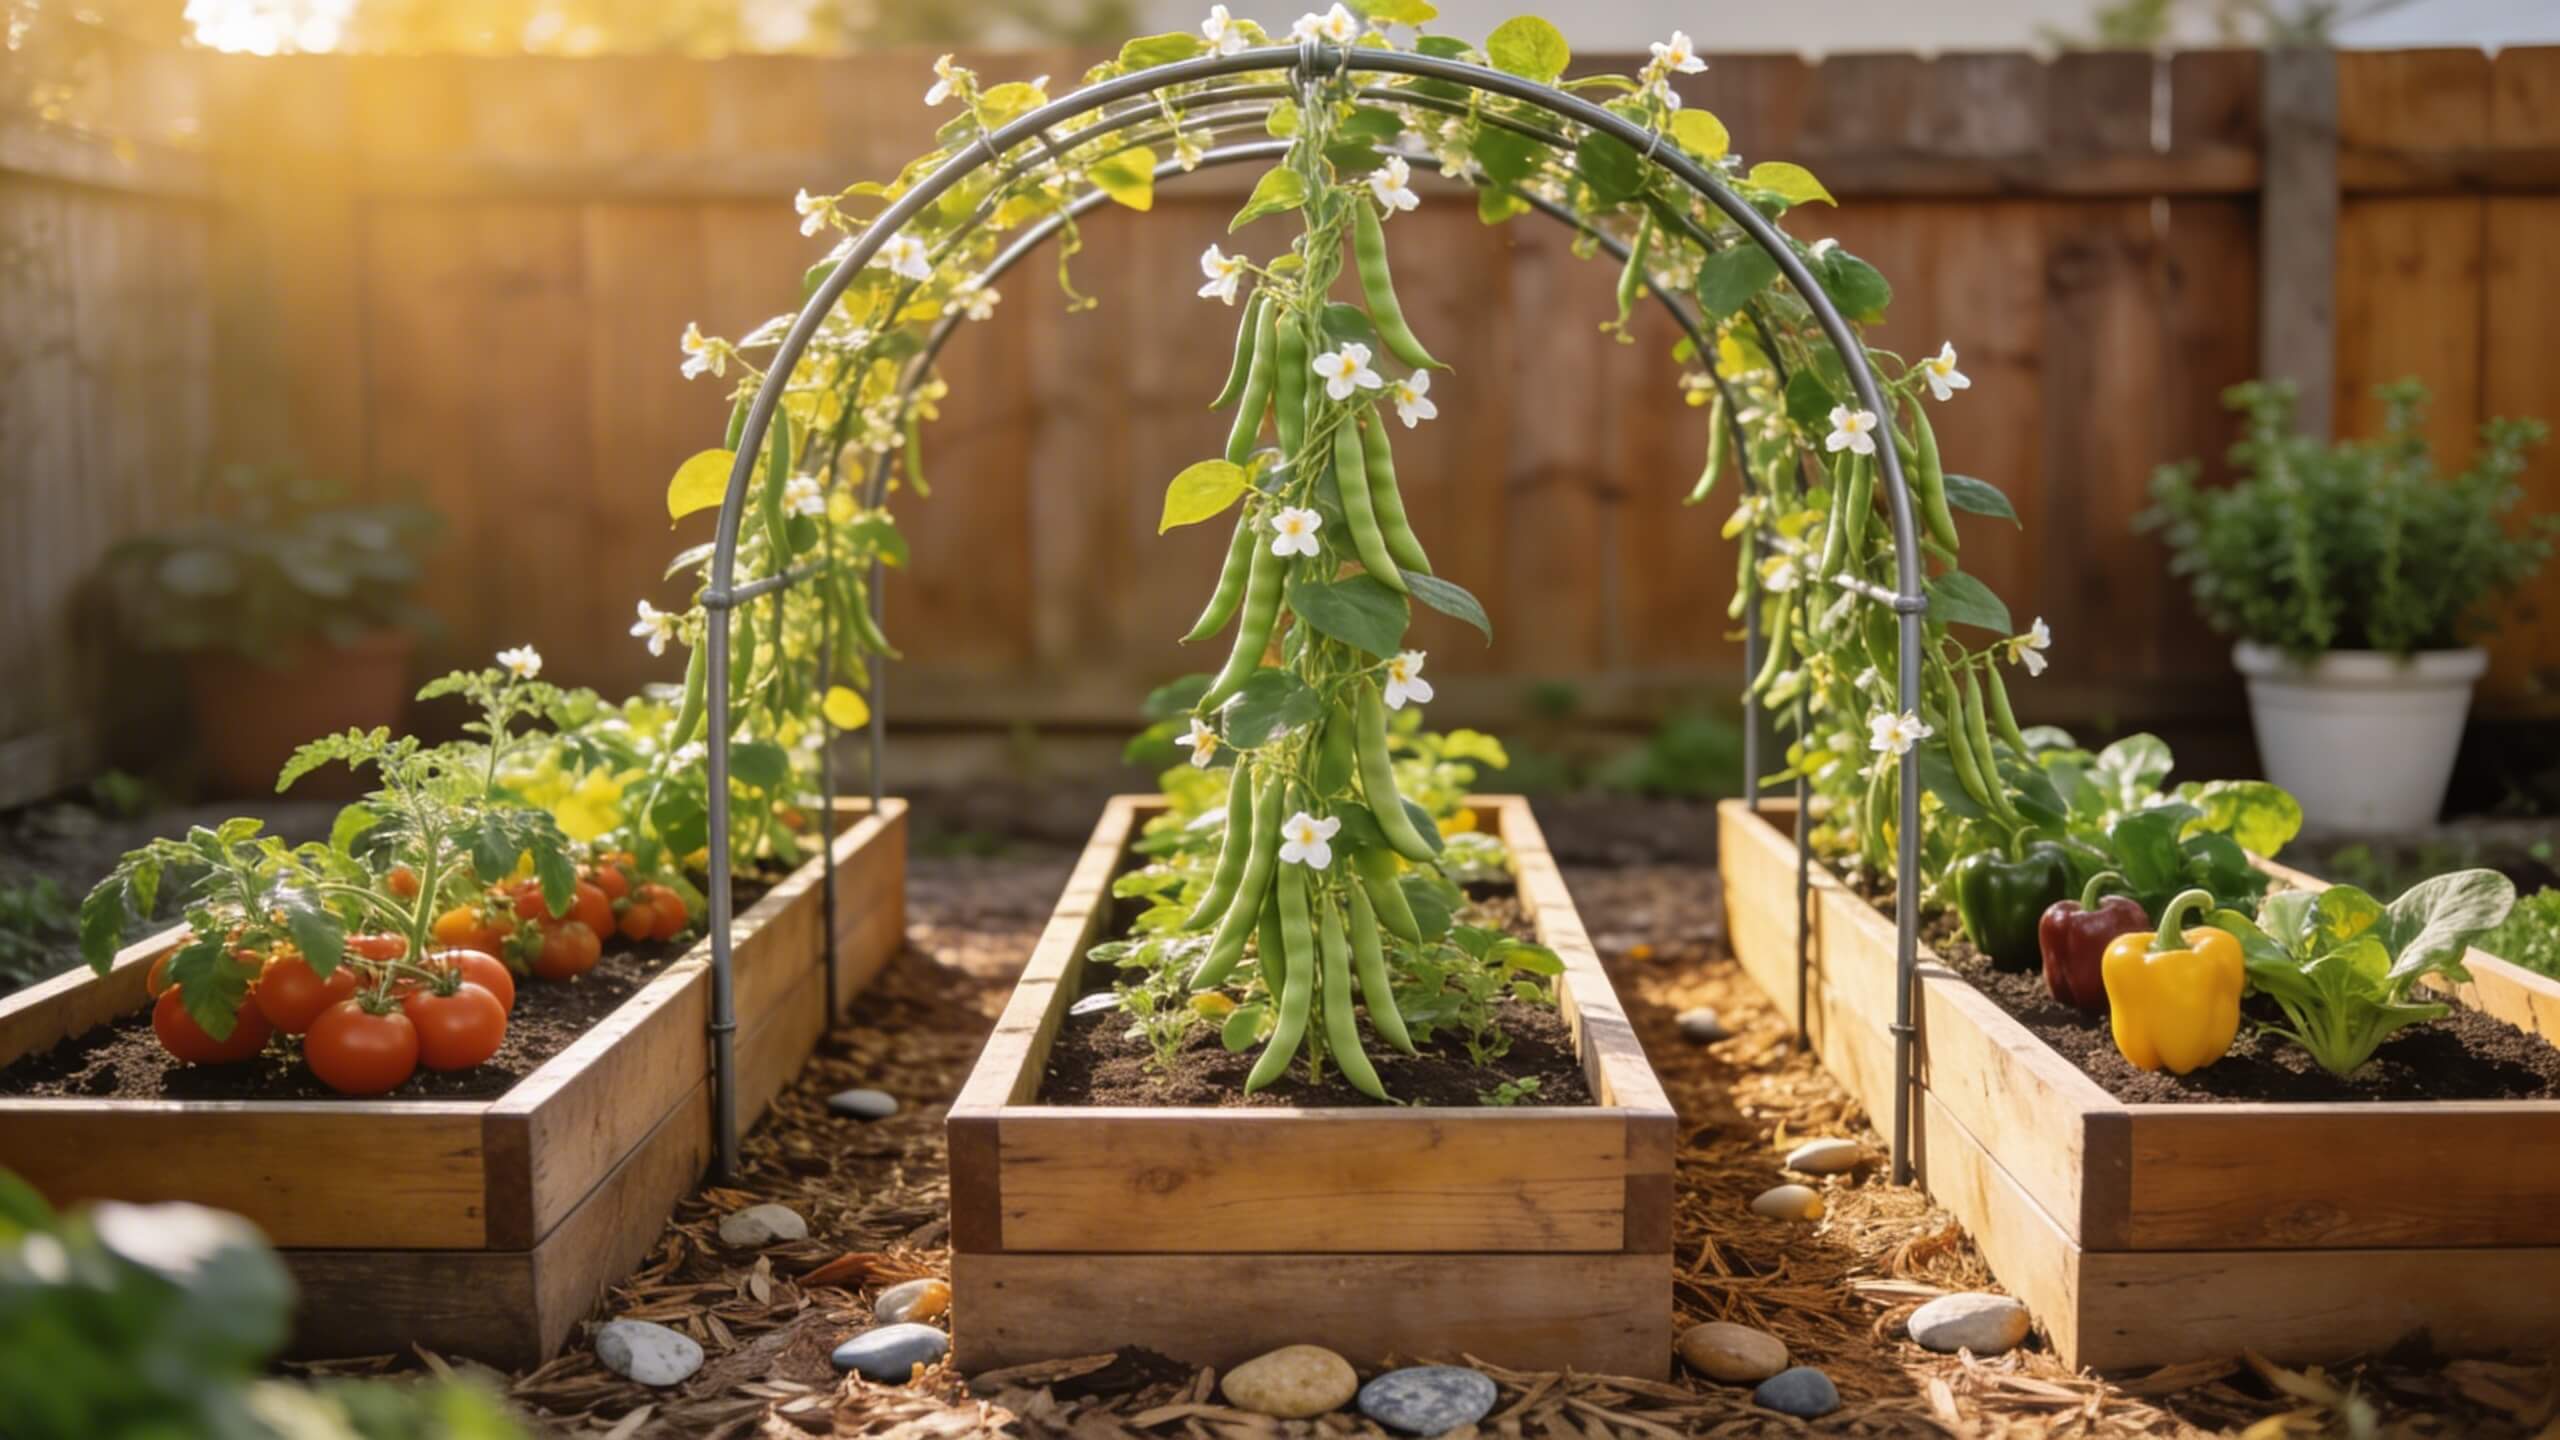
Adding vertical growing structures to your layout
Vertical growing multiplies the productive space of a raised bed without increasing its footprint. Trellises, obelisks, and arch supports allow vining crops to grow upward instead of sprawling across the bed surface.
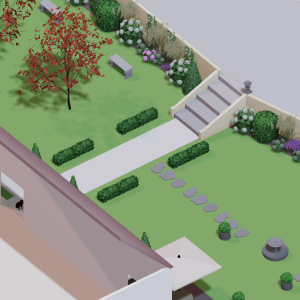
Install trellises along the north side of the bed to avoid shading other plants. Cucumbers, pole beans, peas, and small melons all grow well on vertical supports. A trellis along the back of a 4 by 8 bed effectively doubles the growing capacity of that row, because the vertical surface is producing food in air space that would otherwise go unused.
Arch trellises placed between two adjacent beds create a visual focal point and a productive growing tunnel. Train beans or cucumbers over the arch and harvest from the walkway between beds. This is one of the most space efficient structures in a raised bed garden and one that adds architectural interest to what might otherwise look like a utilitarian growing area.
Plan vertical structures into your layout from the beginning. Adding a trellis after planting disrupts root systems and often requires repositioning plants. Knowing where the trellis goes before you plant ensures that the right climbing crop is in the right position on day one.
Visualize your full garden layout before you build
After planning bed dimensions, placement, plant positions, and succession timing, the final step before building is seeing the entire layout come together visually. A flat sketch shows positions, but it cannot show you whether the trellis on bed two will cast a shadow over bed three in the afternoon, whether the walkways feel roomy enough when beds are at full height, or whether the overall garden looks proportional within your yard.
Arcadium 3D lets you build your raised bed garden layout in 3D and explore it from every angle directly in your browser. Place beds at their exact dimensions, add walkway spacing, position vertical structures, and check how the garden fits within your yard's boundaries. Share the layout via URL with a landscaping contractor if you need help with bed construction, or use it as your personal reference throughout the building and planting process.
Testing the layout in 3D before cutting lumber and filling beds catches the errors that would cost time and money to fix after construction. A bed that is too close to the fence for comfortable access, a walkway that is too narrow for your wheelbarrow, or a trellis that blocks the view of the garden from the house are all problems that take minutes to fix in a digital model and hours to fix in the real world.
Frequently asked questions
What is the best size for a raised vegetable garden bed?
4 feet wide by 8 feet long is the most common and practical size. The 4 foot width lets you reach the center from either side without stepping on the soil. If the bed is against a wall, reduce the width to 2 to 2.5 feet.
How much space should I leave between raised beds?
Leave 2 to 3 feet minimum between beds. For more comfortable access with a garden cart or wheelbarrow, use 3 to 4 feet. Mulch the walkways with wood chips or gravel to suppress weeds.
Which direction should raised beds face?
Align beds so the long axis runs north to south. This gives both sides of the bed equal sunlight exposure and prevents tall plants from shading shorter crops throughout the entire day.
How many raised beds does a family of four need?
Three to four beds at 4 by 8 feet each provide enough growing space for a meaningful vegetable harvest. This gives you roughly 96 to 128 square feet of planting area for greens, herbs, root vegetables, and fruiting crops.
Can I plan my raised bed layout in 3D before building?
Yes. Tools like Arcadium 3D let you place beds to scale in your yard, add walkways and vertical structures, and view the full garden from every angle. This helps you catch spacing and shading issues before construction begins.
What vegetables should not be planted together in a raised bed?
Avoid planting tomatoes near brassicas (cabbage, broccoli, cauliflower) as they compete for the same nutrients. Keep fennel separate from most vegetables, as it inhibits growth in nearby plants. Rotate crop families each season to prevent soil depletion and disease buildup.


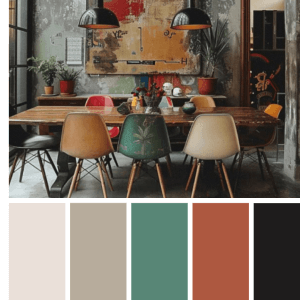 Color palette generator
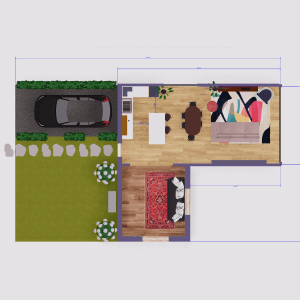 Floor plan creator
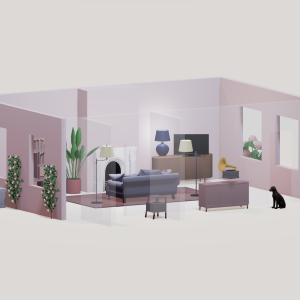 Interior design app
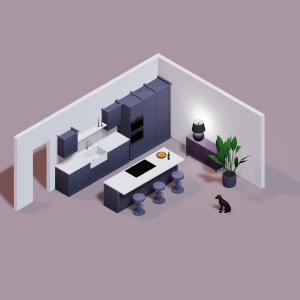 Kitchen design tool
 House design software
 Landscape design software
 Bedroom design
 Office floor plan creator
 How to use Arcadium — full guide
 3D object library - free
 Articles and blog