

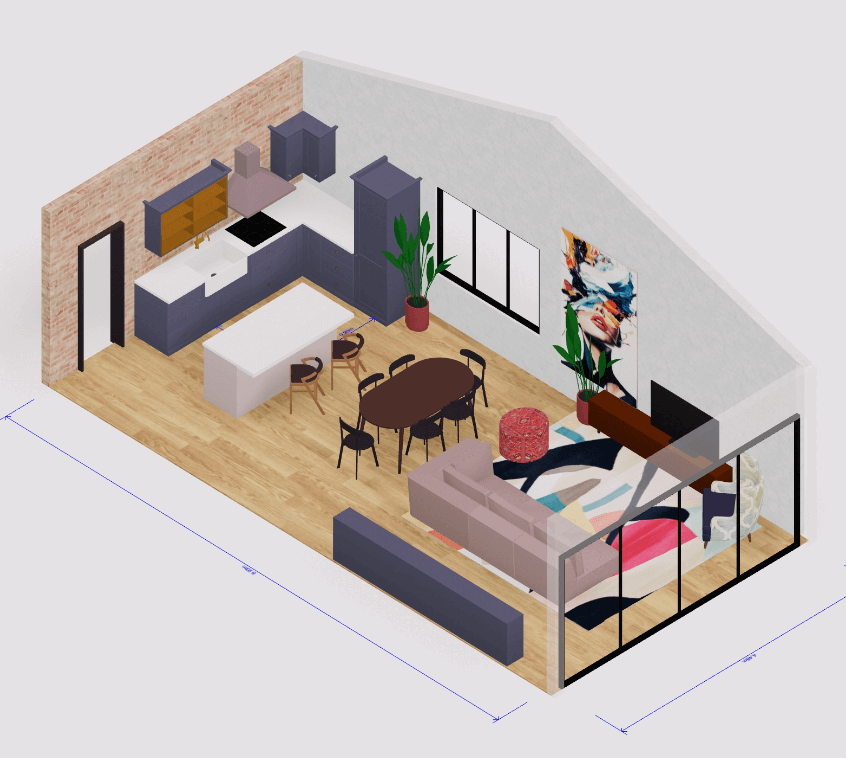
 3D house design tool
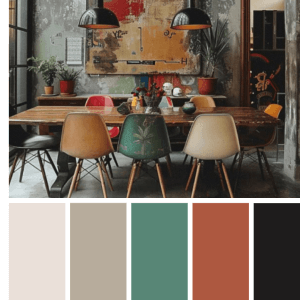 Color palette generator
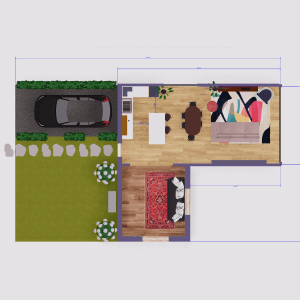 Floor plan creator
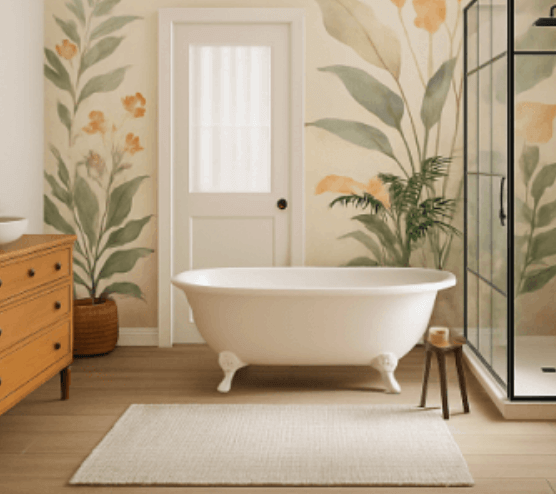
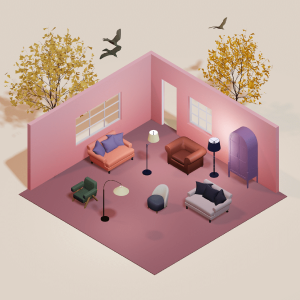
 Interior design app
 Kitchen design tool
 House design software
 Room designer
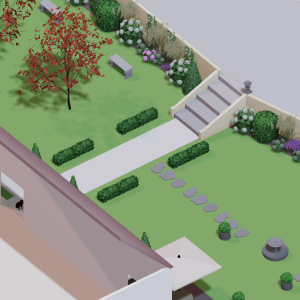 Landscape design software
 Bedroom design
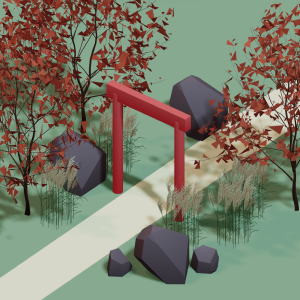 Feng shui design
 Office floor plan creator


Controlling the view
Move the camera to inspect your design from any angle. Nothing you do to the camera changes your model — it only changes what you see.
Rotate, pan & zoom
Rotate / orbit
Right-mouse drag, or Ctrl/⌘ + left drag
Pan
Left-mouse drag (or Space + left drag)
Zoom
Mouse wheel, or Ctrl + + / −. On a touchscreen, pinch to zoom.
Reset view
Press 0 to return to the default angle
Switch view mode
Plan & elevations
Press 1 to cycle through the top-down plan and the front, back, left and right elevations.
Orthographic (flat)
Press 2 to drop perspective so distant objects don't shrink — parallel lines stay parallel and every size reads true. Ideal for layouts, elevations and accurate measuring.
Perspective (3D)
Press 3 to add perspective so distant objects shrink and parallel lines converge, just like the human eye. The most realistic way to preview, walk through and present your space.
Cross-section
Press 4 to slice the model open and see inside. A panel opens where you can drag or type the cross-section height to move the cut up and down.
First-person walkthrough
Step inside your design and walk around it. Move with W A S D or the arrow keys, E / Q to go up and down, Space to jump, hold Shift to sprint, and Esc to exit.
Outline view
Press 5 to draw crisp outlines around every edge for a clean, sketch-like look — great for plans, line drawings and screenshots.
Adding walls
Lay out your floor plan by drawing walls, then refine them however you like.
Draw from two points
Pick the wall tool, click a start point, then click an end point to draw a wall. Keep clicking to chain walls into rooms.
Snapping
Walls snap to right angles and to other walls' points as you draw, so everything lines up cleanly. Hold Shift to turn snapping off and place freely.
Curve a wall
Click an existing wall line and choose Arc or Bézier to bend it, then drag the handle to shape the curve.
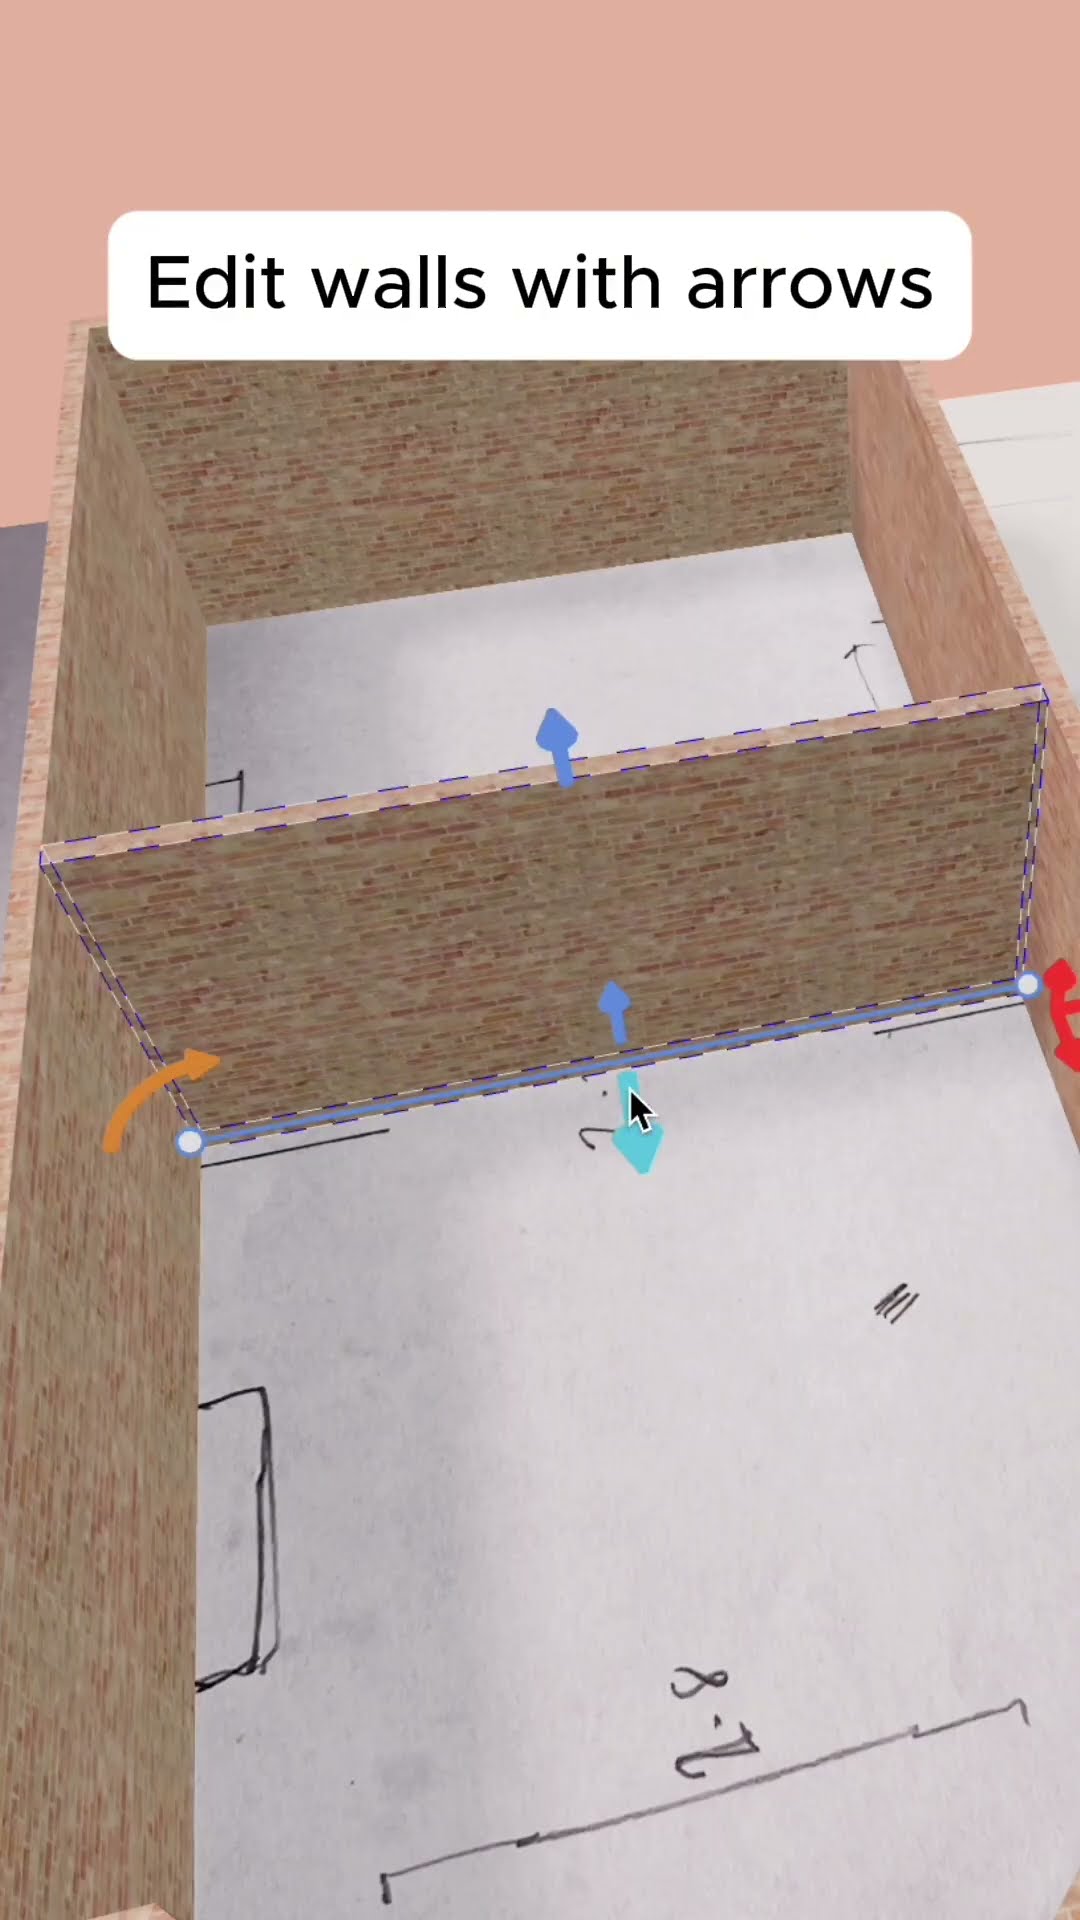
Height & thickness
Select a wall and drag the blue arrows — or type exact values — to set its height and thickness.
Align walls
Use the alignment button to line walls up neatly along an axis.
Openings are automatic
No need to leave gaps for doors, windows or arches — drop one onto a wall and the opening is cut for you.
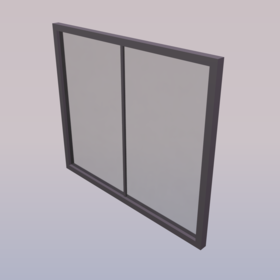
Adding doors & windows
Doors and windows are smart — when you drop one onto a wall it automatically cuts an opening for itself. Drag it along the wall to reposition, and use the blue arrows to resize the opening. For doors, you can also set how far they swing open, press R to rotate the door, and use the Mirror button to flip which side it opens.
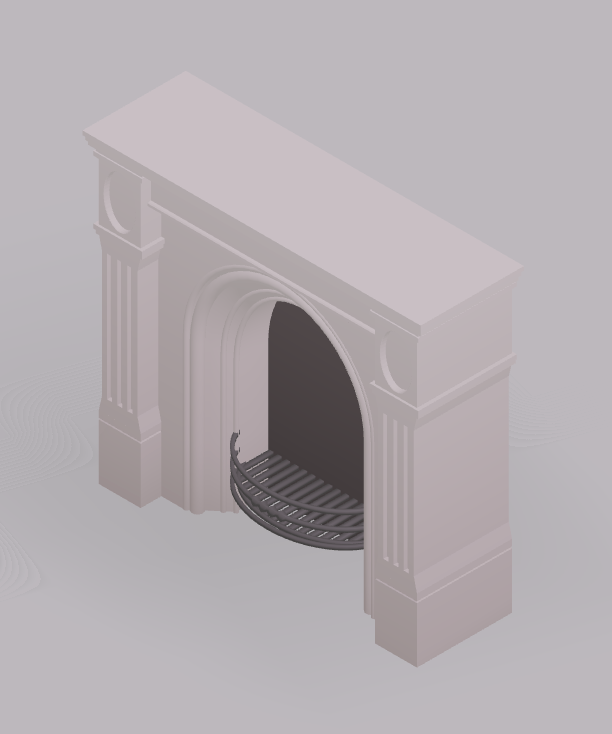
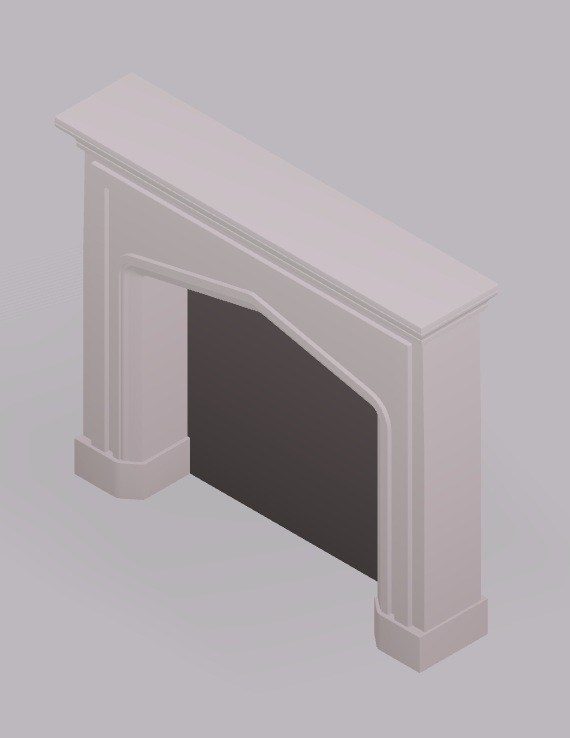
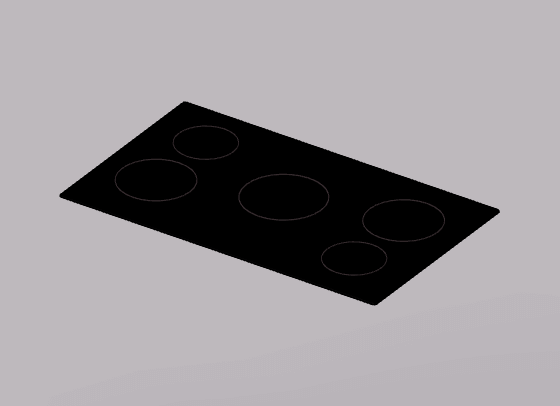
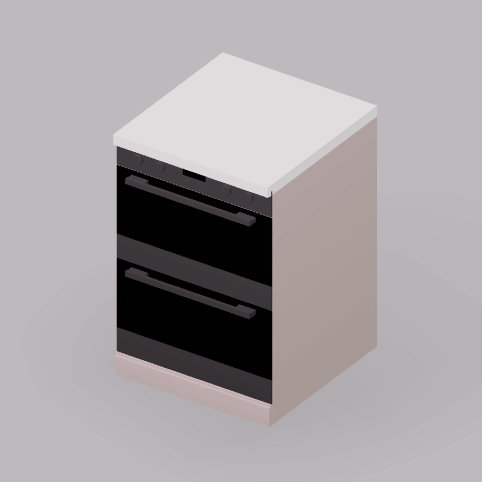
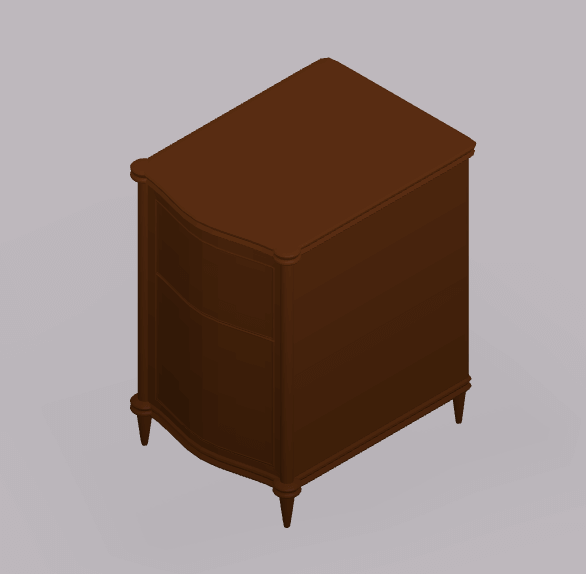
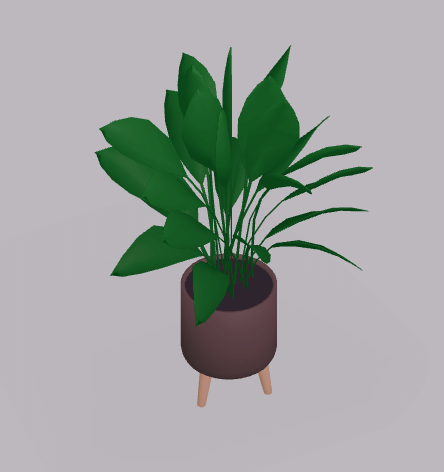
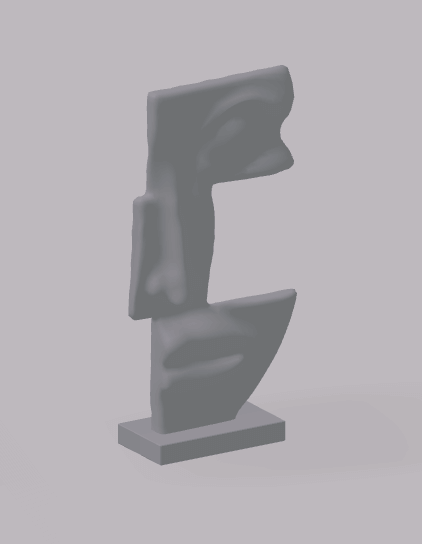
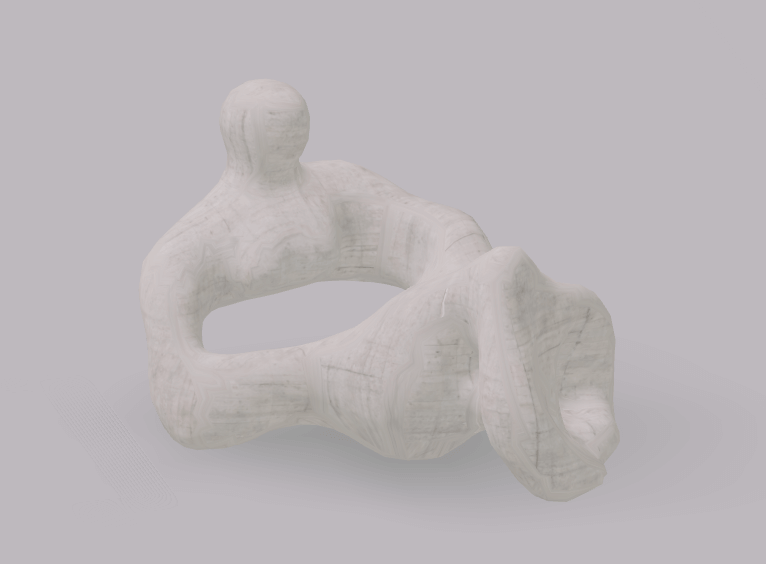
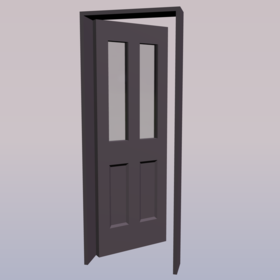
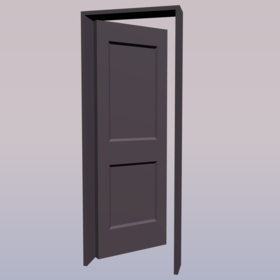
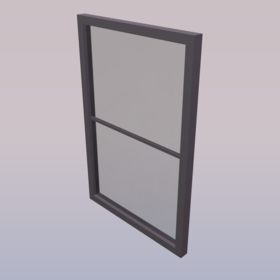
3D model library
Add furniture and fittings from the object library. It's organized into these menus — each holds many more items than shown here:
Living room
105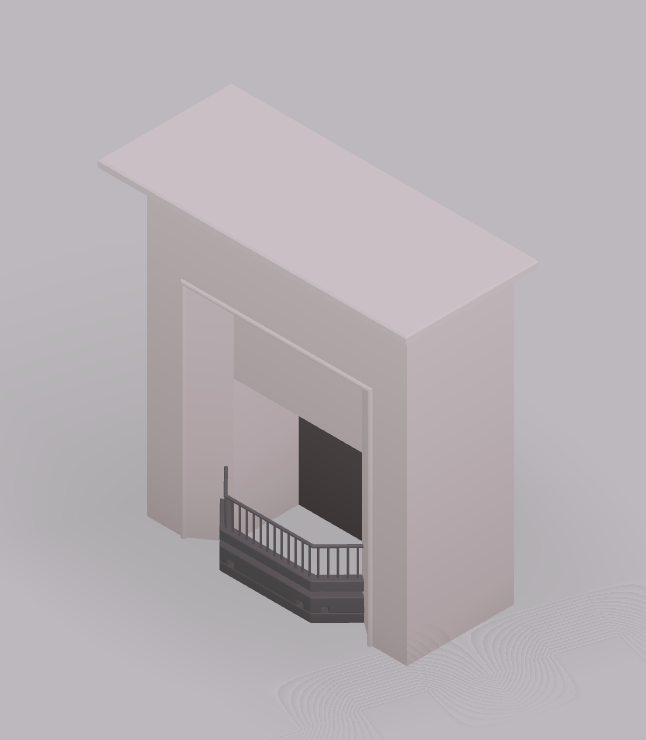
Kitchen
78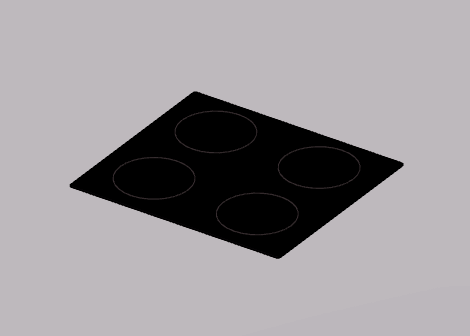
Bedroom
29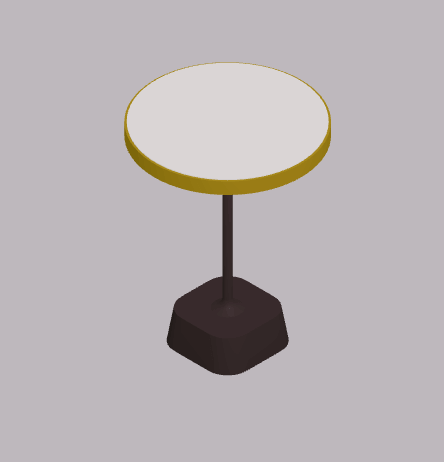
Bathroom
22
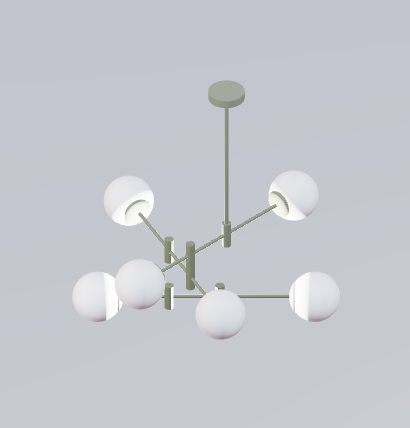
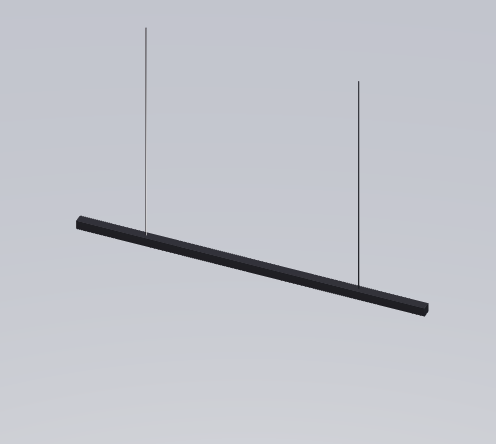
Lighting
21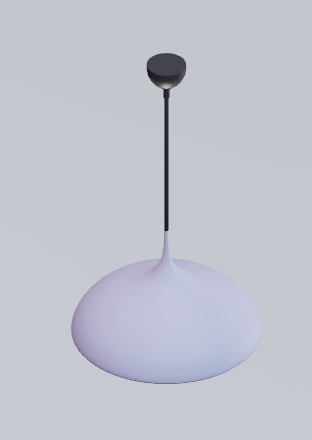
Plants & garden
92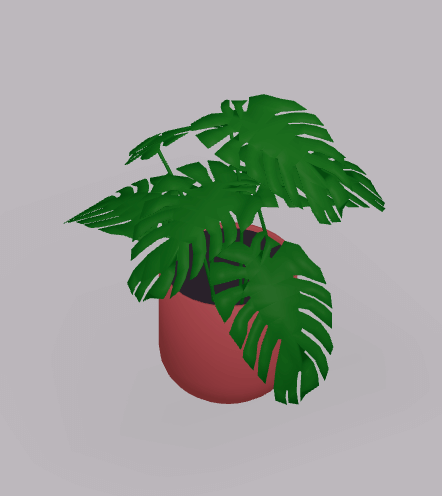

Art & mirrors
26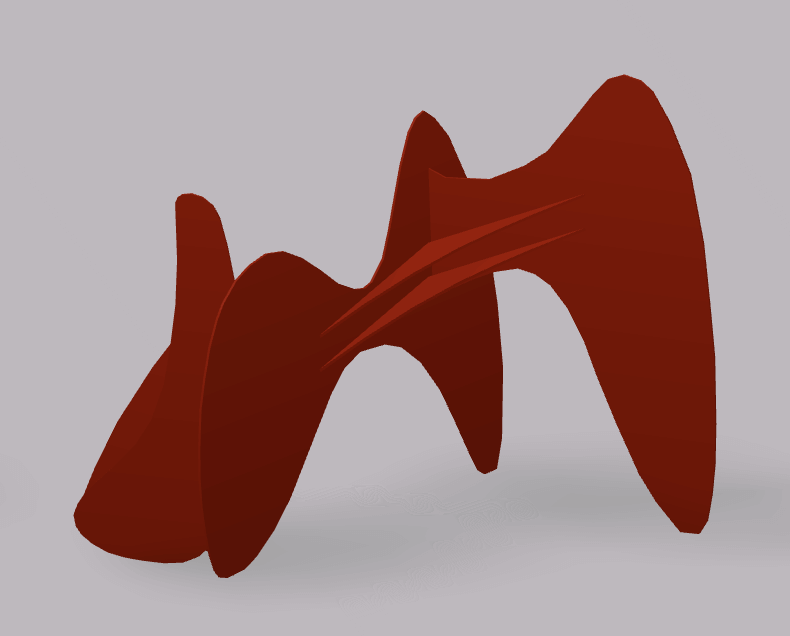
Miscellaneous
57
Shapes
55
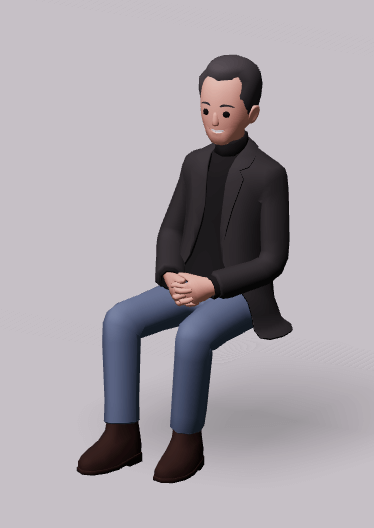
People & pets
10
Walls
34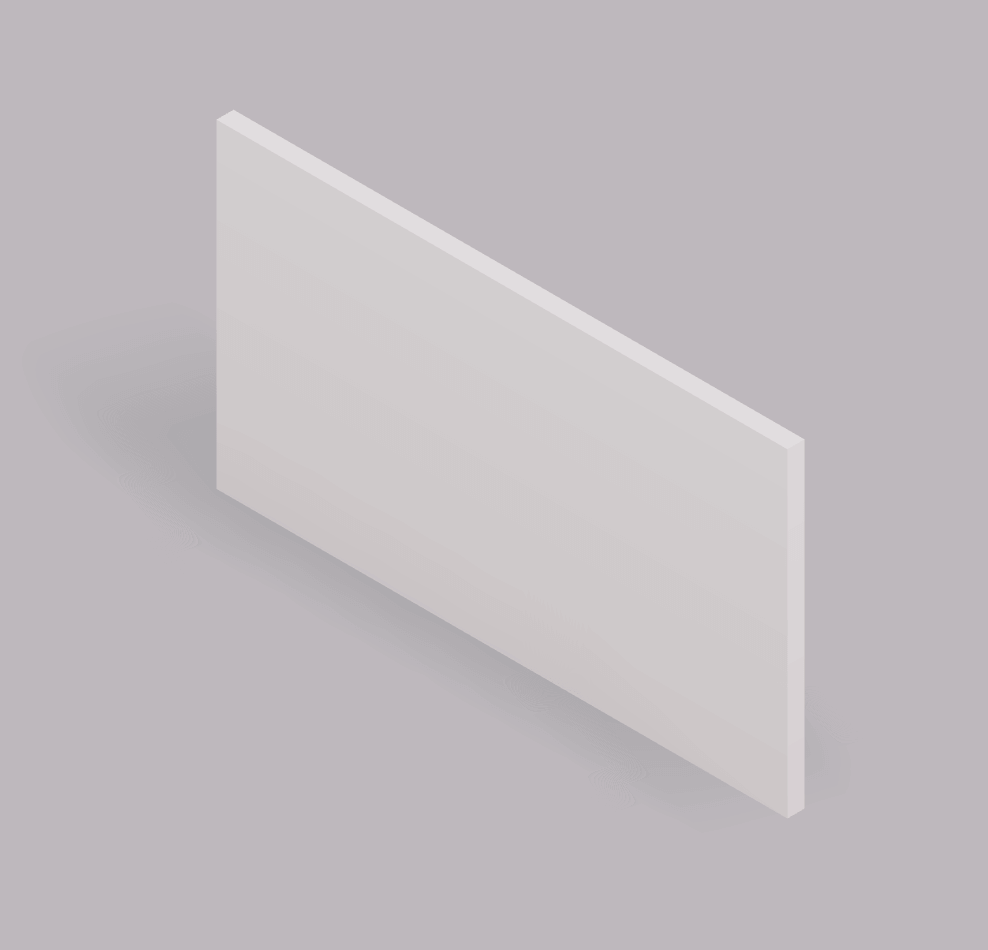

Doors
40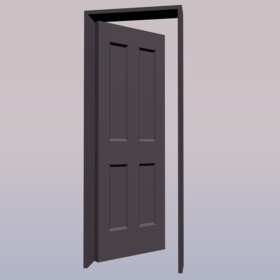
Windows
30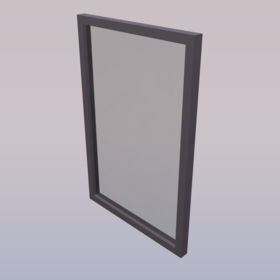
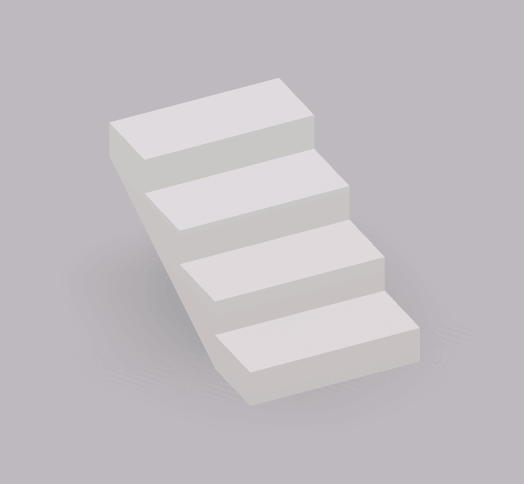
Floors & stairs
28
Editing objects
Select an object and colored arrows appear around it — each color does one job.
Red arrows — move
Drag to move along a single axis so the object stays in line, or type into the black label for an exact distance.
Orange arrows — rotate
Drag to spin the object, or type into the black label for an exact angle. Or press R to rotate 90°.
Blue arrows — resize
Drag to scale the object larger or smaller, or type into the black label for an exact size. Hold Alt to scale in all directions at once.
Snapping (magnet)
Objects snap neatly to walls and to each other as you drag. Need to place something freely? Hold Shift while dragging to switch snapping off.
Duplicate
Press Ctrl/⌘ + D, or hold Alt while dragging, to duplicate the selection. You can also copy & paste with Ctrl/⌘ + C / V.
Mirror
Use the Mirror button to flip an object — handy for pairs like chairs or matching wings of a house.
Edit dimensions
Click and type into the black labels for precise positioning, resizing or rotation.
Tip: with an object selected, the arrow keys nudge it a tiny amount — hold Shift for bigger steps.
Grouping & alignment
Select several at once
Hold Shift and click each object to build a temporary selection — move, rotate or resize them together. Click empty space (or press Esc) to release it. Ctrl/⌘ + A selects everything.
Make a permanent group
To keep objects together for good, select them and press Ctrl/⌘ + G (or use the Group button). They now move as one. Ungroup with Ctrl/⌘ + Shift + G.
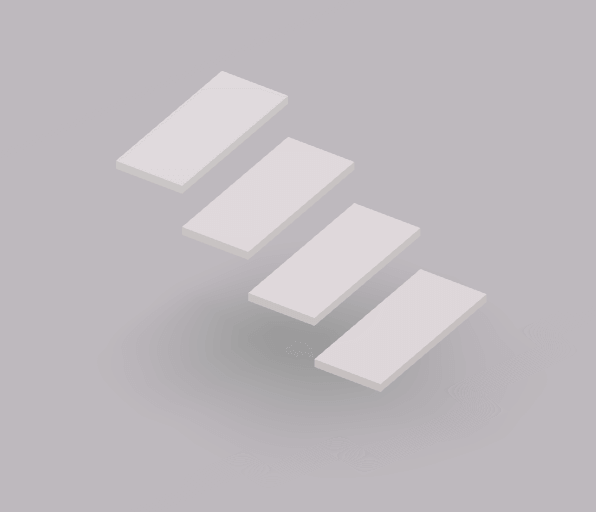
Align & distribute
With several objects selected, the edit menu shows alignment buttons for each axis — X (left right), Y (up down) and Z (front back). Each axis offers these four actions:
Align start
Line up to the near edge
Align center
Center on the axis
Align end
Line up to the far edge
Distribute
Space objects out evenly
Showing & hiding objects
Working in a busy scene? Hide objects to get them out of the way — they stay in your project, just out of view.
Hide
Select an object and press V, or click the eye.
Show
Click the eye icon to bring hidden objects back.
Locking objects
Once something is exactly where you want it, lock it so you can't nudge it by accident — perfect for walls and fixed fittings while you arrange everything else around them.
Lock
Select the object and choose Lock — it can't be moved, resized or deleted.
Unlock
Choose Unlock to edit, move or delete it again.
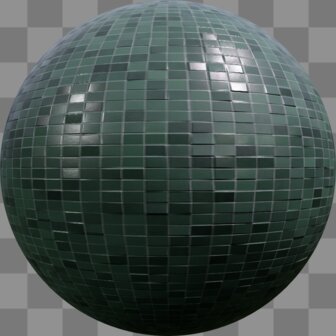
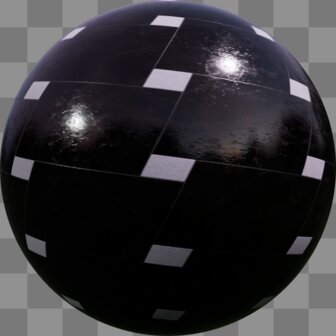
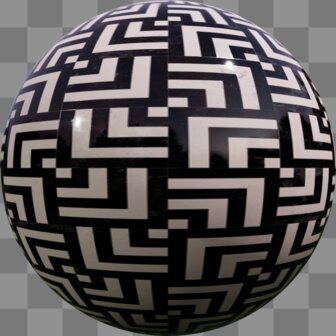
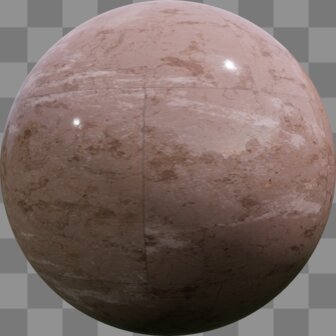
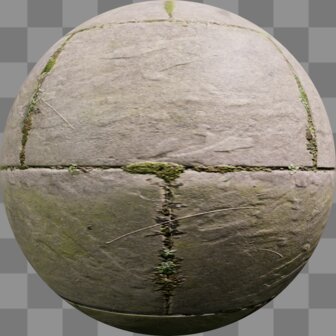
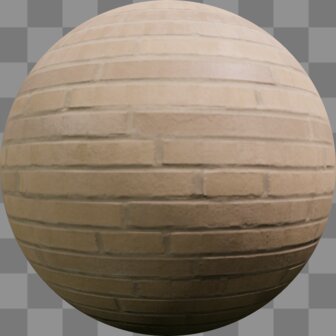
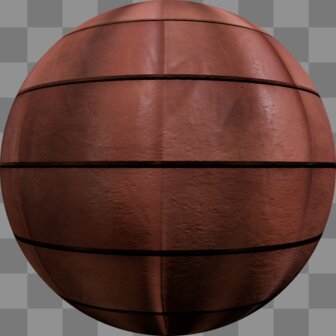
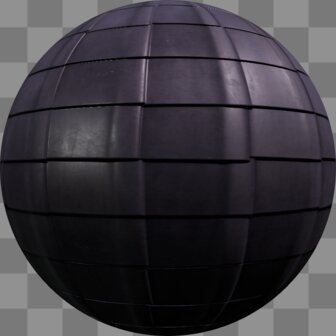
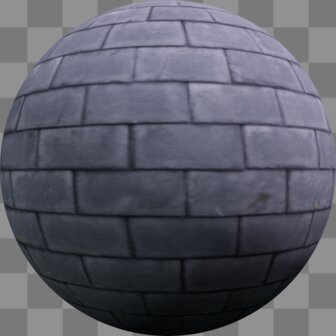
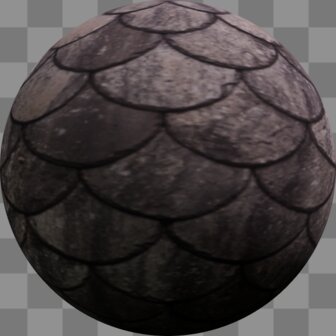
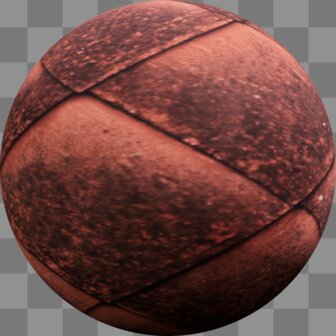
Materials & colors
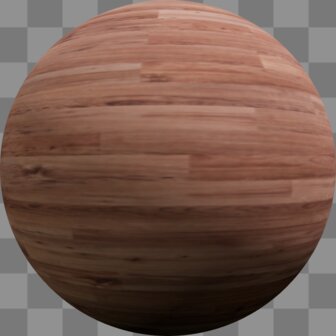
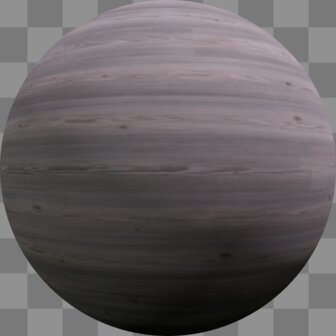
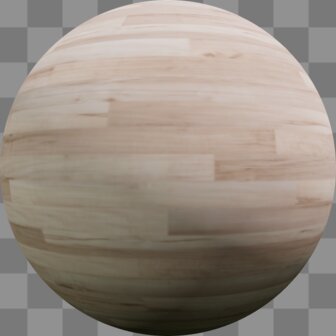
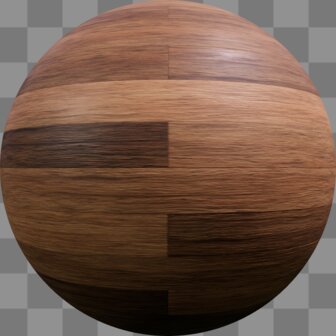
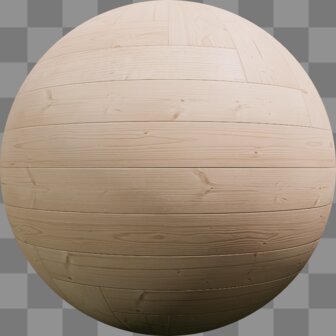
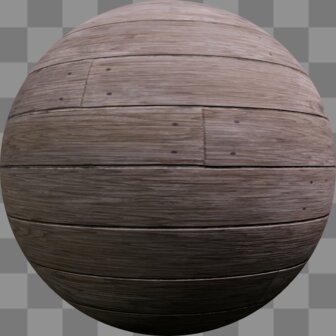
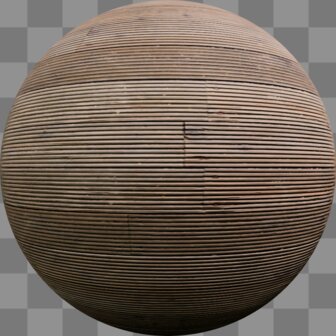
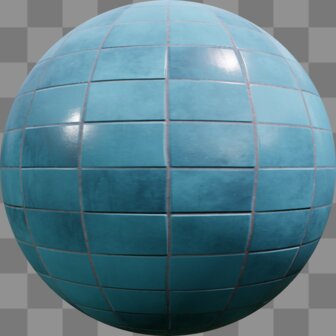
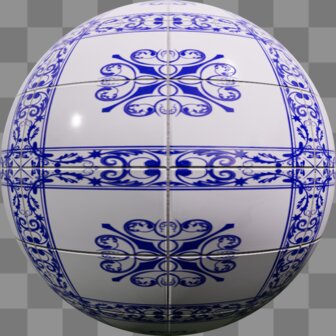
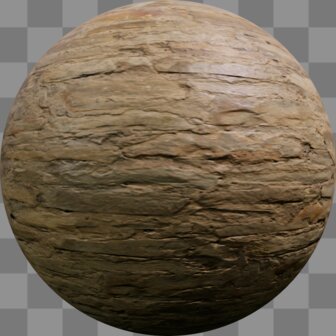
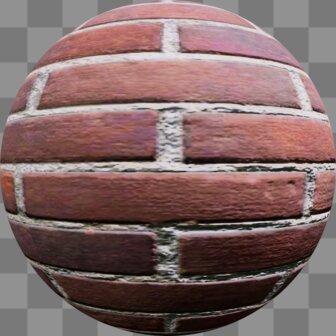
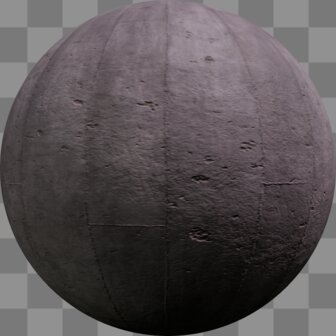
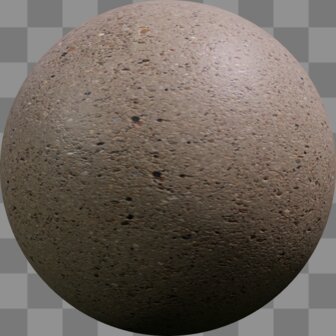
Give every surface the right finish. Press P to open the color picker and click the paint brush icon. Then select the items you want to apply s material to. Hold shift to select multiple at once. Then click the material you want to apply. They are organized into these categories — each holds many more options than shown here. You can also apply any color using the color wheel (or type in the hex code) and adjust the color settings eg: change the way textures repeat, size, rotation of textures, contrast, saturation, brightness etc.
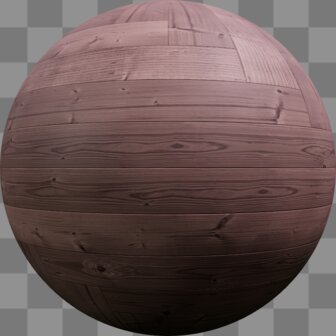
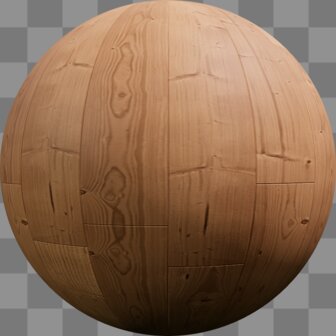
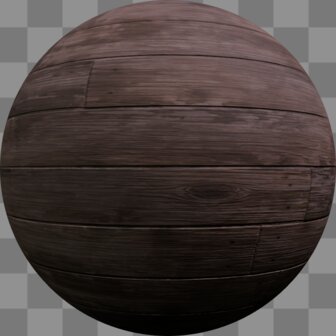
Wood
32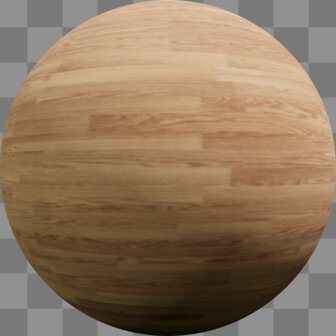
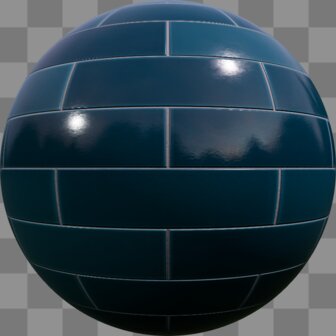
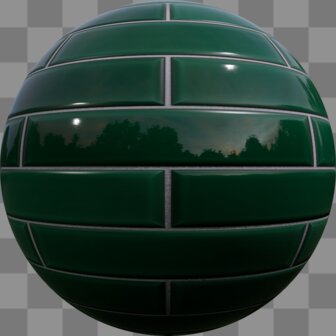
Tiles
48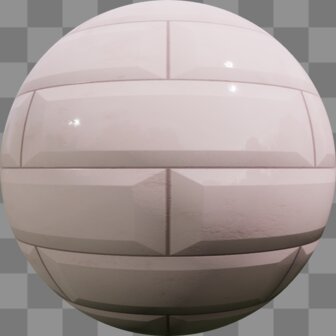
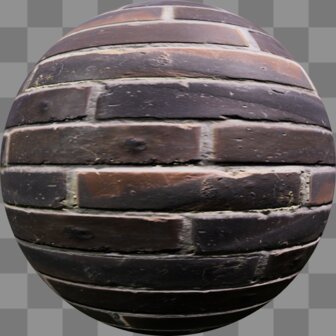
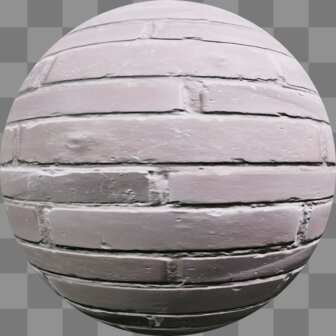
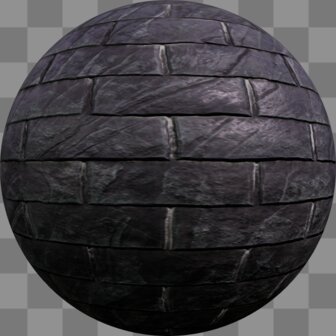
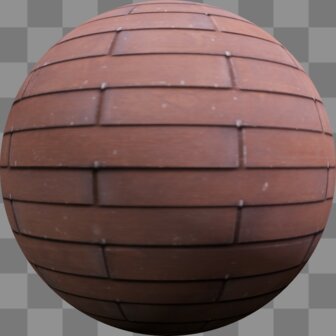
Walls & brick
30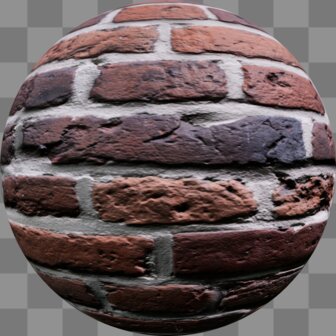
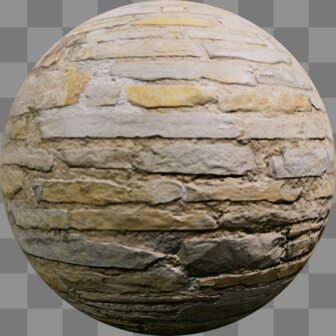
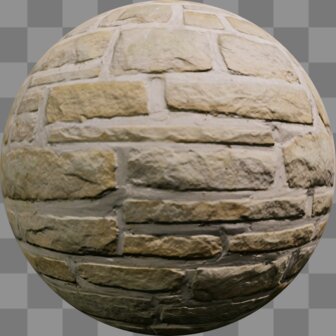
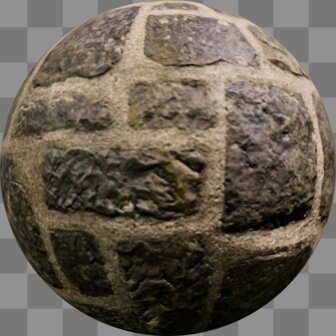
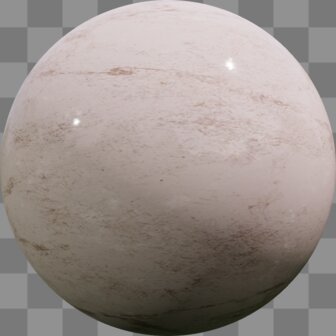
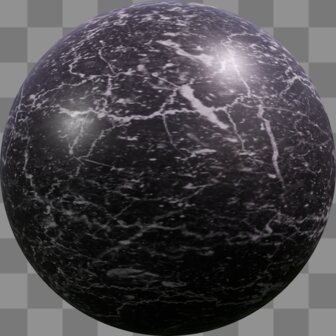
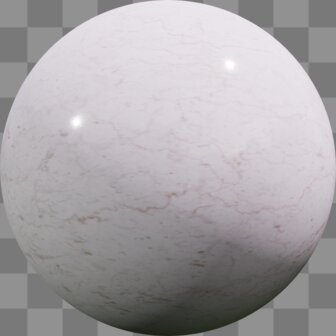
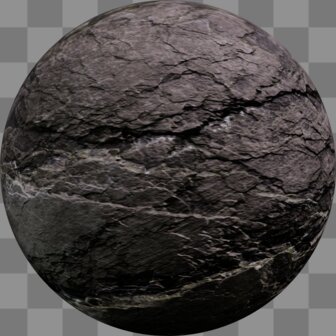
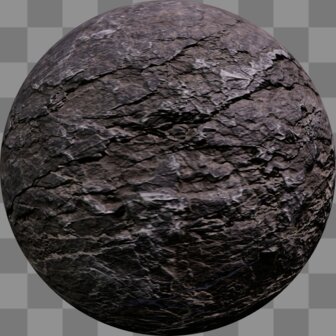
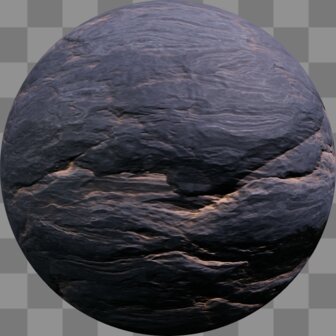
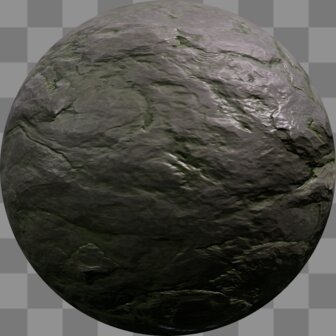
Marble & stone
29
Metal
28


Glass
12
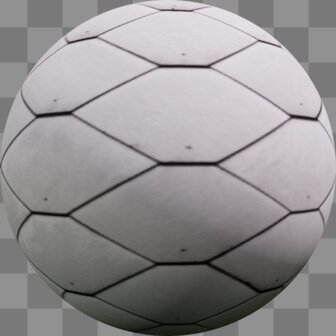
Fabrics & leather
46


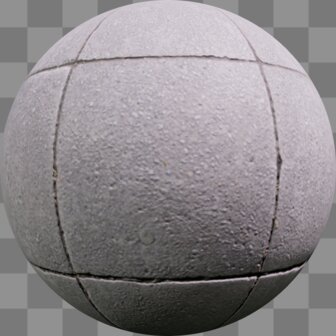
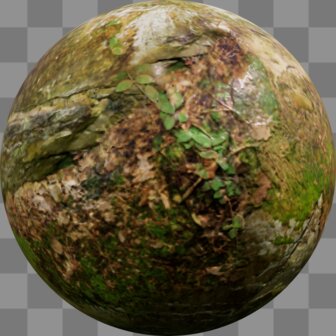
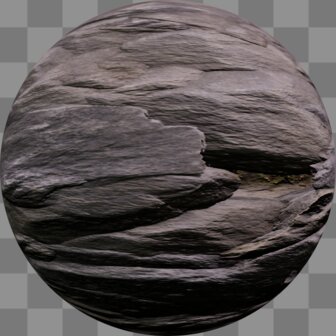
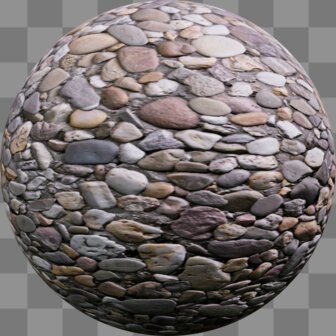
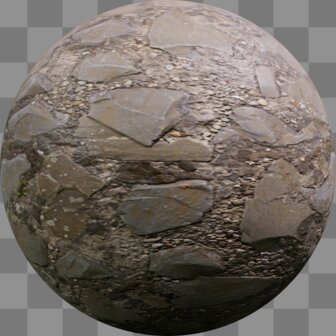
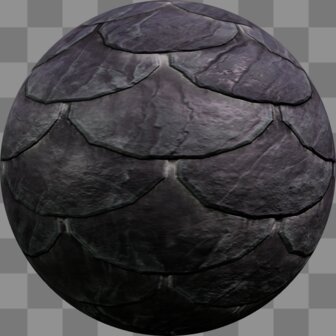
Ground & rock
30


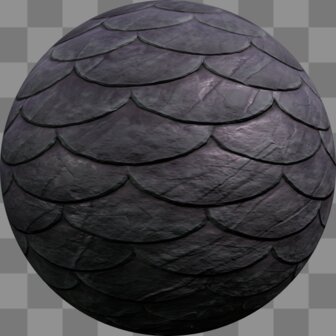
Roofing
11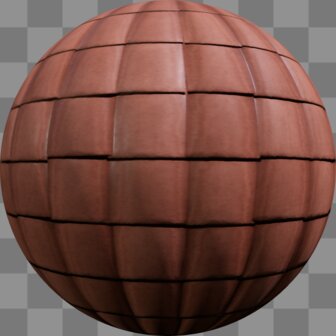
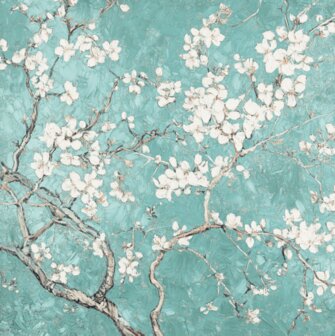
Images / art
24


Color picker & eyedropper
Press P to open the color picker. Use the eyedropper tool to sample a color from anywhere in your scene and apply it to the selected object — handy for matching shades across your design.
Labels & dimensions
Add dimension lines to show real-world measurements, and labels to name rooms or call out details. These are ideal for floor-plan exports and for sharing accurate plans with clients or builders.
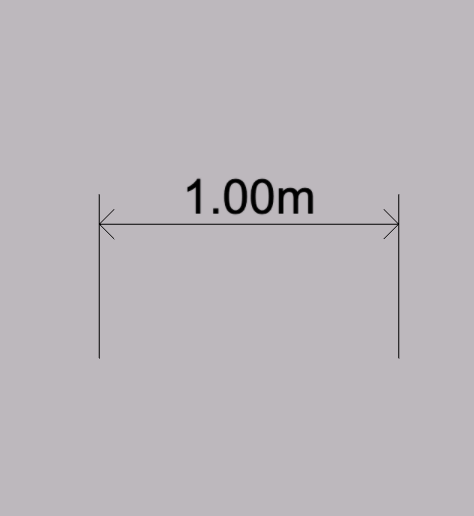
Dimension
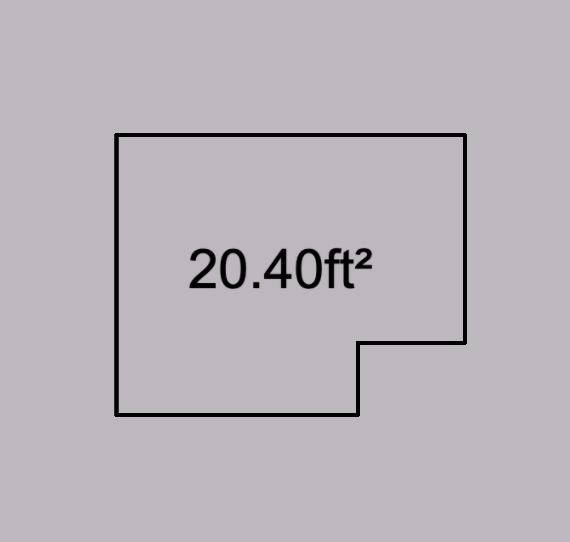
Area

Text
Line
Arrow
Zone
Zone circle
Zone square
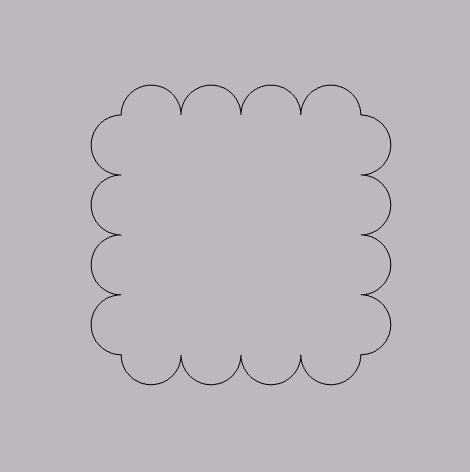
Zone cloud
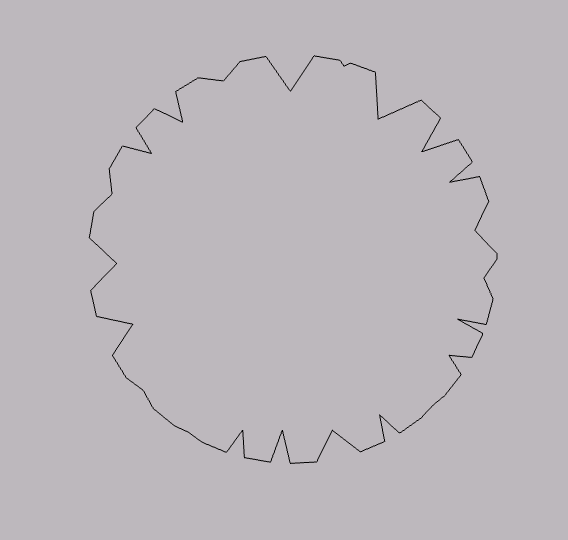
Zone tree
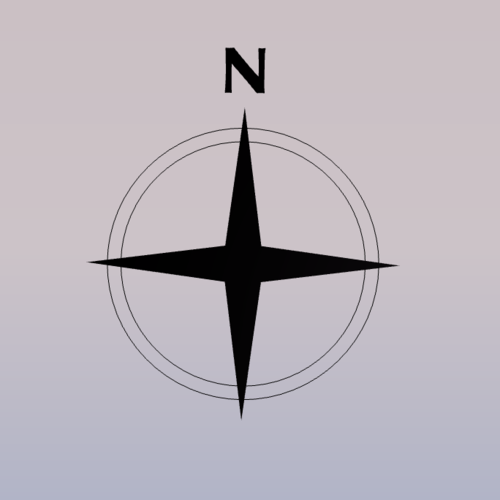
Compass
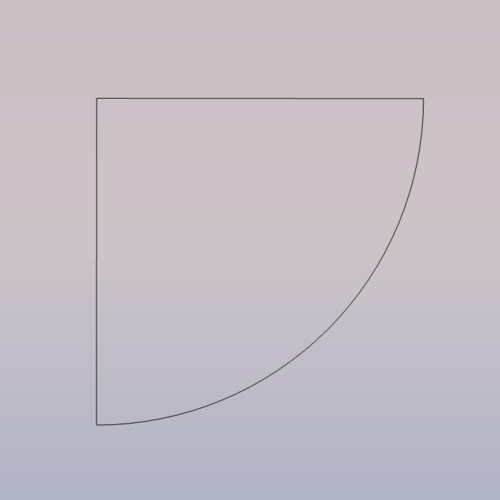
Door sweep
Units
Open the hamburger menu in the top-left corner and choose your preferred units. You can switch between metric and imperial at any time — every measurement, dimension and input updates to match.
m
Meters
mm
Millimeters
in
Inches
ft & in
Feet & inches
Environment controls
Set the scene around your design — adjust lighting, sky and background to change the mood and see how your space looks at different times of day. Great for getting renders to feel just right.
Undo & redo
Made a mistake? Step backwards and forwards through your changes.
Undo
Ctrl/⌘ + Z
Redo
Ctrl/⌘ + Shift + Z
Importing your own content
Bring outside material into your project to design around it.
Floor plan
Import a 2D floor-plan sketch and trace your walls over it (see the FAQ on scaling below).
Image
Drop in reference images or artwork to place in the scene.
3D model
Import a 3D model to use a piece that isn't in the library.
Material
Upload your own texture to apply as a custom material.
AI images
Turn your 3D design into a photorealistic image — or a sketch, a watercolor, any style you like. Your model sets the layout, and the AI fills in realistic light, materials and detail.
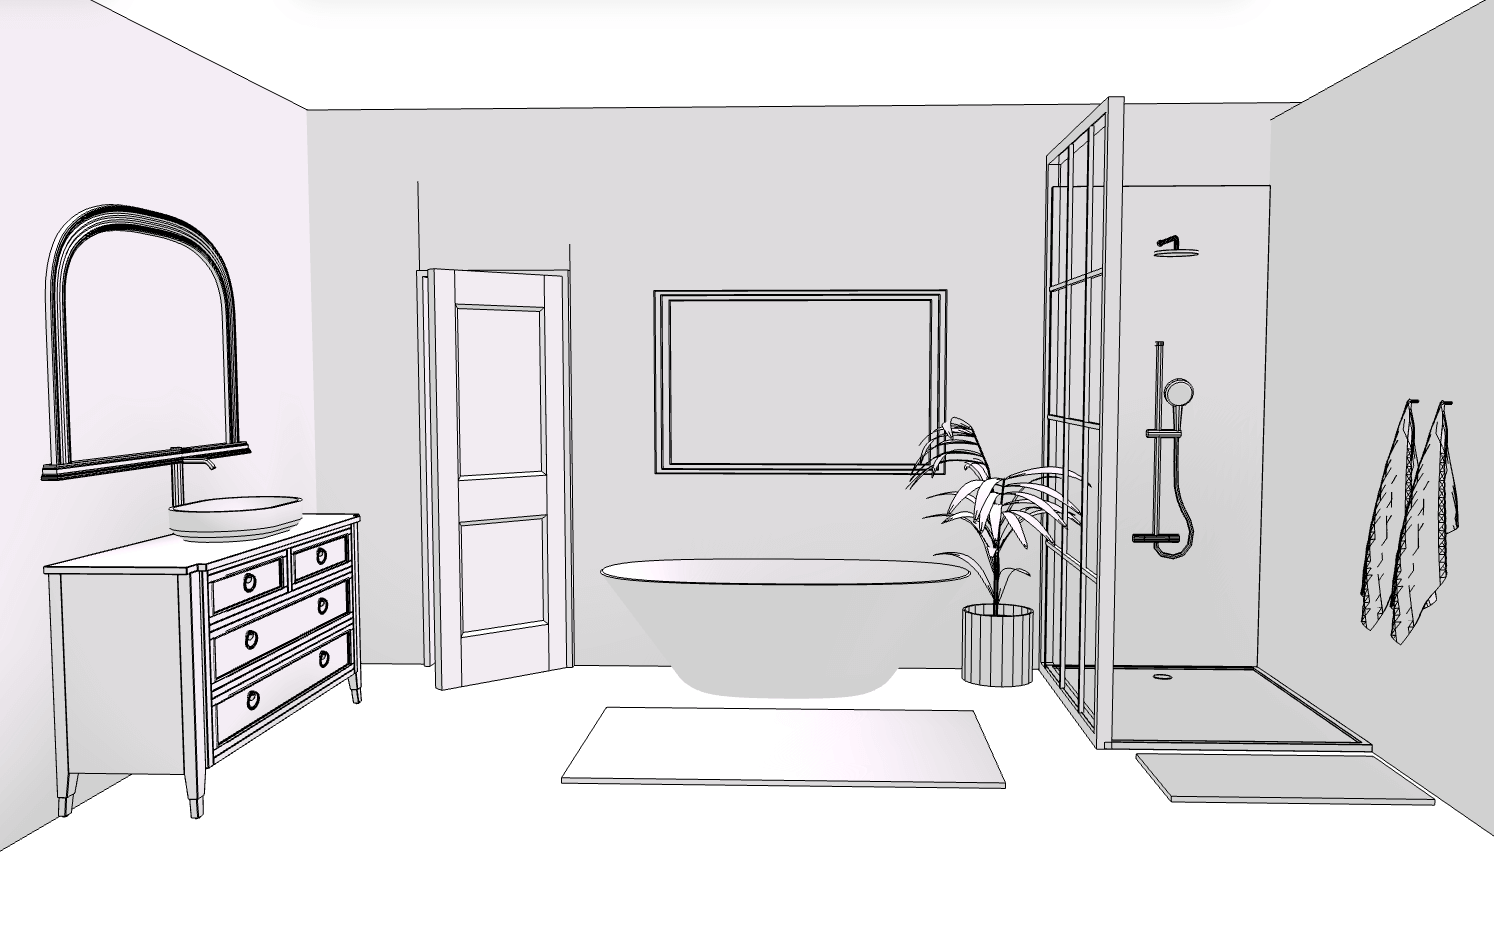
How it works
1. Pick an input image
Use the current view of your 3D project, upload your own photo, or reuse an image you've already made. The input guides the layout of the result.
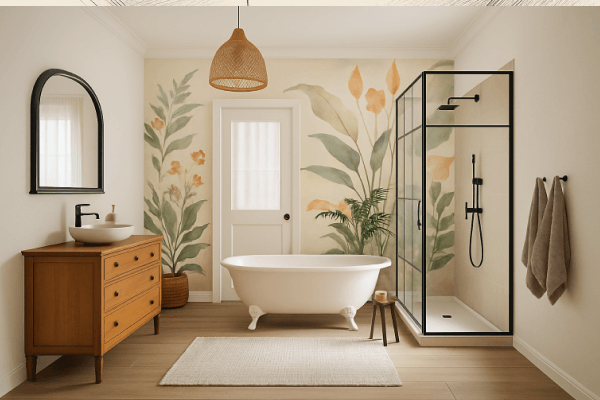
2. Describe the look
Write a prompt for the style, materials and mood — e.g. “Scandinavian living room, oak floor, soft morning light” — or pick one of the ready-made style presets.
3. Generate
Arcadium creates an image that keeps your layout but renders it in the look you asked for. Generate as many variations as you like. We recommend doing 2 or more at the same time.
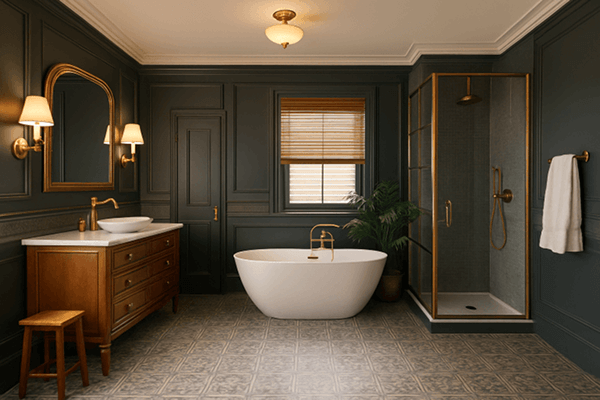
4. Iterate
Re-use any result as a new input and tweak your prompt to refine the look across several rounds until it's right.
AI furniture generation
Need a piece that isn't in the library? Upload a photo or two of the item and AI turns it into a 3D model you can drop straight into your scene and use like any other object — move it, resize it and apply materials.
Tips: center the item, use a clear background, avoid whole rooms and very delicate or glass objects.
Export & print
When your design is ready, take it out of Arcadium.
Export a 3D model
Export your model as a 3D file: GLB (keeps colors — best for Blender, SketchUp & sharing), STL (geometry only, the 3D-printing standard) or OBJ (universal CAD & 3D-app support).
Print to PDF
Press Ctrl/⌘ + P to open print preview. It prints to PDF — choose the paper size (A4, A3 or Letter) and orientation (portrait or landscape) before you save.
Keyboard shortcuts
On a Mac, use ⌘ wherever Ctrl is shown.
View
| Rotate / orbit | Right-drag / Ctrl left-drag |
|---|---|
| Pan | Left-drag / Space left-drag |
| Zoom | Wheel / Ctrl + / Ctrl − |
| Plan & elevations | 1 |
| Orthographic / Perspective | 2 / 3 |
| Cross-section | 4 |
| Outline view | 5 |
| Reset view | 0 |
| Walk / fly (first-person) | W A S D |
| Fly up / down | E / Q |
Editing
| Undo / Redo | Ctrl Z / Ctrl Shift Z / Ctrl Y |
|---|---|
| Duplicate | Ctrl D |
| Copy / Paste | Ctrl C / Ctrl V |
| Rotate 90° | R |
| Nudge selected (Shift = bigger) | ↑ / ↓ / ← / → |
| Raise / lower | Ctrl ↑ / Ctrl ↓ |
| Disable snapping | Shift drag |
| Delete | Delete / Backspace |
| Deselect / cancel | Esc |
Drawing
| Finish drawing | Enter |
|---|---|
| Type exact length | 0–9 |
Selection & grouping
| Add to selection | Shift click |
|---|---|
| Select all | Ctrl A |
| Group / Ungroup | Ctrl G / Ctrl Shift G |
| Hide object | V |
Project
| Save | Ctrl S |
|---|---|
| Ctrl P | |
| Color picker | P |
Common questions
- How do I save a project?
- Your project autosaves every time you make a change, so there's nothing to remember. You just need a valid internet connection for the save to be stored successfully. To trigger a save yourself at any time, press Ctrl/⌘ + S.
- How do I add a second floor?
- There are three easy ways. 1. Make your walls taller if you only want extra height. 2. Duplicate an existing floor and lift the copy straight up using the red (single-axis) arrows so it sits on top. 3. Use the floor controls to show your floors side by side while you work, then stack them.
- How do I rotate the view?
- Drag with the right mouse button, or hold Ctrl/⌘ and drag with the left button. On a laptop touchpad, use a two-finger drag with the modifier key; on a touchscreen, drag with one finger to orbit (two fingers pan and pinch-zoom).
- Do I keep my projects if I cancel my subscription?
- Yes — your projects are saved to your account and are not deleted when a subscription ends. You can still open and view them; some premium features and export options may be limited until you resubscribe.
- How do I change the height or thickness of a wall?
- Select the wall and open its properties. You can type an exact height and thickness, or drag the blue resize arrows. To raise every wall at once (for example to prepare for a second floor), select them together first with Shift-click.
- How do I import and scale a floor-plan sketch?
- Import your sketch as an image or floor plan, then set its scale so it matches real measurements: pick a wall or doorway in the image whose true length you know and enter that length. Everything you draw on top of it will then be the correct size. Tip: lock the imported plan so you don't move it while tracing your walls.
- How do I switch between metric and imperial (meters and feet)?
- Open the hamburger menu in the top-left corner and choose your preferred units. You can switch between metric and imperial at any time — every measurement, dimension and input updates instantly to match.
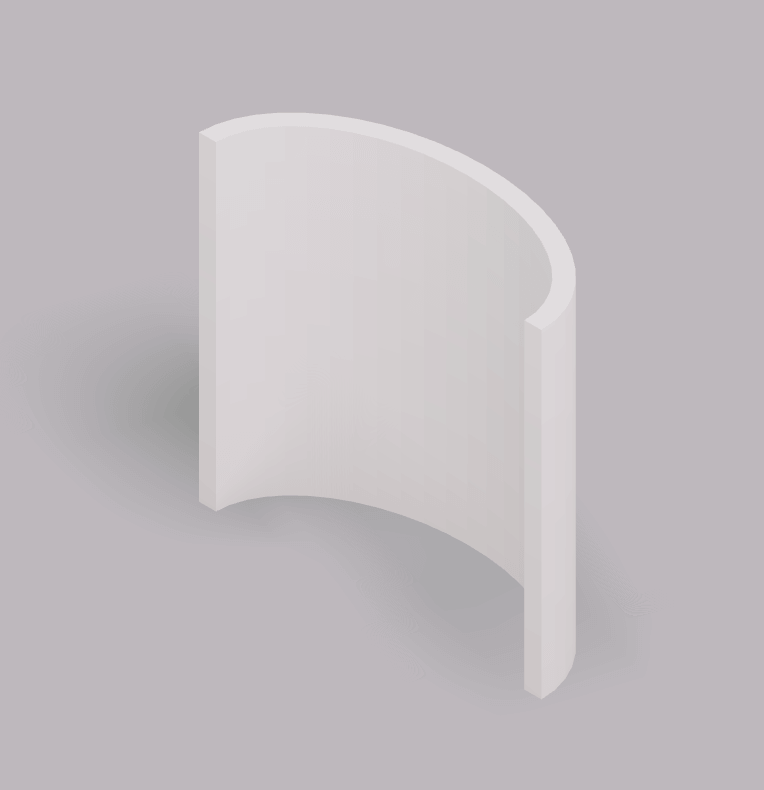
- Can I make curved or angled walls?
- Yes. The Walls menu includes curved wall pieces — add one, then drag its handles or type exact dimensions to set the radius and length. For angled rooms you can also draw straight wall runs at any angle, not just right angles.
- How do I add doors and windows?
- Open the Doors or Windows menu and drop one onto a wall — it snaps into position. Select it afterwards to resize it, slide it along the wall, or swap it for a different style.
- Can I use Arcadium on a tablet or phone?
- Yes — Arcadium runs in the browser on tablets and phones with full touch controls (one finger to orbit, two fingers to pan and pinch-zoom). For detailed editing, a larger screen with a mouse is the most comfortable.
Ready to build?
Open the editor and try these controls for yourself.
Start designing free